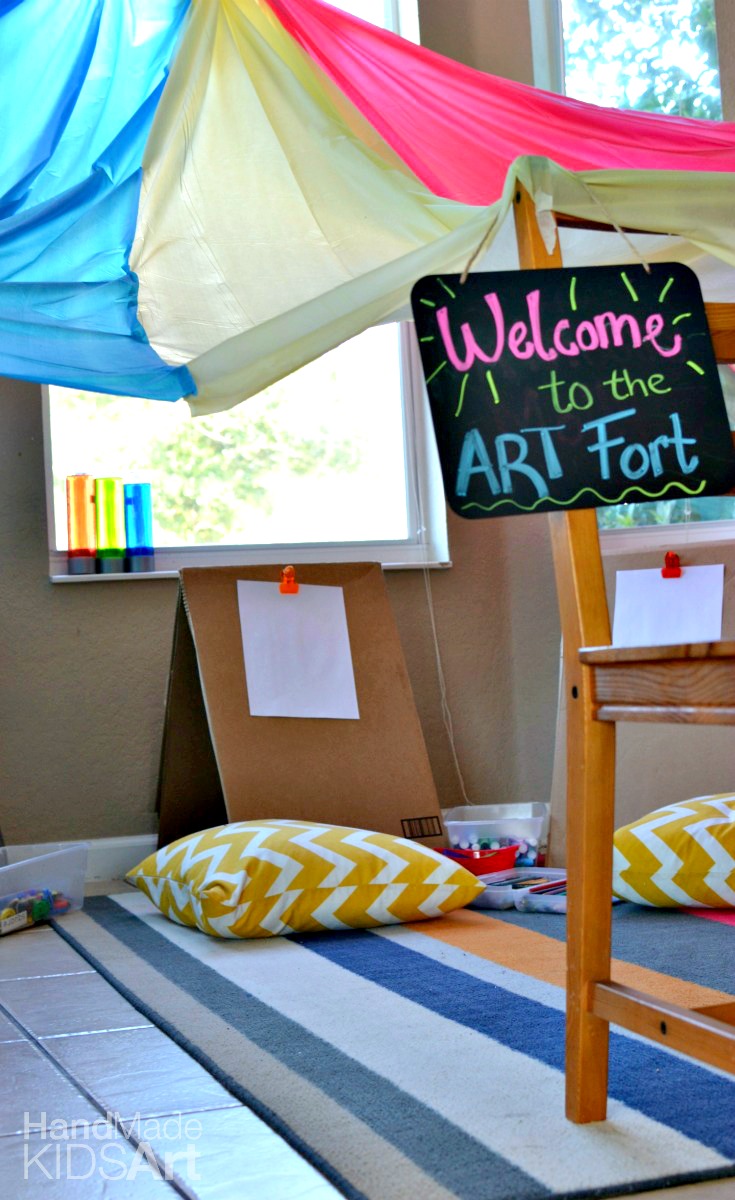
Welcome to the Art Fort!
I loved taking on the challenge of creating an art fort for my two young artists. There are many different ways to create a fort and even more ways to incorporate art with it. If it were summer I would have wanted to take the fort outside but since it is cooler I knew our fort had to be inside.
My goal was to create a bright, sunny inspiring place to create for young artists.
I wanted a fort that was colorful, bright and filled with sunlight. I choose to set up near the kitchen windows to take advantage of the light and for nature inspiration. Plus, the kitchen tile would make for easy clean up.
Fort Materials:
Plastic Table Cloths, Embroidery Hoop, String
Place one end of each plastic tablecloths through the embroidery hoop. Tie loops of string around the hoop and hang from the ceiling or wall.
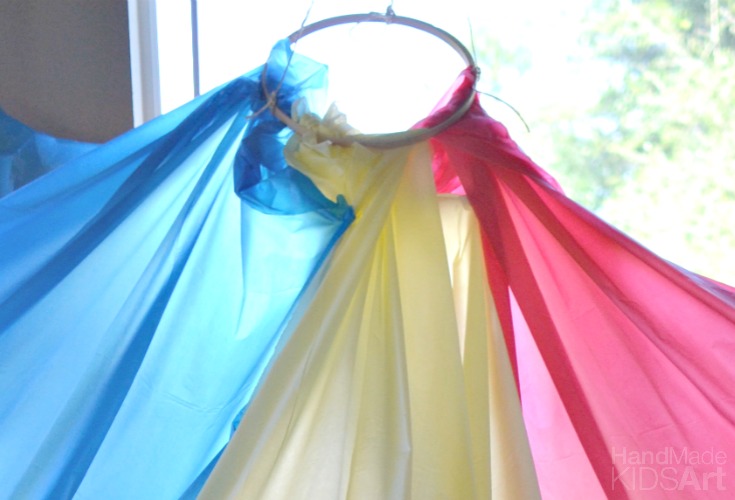 Secure the opposite ends of the tablecloths to something stationery (we used chairs). To keep the fort colorful we used red, yellow and blue plastic tablecloths but any color would work.
Inside the fort I had set up different centers or stations for creating art.
I wanted the art supplies to be self-served, meaning my two preschoolers would be able to work with the materials without my help. I wanted them to be self-proficient in being able to work. All the materials were ones we had previously worked with and they were familiar with the proper way to use the tools.
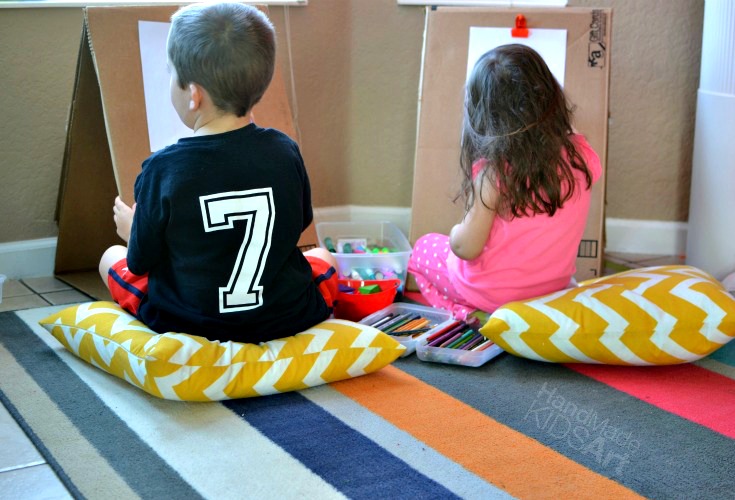
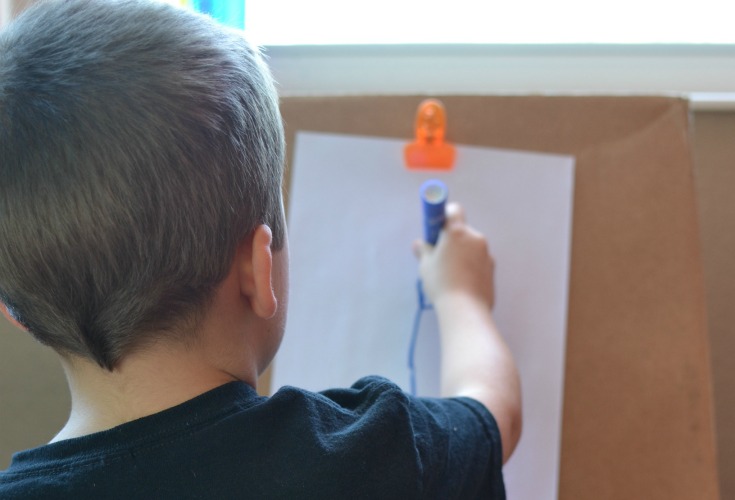
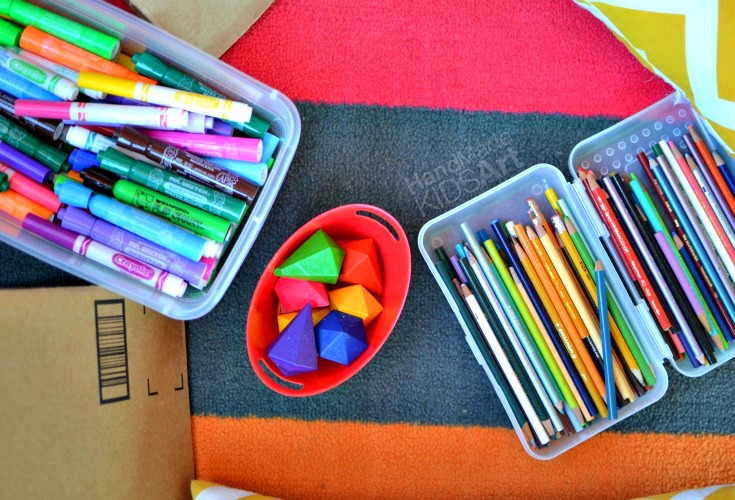
Drawing Center
Materials:
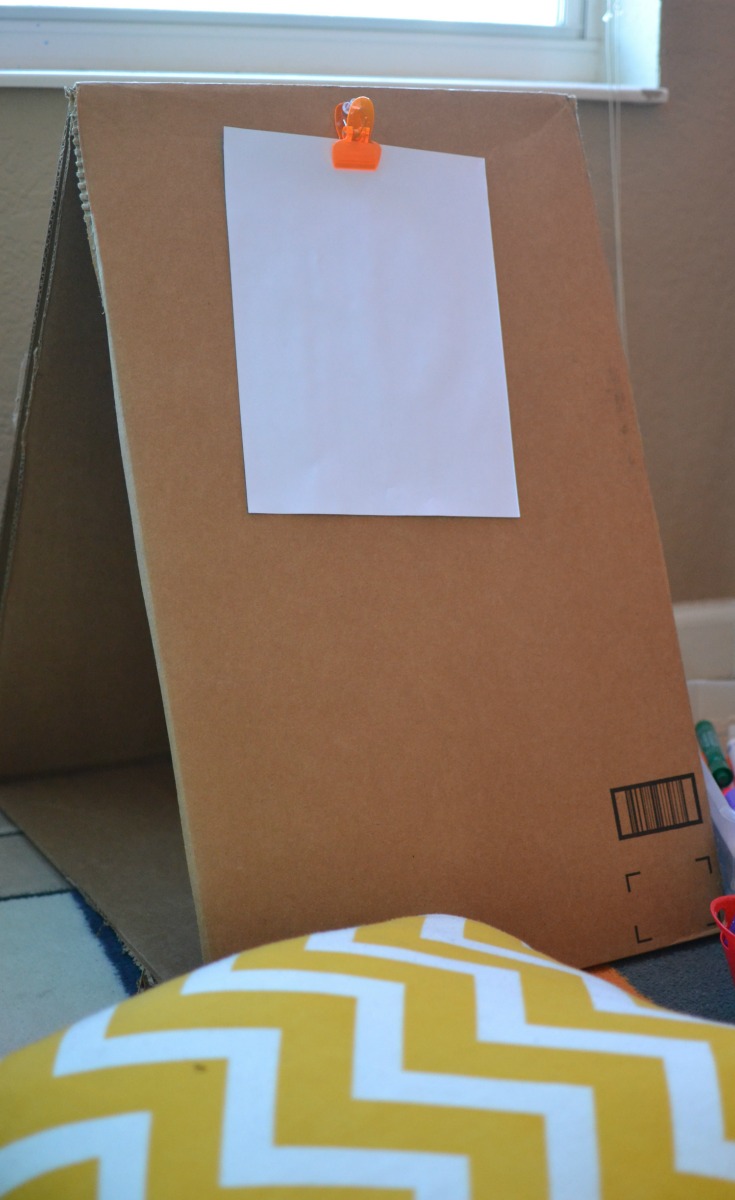
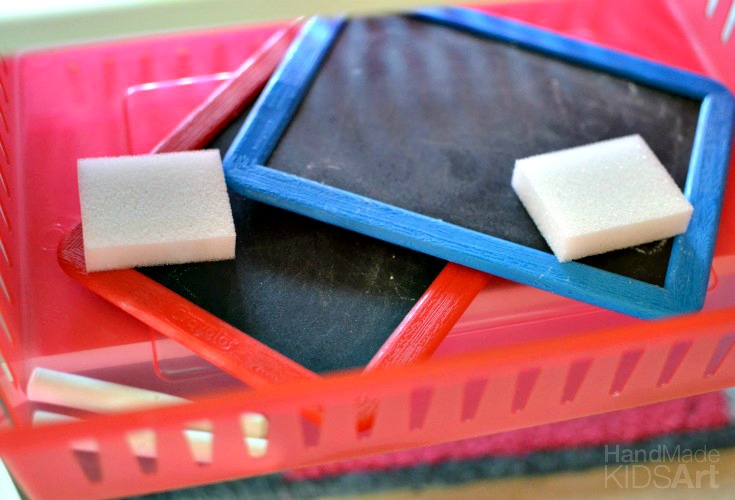
DIY Easels made from cardboard boxes, Crayons, Markers, Colored Pencils, Mini Chalkboards and Chalk
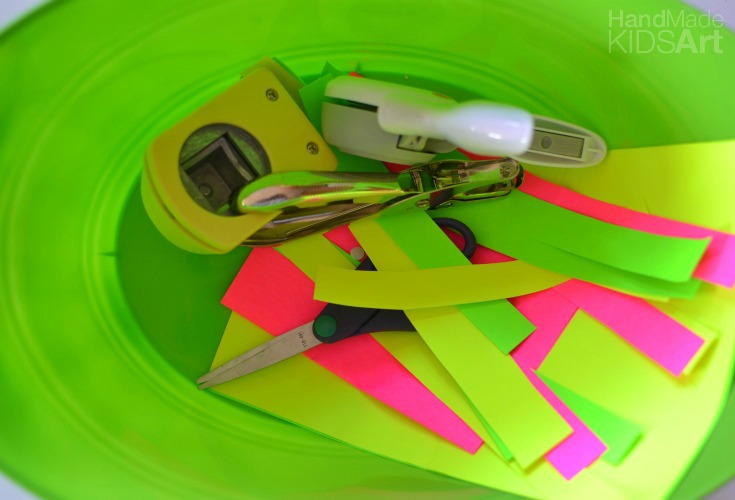
Collage Center
Materials:
Scissors, Glue Sticks, Construction Paper, Hole Punch, Circle and Square Punch
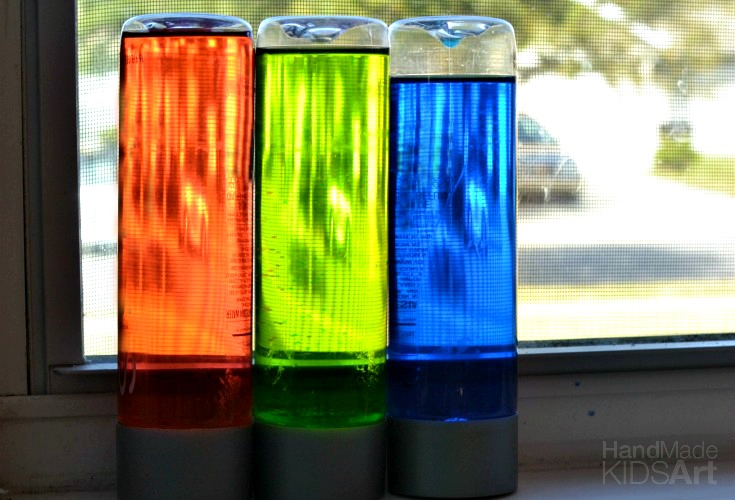
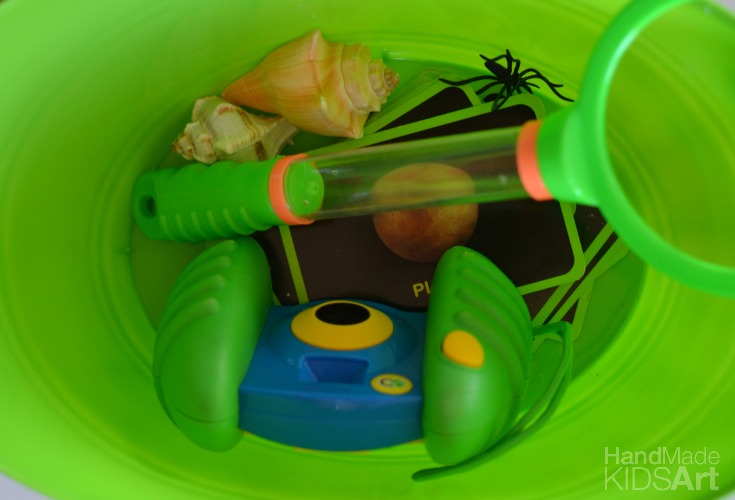
Science (and Art)
Materials:
Magnetic Board with variety of Magnets, Solar System flash cards, magnifying glass, seashells, digital camera, Colored Sensory Bottles
Building and Sculpture
Materials:
Mini red solo cups, Craft sticks, Foam cups, Straws, Pipe cleaners
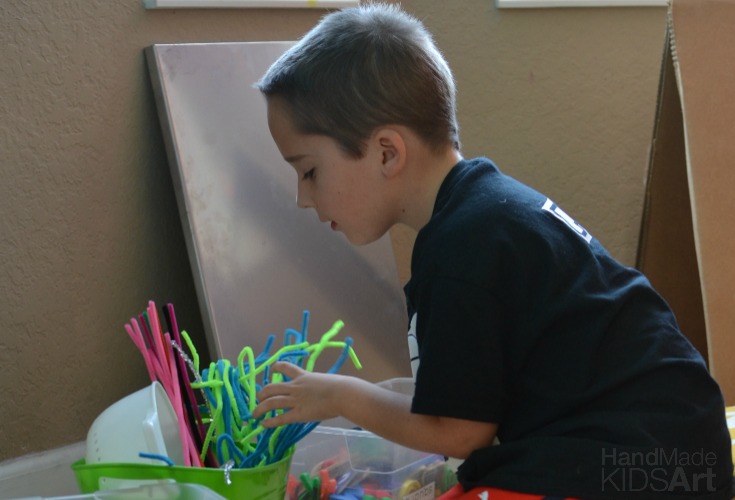
My five year old loves building and engineering. I knew we had to have a three-dimensional station. This along with drawing on the cardboard easel was his favorite.
Art Fort Tips
– Incorporate your child’s interests (if your child loves cars and trucks put some of those in the fort for your child to draw roads or environment for the cars).
– Keep it simple (If you don’t want to clean up paint spills don’t put paint in it)
– Leave it up for a couple days or more to give your child time to go back and re-create.
We kept up our fort for a weekend. My two artists were free to go and come from the fort as they pleased. The rule was they had to put back the materials once they were finished. This way the fort was kept organized for the other artist.
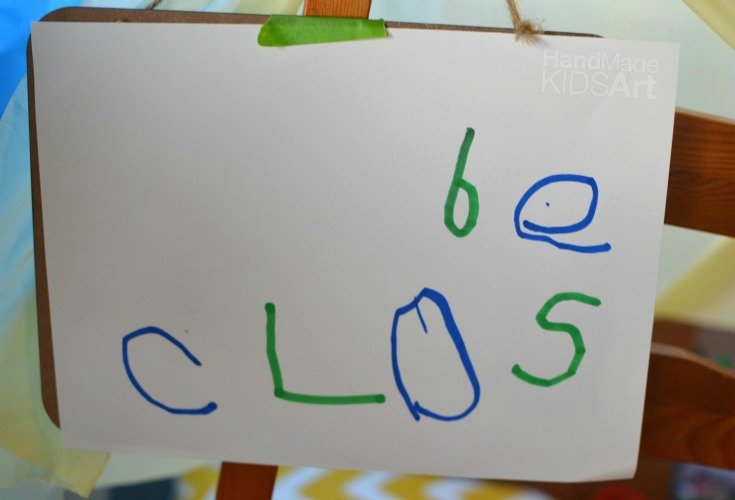
Lil B’ made a closed sign that we put up at night.
Have fun with it! Art is about exploring and creating.
Art Extensions: Set up a gallery space for your artists to display their original works of art. Maybe even plan a gallery show for the family the night the art fort closes!
This post is part of the fort building challenge hosted by Building Blocks and Acorns. Be sure to click over to see 20+ different play inspired forts.
Follow us on Facebook, Instagram, Twitter or Google +!
Visit Jamie | Hand Made Kids Art’s profile on Pinterest.
Leave a Reply