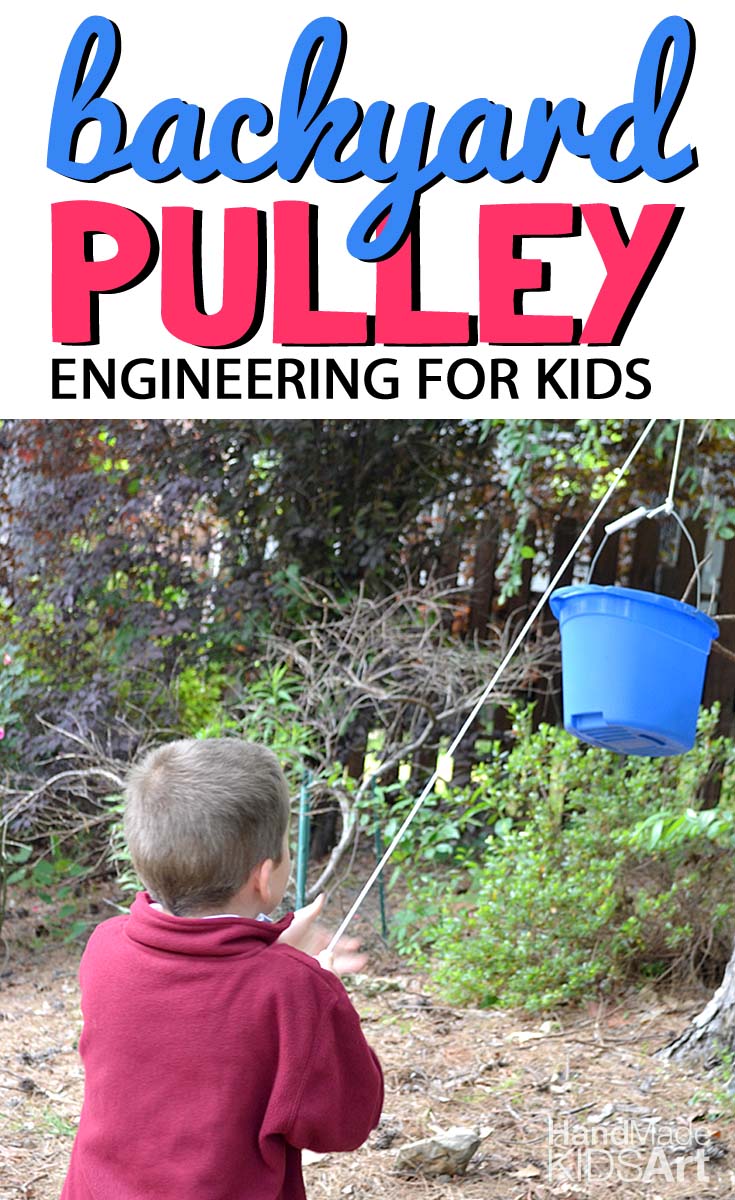
Engineering is the process of building and designing something to solve a problem. Design a pulley for the backyard and model to your child how to work through the engineering [design] process.
The engineering process consists of 6 basic steps:
ASK: What is the problem?
EXPLORE: What are some possible solutions? Brainstorm different ideas.
DESIGN: Create a plan. What materials do you need? What is the first thing you need to do?
BUILD: Use your plan to build or create your idea
TEST: Try out your idea. Does it work?
EVALUATE: How can you improve your idea?
I also like to add one more step to the process, SHARE: Share your solution with others. What is the use of solving a problem if you don’t share your solution with other people?
The engineering process is more like a cycle than a linear step by step process. You can go through the cycle until you are satisfied with your outcome.
Ask: What is the problem? How can we lift a bucket of heavy rocks?
Explore: First, Lil B (6) and M-Woww (4) tried to lift the bucket. It was heavy! Next, they tried all together to lift the bucket and that still didn’t work. We needed a new plan.
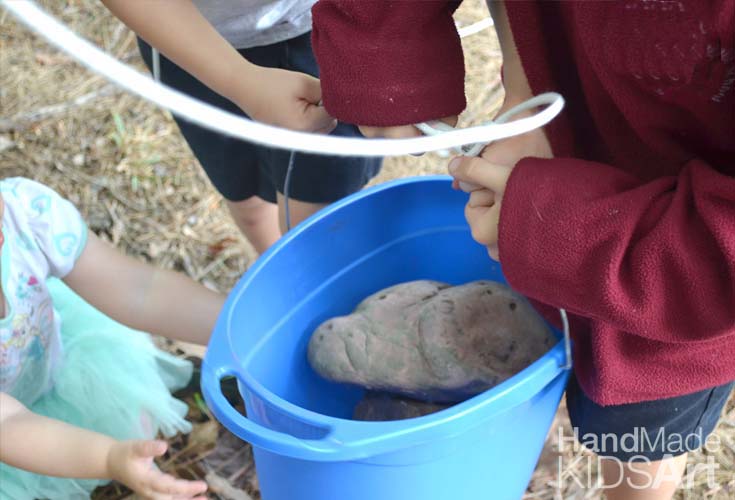
Design: I prompted their thinking by asking what could we use to lift the bucket?
Lil B mentioned we needed a crane. We discussed how a crane works and Lil B and M-Woww agreed that we needed a rope to pull up the bucket.
Lil B also realized that we needed a stable base. Lil B and M-Woww identified a tree as a stable base and found a tree with a sturdy but low branch (that they could reach).
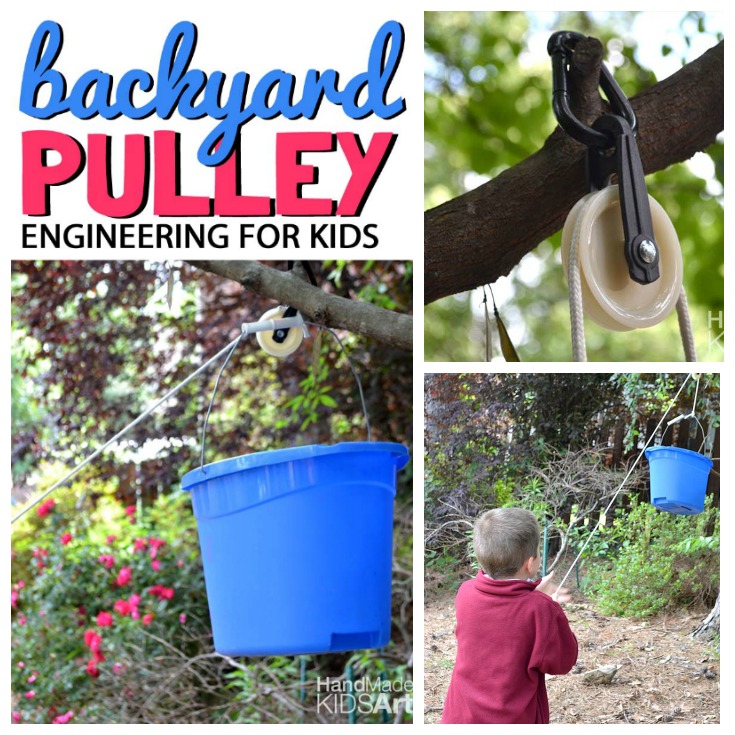
Build: We tied a rope to the bucket handle and threw the rope over the tree branch.
Test: They tried pulling the rope but they were disappointed to find the bucket was still difficult to pull up.
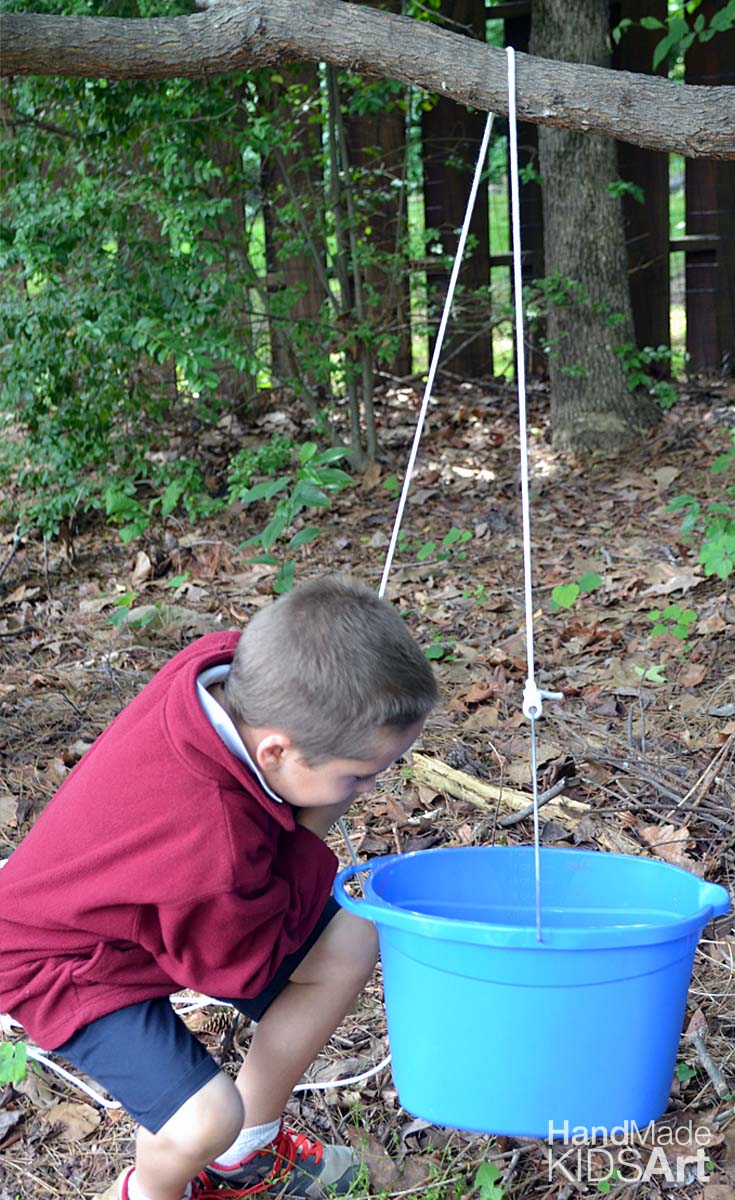
Evaluate: I prompted Lil B and M-Woww to think about what could make the rope pull the bucket easier. Their first solution was to have them both pull the rope at the same time but the bucket was still heavy.
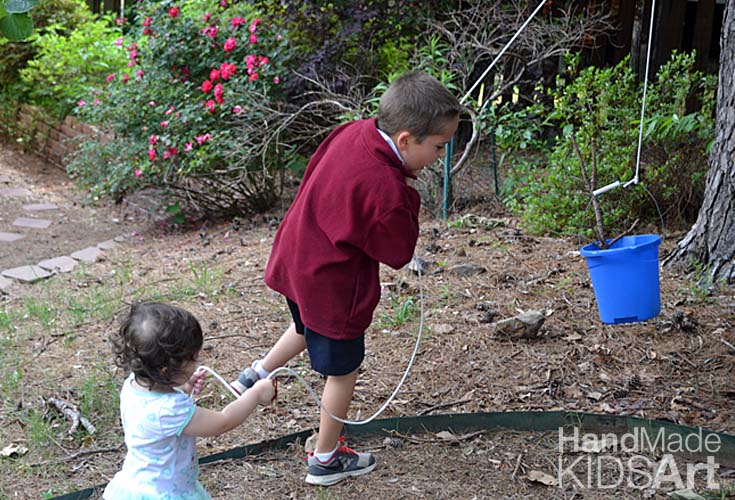
Re-design: Lil B observed that the tree branch was rough on the rope and maybe a smoother surface would work better. This is when I introduced the pulley wheel.
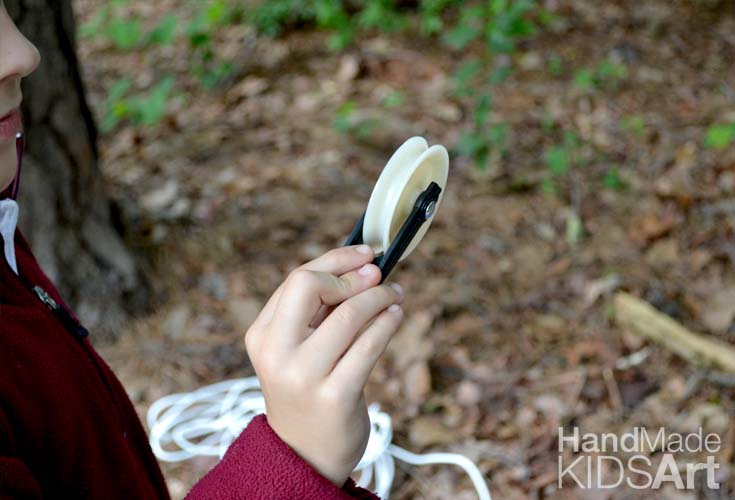
They had not previously seen a pulley wheel so I did not expect them to come to this conclusion on their own but I wanted them to reflect why the bucket was still heavy using just the rope, bucket and tree before I introduced the pulley.
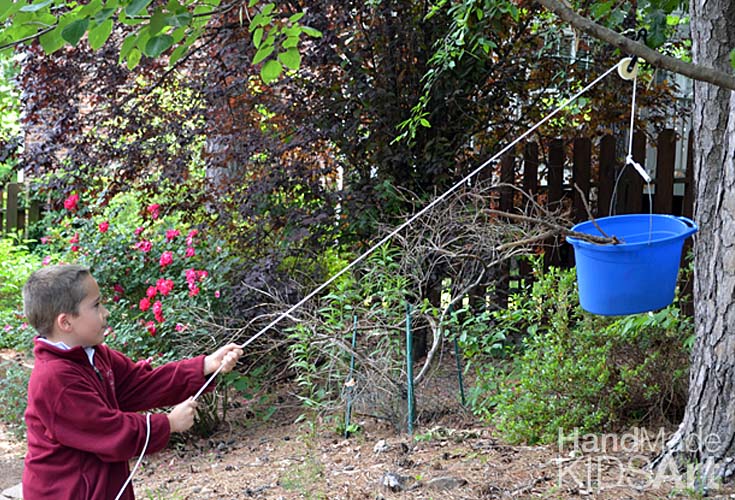
Re-build: Now we tried attaching the pulley wheel to the tree and threaded the rope through the pulley.
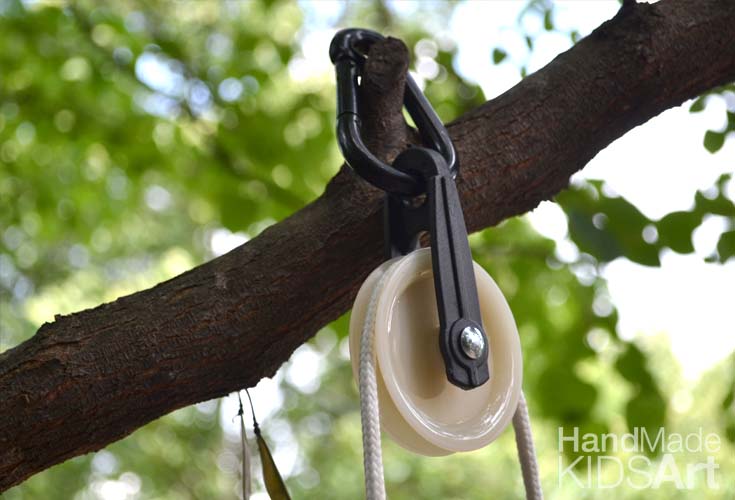
Test 2: Lil B gave the bucket a try and….. up went the bucket!
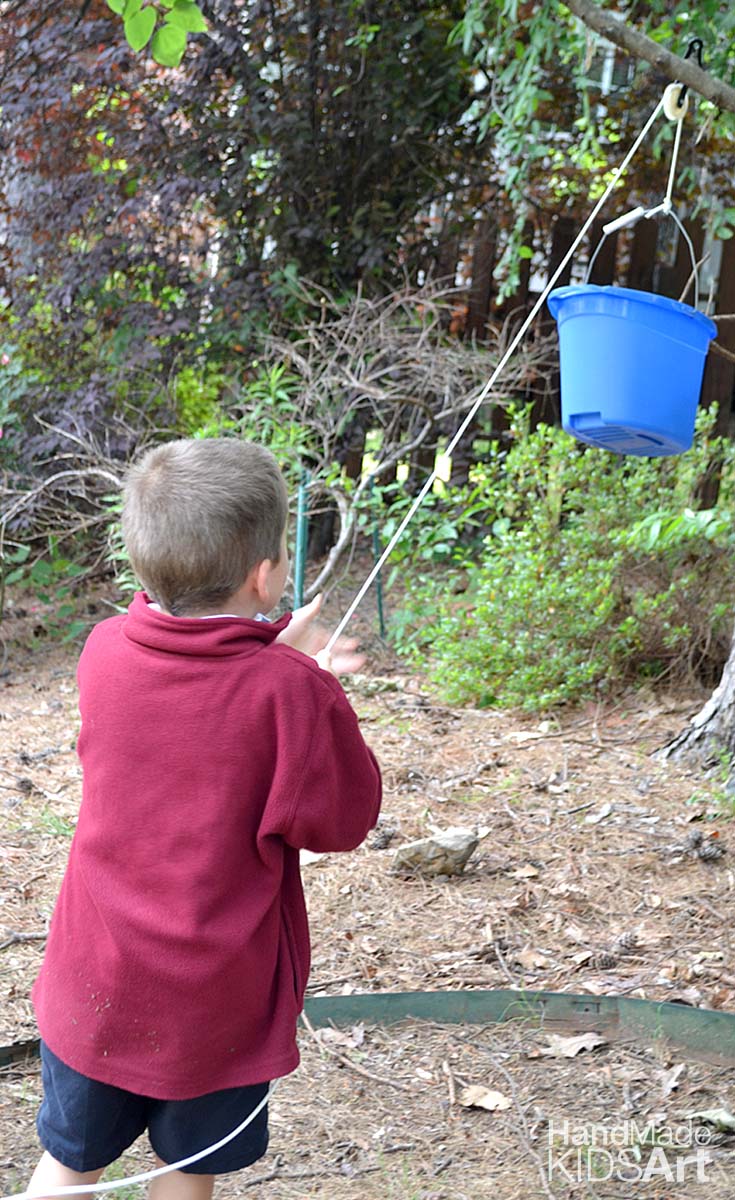
Evaluate: They were so impressed with how easy the bucket went up with using the pulley wheel. It led to a great discussion of simple machines!
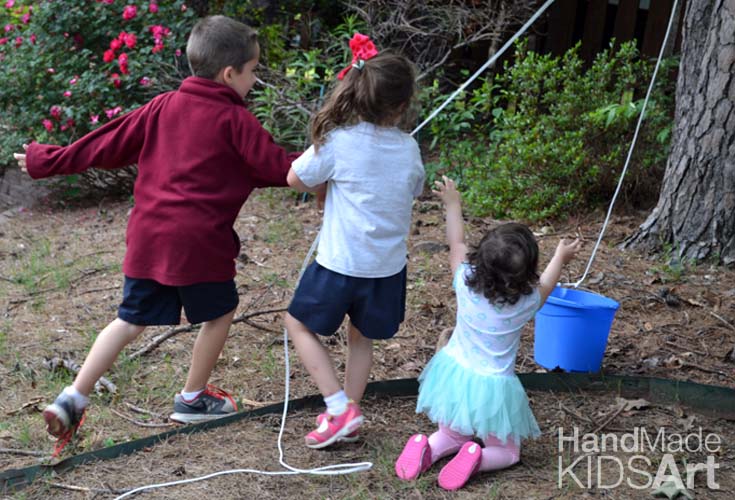
This activity ended up keeping all three kids (ages 6,4 and 2) busy and engaged for almost 45 minutes. They took turns loading the bucket and raising it up and down. Pretty good for just a bucket, rope, and pulley!
Share: They were excited to demonstrate to their Dad how their pulley system worked.
This post is part of the Outdoor STEM series hosted by Little Bins for Little Hands
Leave a Reply