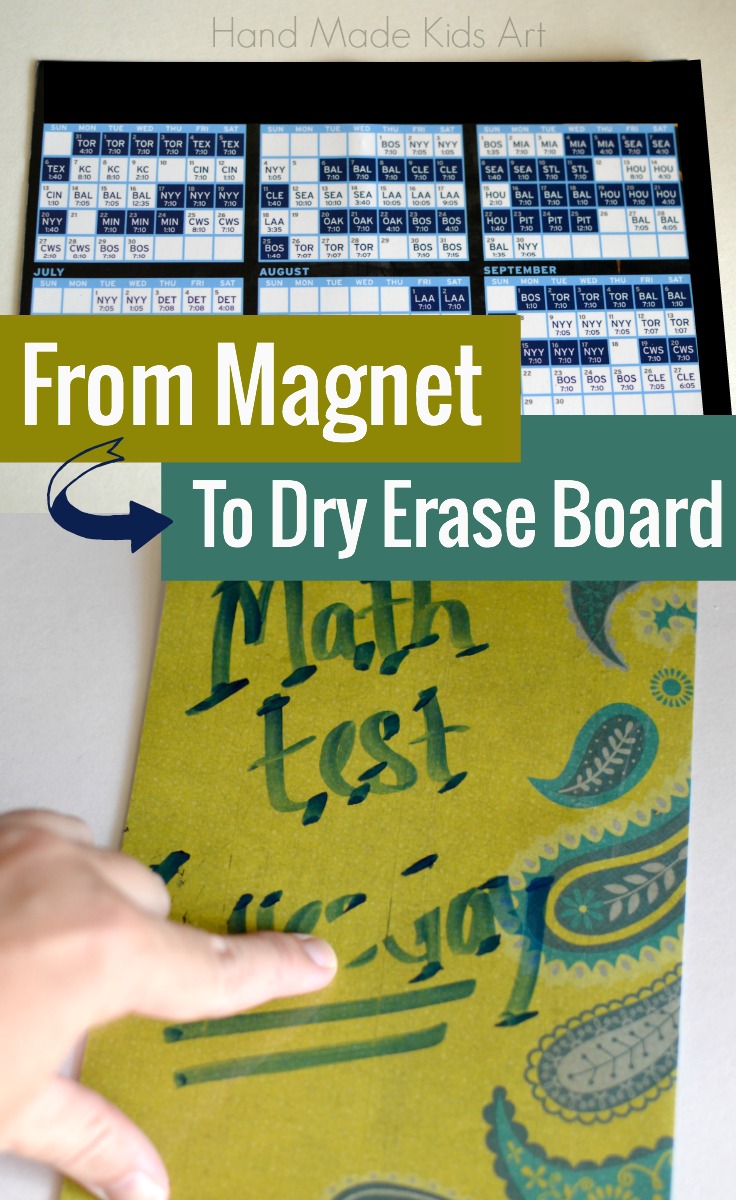
Brighten up your fridge with a magnetic DIY dry erase board. This simple cool craft is easy to make and most likely you have the materials already on hand. My husband seems to bring home baseball schedule magnets all the time (see photo below). This tutorial will show how in three 3 easy steps you can dress up the magnet and make it a functional dry erase board
P.S. Don’t tell my husband I took a magnet for this project. 🙂
Materials:
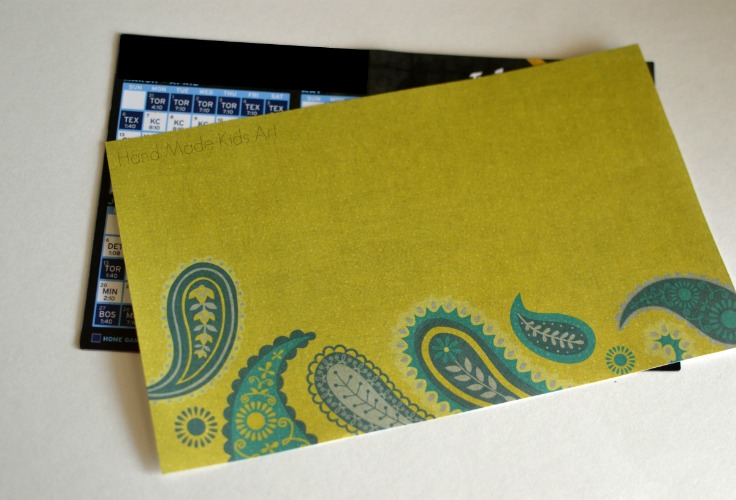
Magnet
Scrapbook Paper
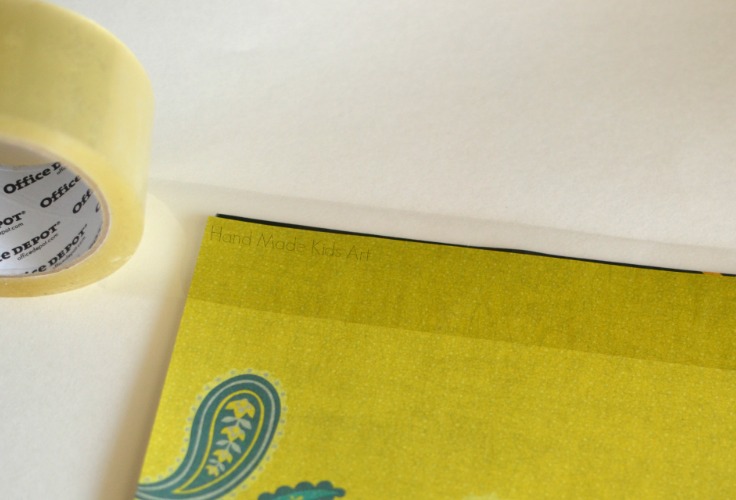
Packing Tape
Scissors
Tutorial
Step 1: Cut scrapbook paper to the same size of the magnet.
Step 2: Place the scrapbook paper on top of the magnet and cover over the top with packing tape. Make sure the entire paper is covered with tape.
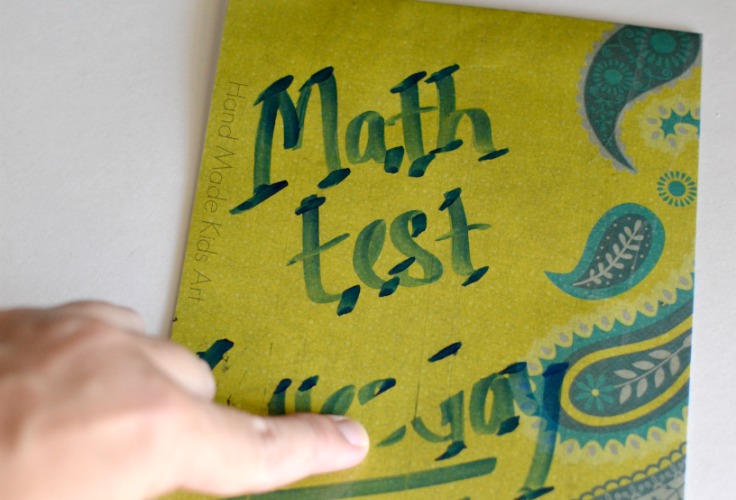
Step 3: Trim your edges and write your message! Typically the dry erase marker will erase with just your finger but if the marker is stubborn use a wet wipe to erase.
For more DIY tips be sure to follow us on Pinterest, Facebook, Instagram or Twitter.
Looking for a way to incorporate more art? Click here to check out our online art camp!
![]()
Leave a Reply