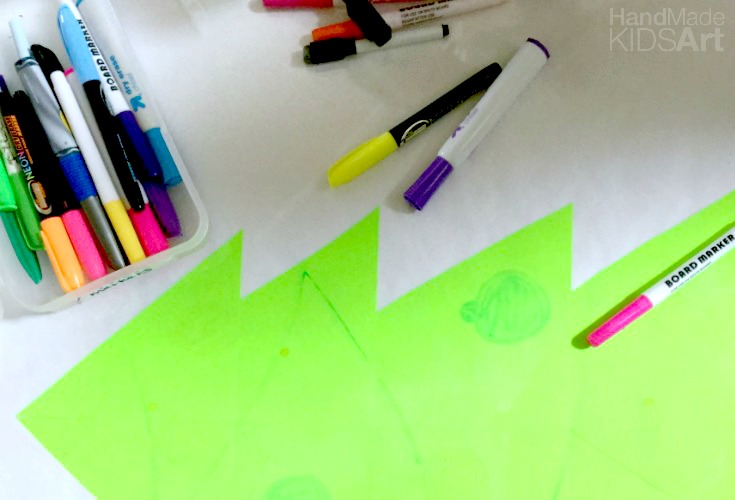
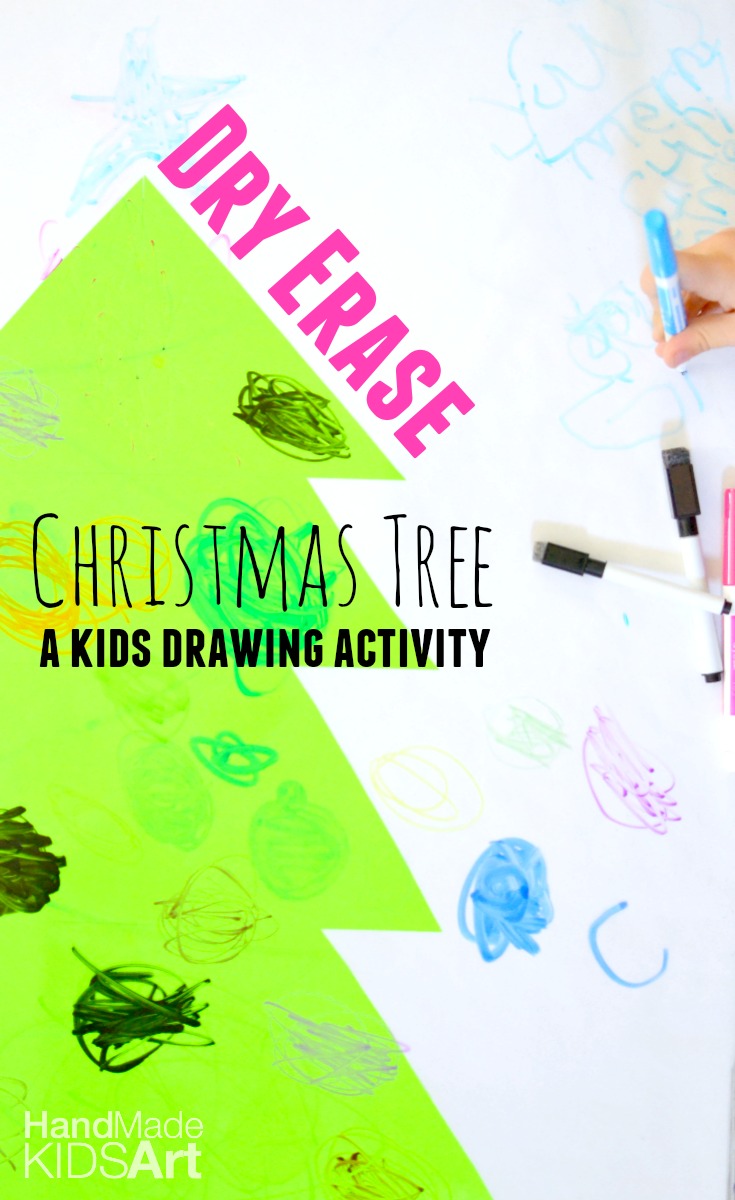
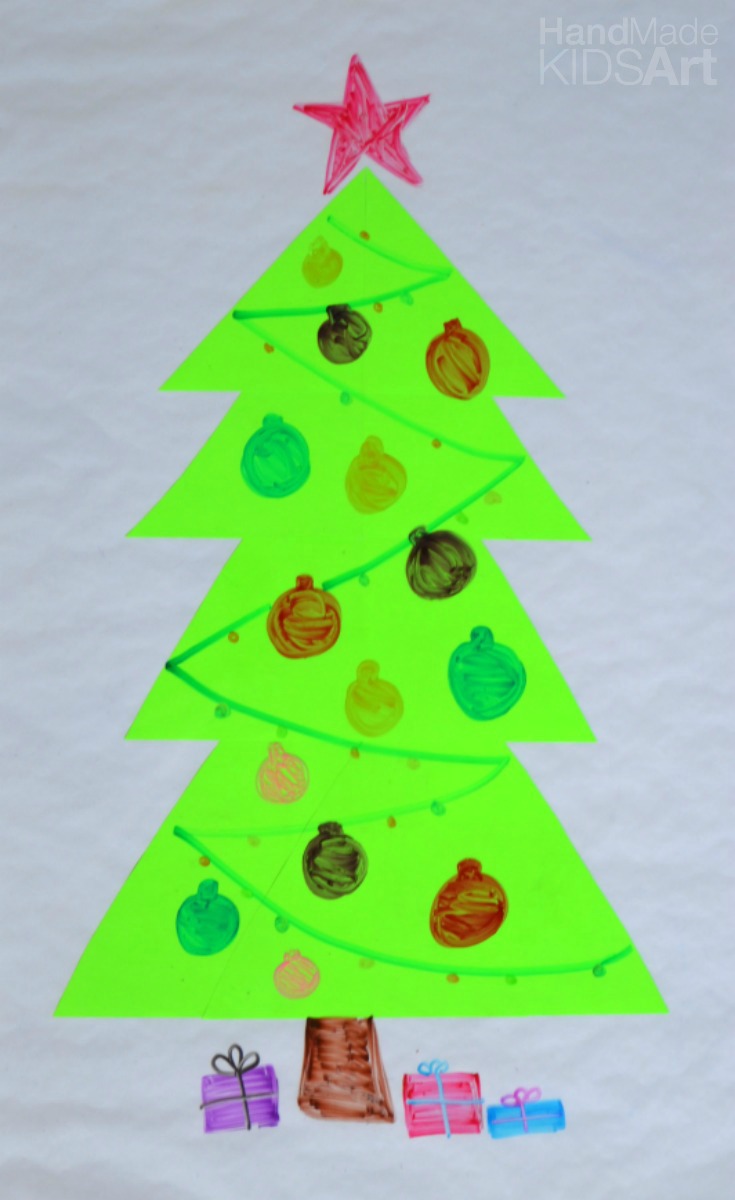
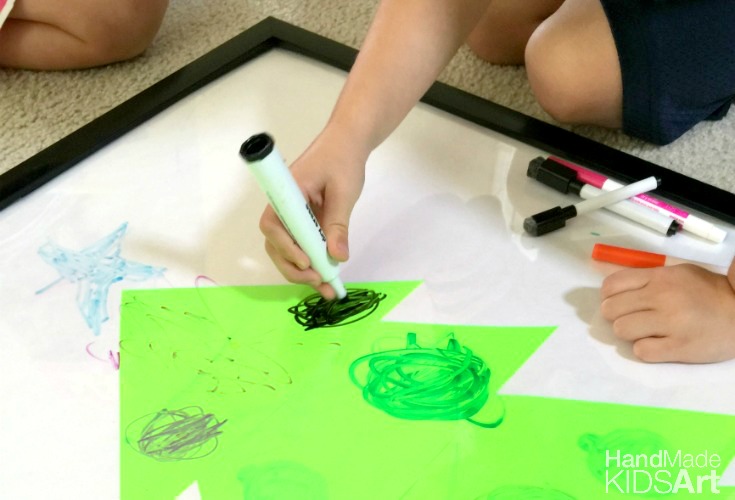
We have had a lot of fun with our DIY dry erase board we created over the summer. I decided to change it up for the holidays by adding a paper tree to the inside of the frame. I set out the dry erase markers creating an invitation to draw and design a Christmas tree for Lil B and M-Woww. This is an easy DIY way to keep the kids busy and engaged during the busy holiday time.
Materials
Poster Frame
White Paper
Green Construction Paper
Scissors
Tape
Dry Erase Markers
Tutorial
Step 1: Create a tree shape using green construction paper. We used 3 sheets of paper cut into triangles to form a tree.
Step 2: Cut a piece of white paper to fit inside the frame. Tape the green paper tree to white paper and place on the inside of the frame.
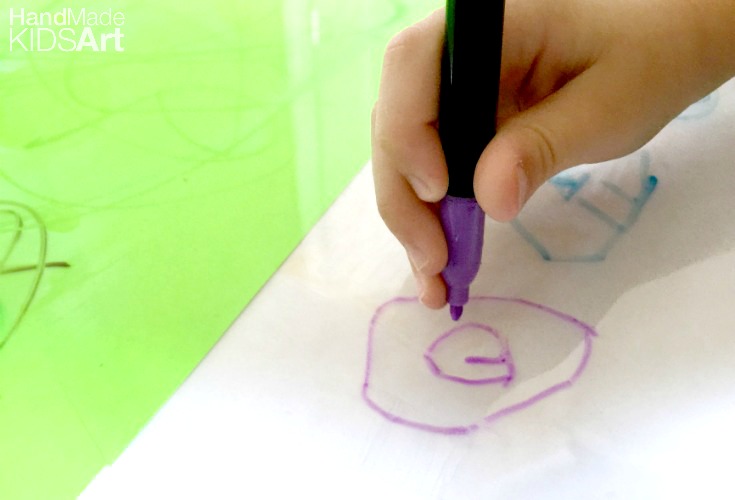
Step 3: Design and decorate your tree on the outside of the frame with dry erase markers. Wipe off and do it again! By drawing on the outside of the frame the tree stays as you can redesign your tree.
Dry Erase Tips: We did find that certain brands of dry erase markers erased easier than others. If your dry erase marks are stubborn try wiping the board with an all purpose spray cleaner and rag.
 Follow us on Facebook, Instagram, Twitter or Google +!
Visit Jamie | Hand Made Kids Art’s profile on Pinterest.
Pinned! http://www.pinterest.com/Qoftwignberry/
Thank you!