This is part two to our handmade salt dough ornaments. Click here for the salt dough recipe and for part 1 of how to make homemade salt dough ornaments. Salt dough ornaments are an easy way to get the kids involved in making holiday gifts or decorations.
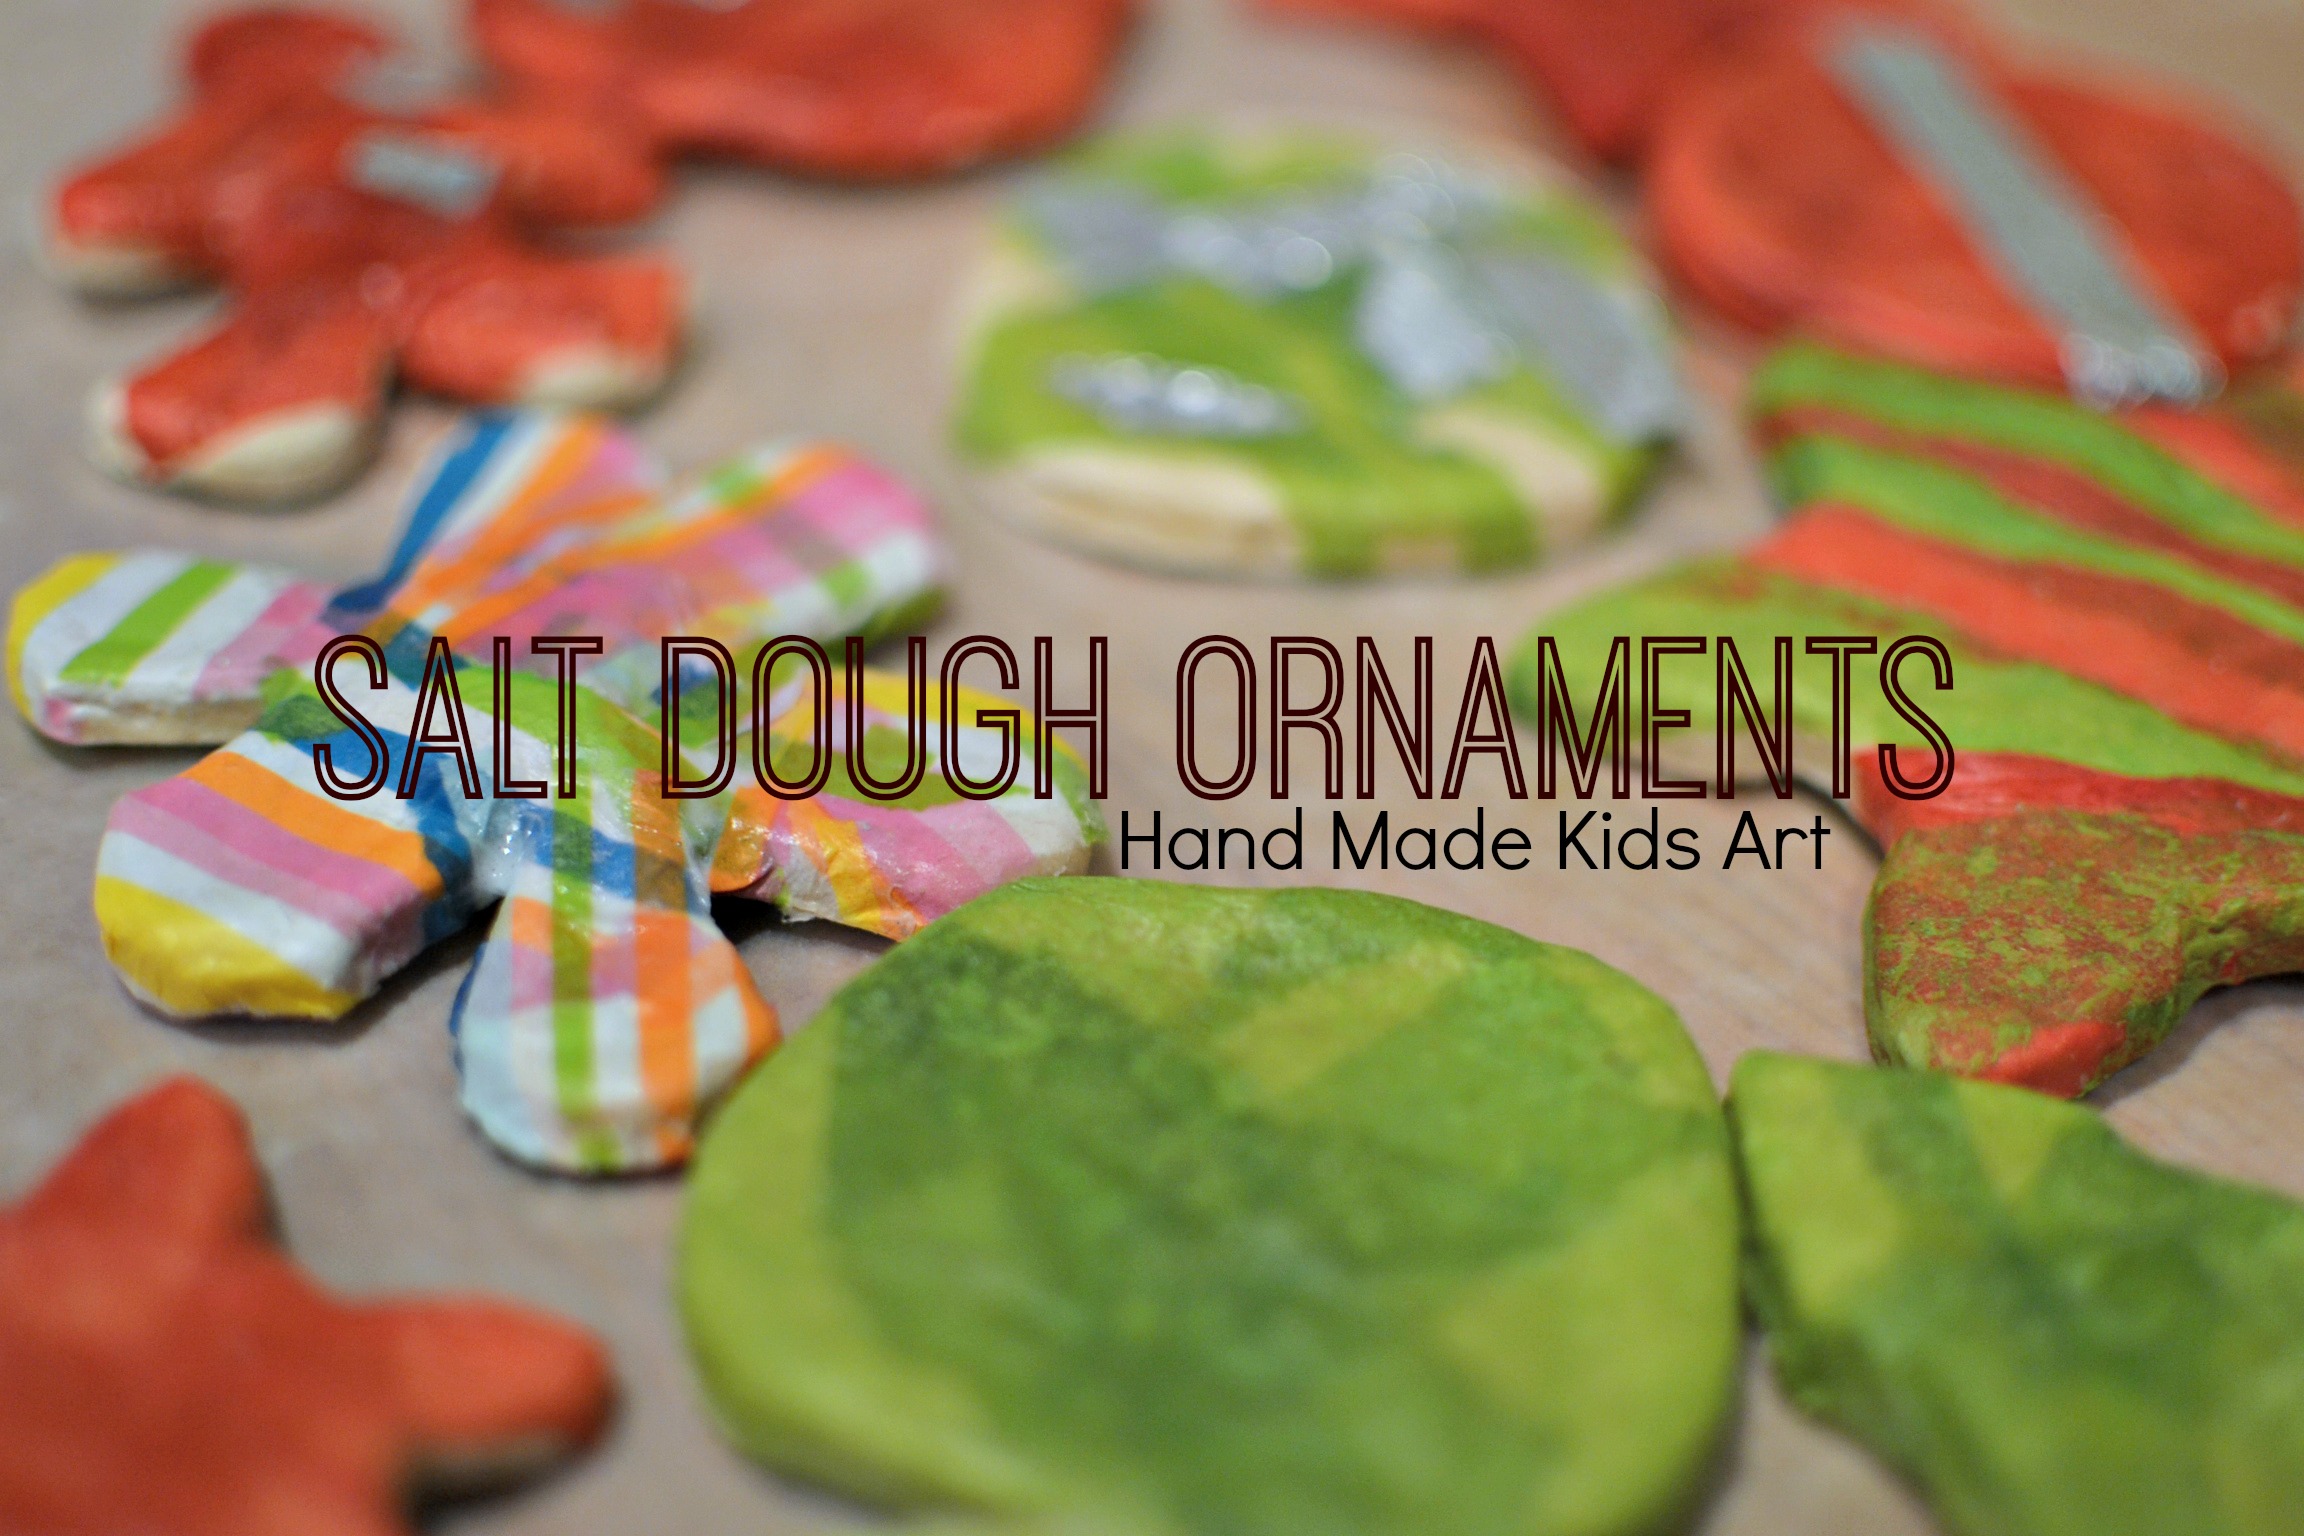
Decorating the ornaments is my favorite part. There are many different ways you can decorate the ornaments. You can keep it simple and use paint. We did a few ornaments this way. I gave my kids the freedom to mix colors and paint the ornaments how ever they wanted. They love being able to mix colors and “discover” new colors.
However, my favorite way to decorate the ornaments is to “paint” with tissue paper (otherwise known as collage). I showed my little artists how to tear the tissue paper and place it on top of the ornament and then brush the glue on top over the tissue paper. You can overlap colors and even scrunch the paper to create different textures. This technique usually turns out looking great no matter what skill level of the artist. When working with young artists be prepared to help but let them lead the project.

Materials:
Salt Dough Ornaments
Tissue Paper
Glue (We used Mod Podge)
Paint Brush
Ribbon or Glitter (optional)
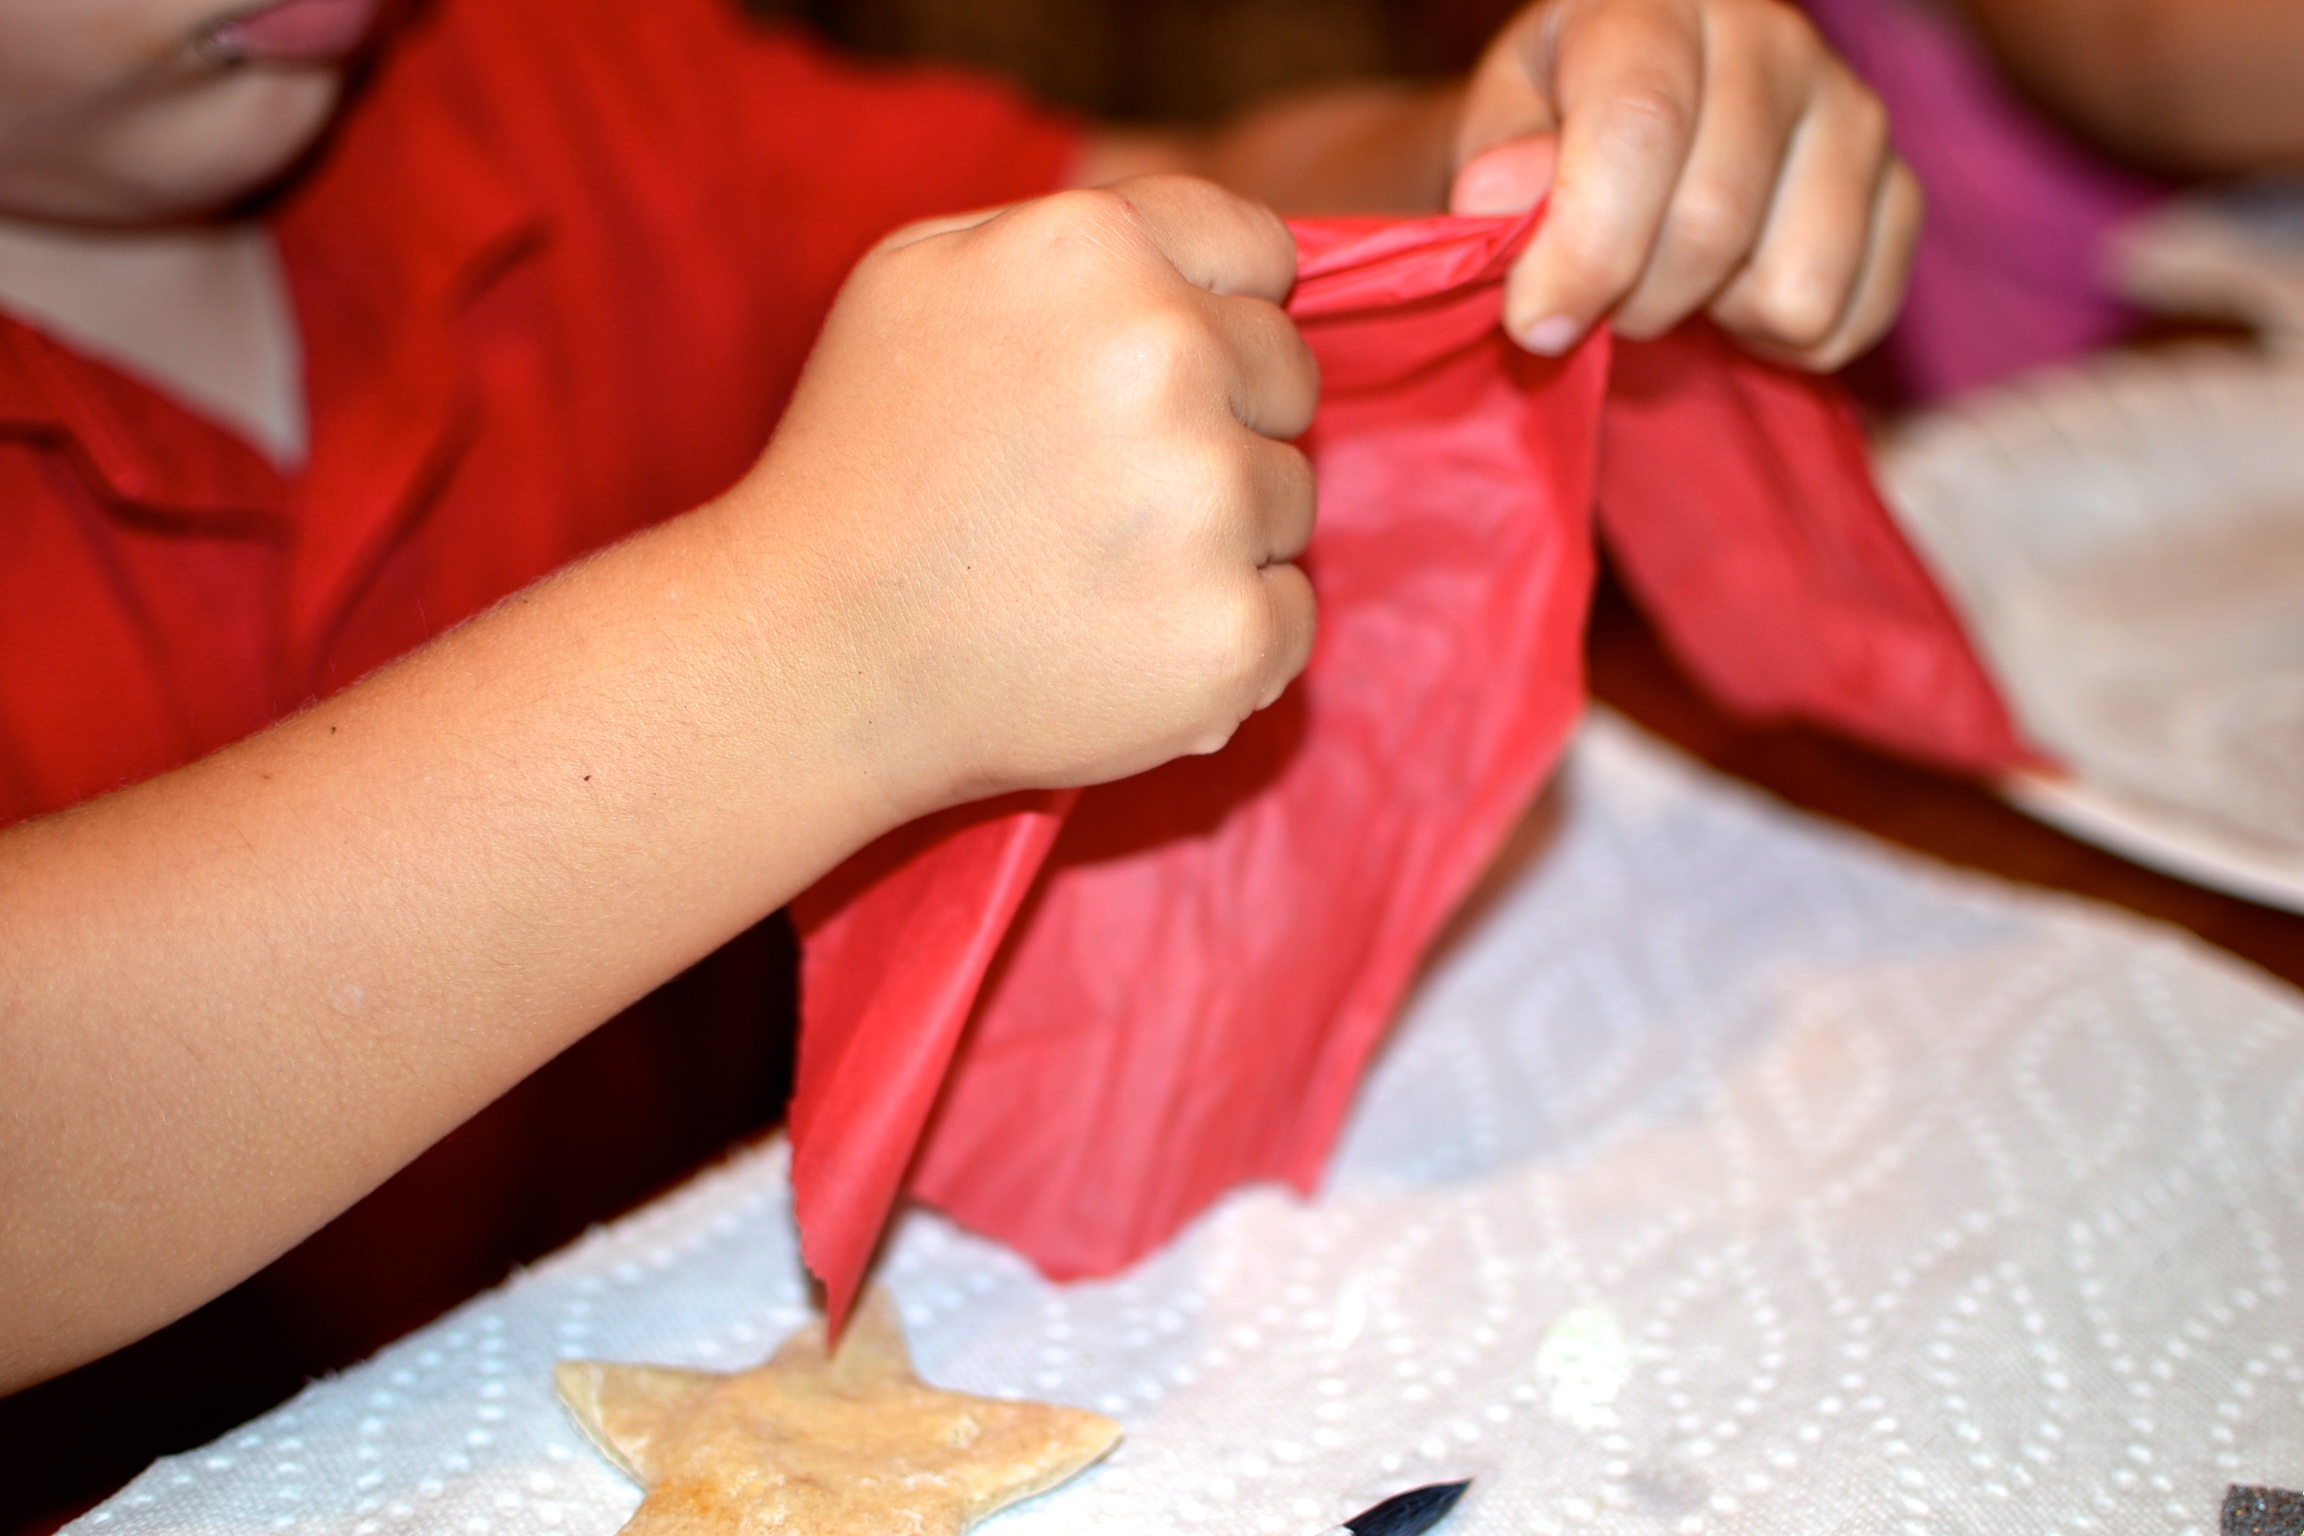
Step 1: Tear Tissue Paper
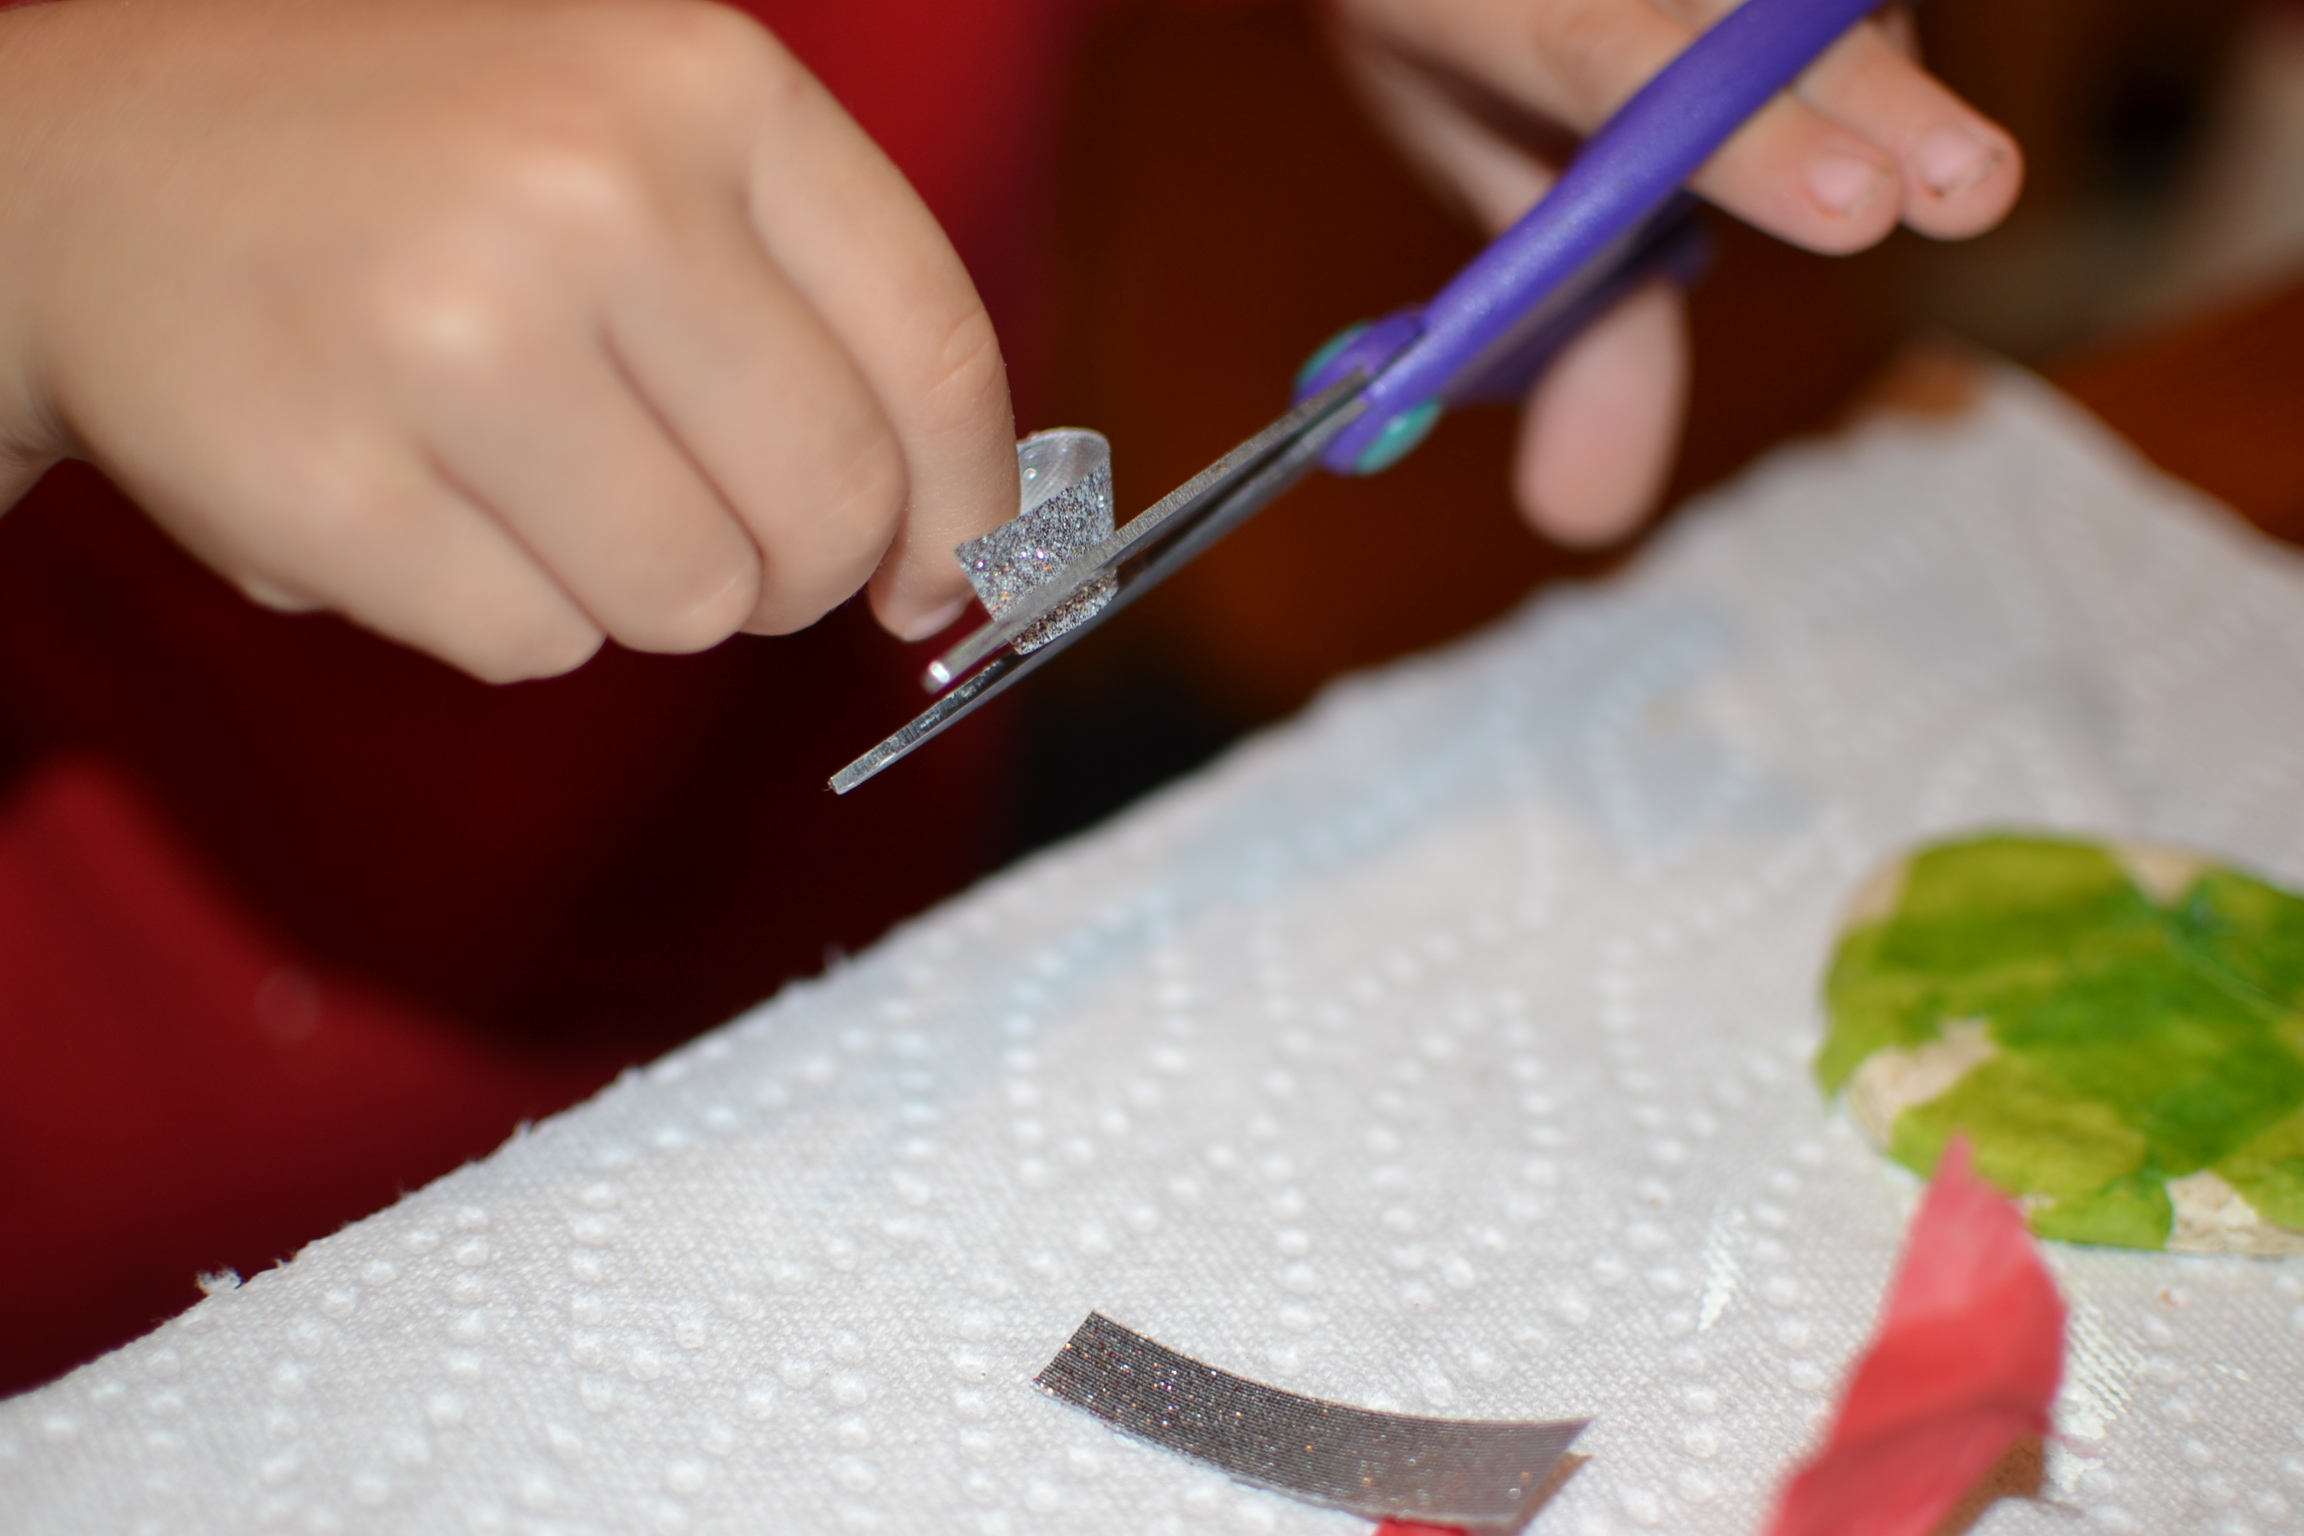
Step 2: Lay the tissue paper on top of the ornament and use the paint brush to apply the glue. If your glue is thick add a little water to the glue. This will thin it out and make it easier to apply. Use the paintbrush to smooth down the tissue paper. I love the look of folds and creases in the tissue paper so I don’t worry about trying to make it too smooth. Be sure to overlap the tissue paper on the edges to give a finished and complete look. Optional: Add bits of ribbon or scrap paper on top of the tissue paper or try sprinkling some glitter. Add your glue on top just like the tissue paper.
Step 3: Let dry. If you wish you can use a glossy sealer to give a wet look to your finished ornament (this is optional).
Step 4: String and hang!
Leave a Reply