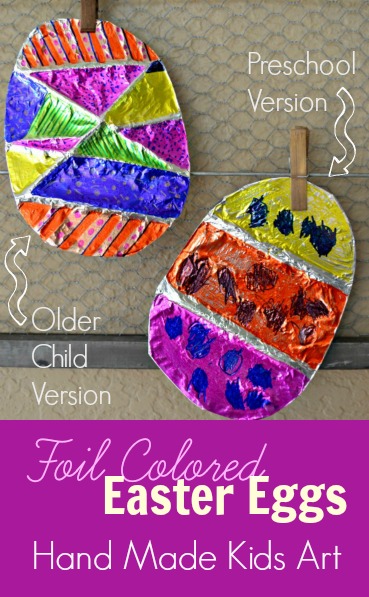
Looking for an easy Easter craft for kids? This project can be modified depending on the age and ability of your artist. In the tutorial below learn how to simplify for younger artists and how to make it more challenging for more advanced artists. You can even join in on the fun!
***Please note this activity does use permanent markers. Adult supervision is needed. If you feel your child can not handle using a permanent marker than hold off on this activity until they can.
Materials:
Cardboard (We used a recycled food box)
Yarn
Scissors
Heavy Duty Foil
Permanent Markers
Tutorial:
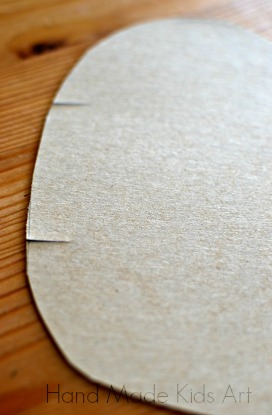
Step 1: Cut an oval shape from your cardboard.
Step 2: Cut slits in the side of your oval shaped cardboard
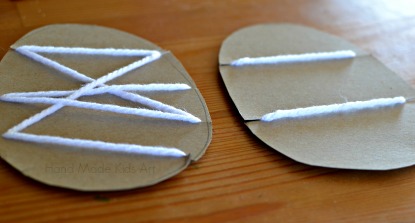
Step 3: Wrap yarn around your oval and tuck the yarn ends in the slits. For a beginning artist, you may wish to keep it simple with 1-2 straight lines. The more advanced artist may wish to incorporate more lines of yarn.
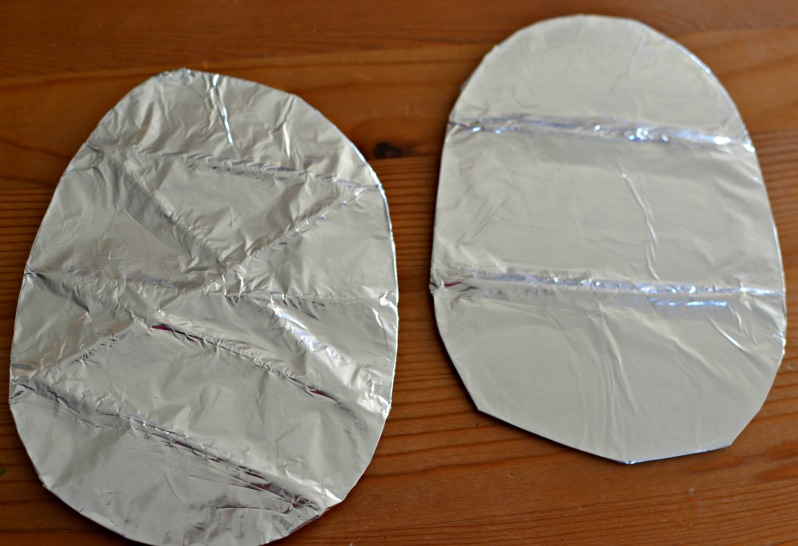
Step 4: Cover entire egg with foil. Gently rubbing along edges of yarn.
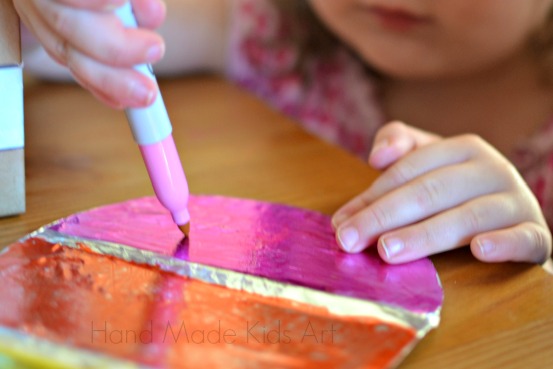
Step 5: Color your egg with permanent markers.
We colored in with solid color first and then added a pattern on top. Challenge your more advanced artist with creating a different pattern in each section of the egg.
Share!
We love to see your finished artwork. Post to our Facebook page or tag us on Instagram (#handmadekidsart)
Leave a Reply