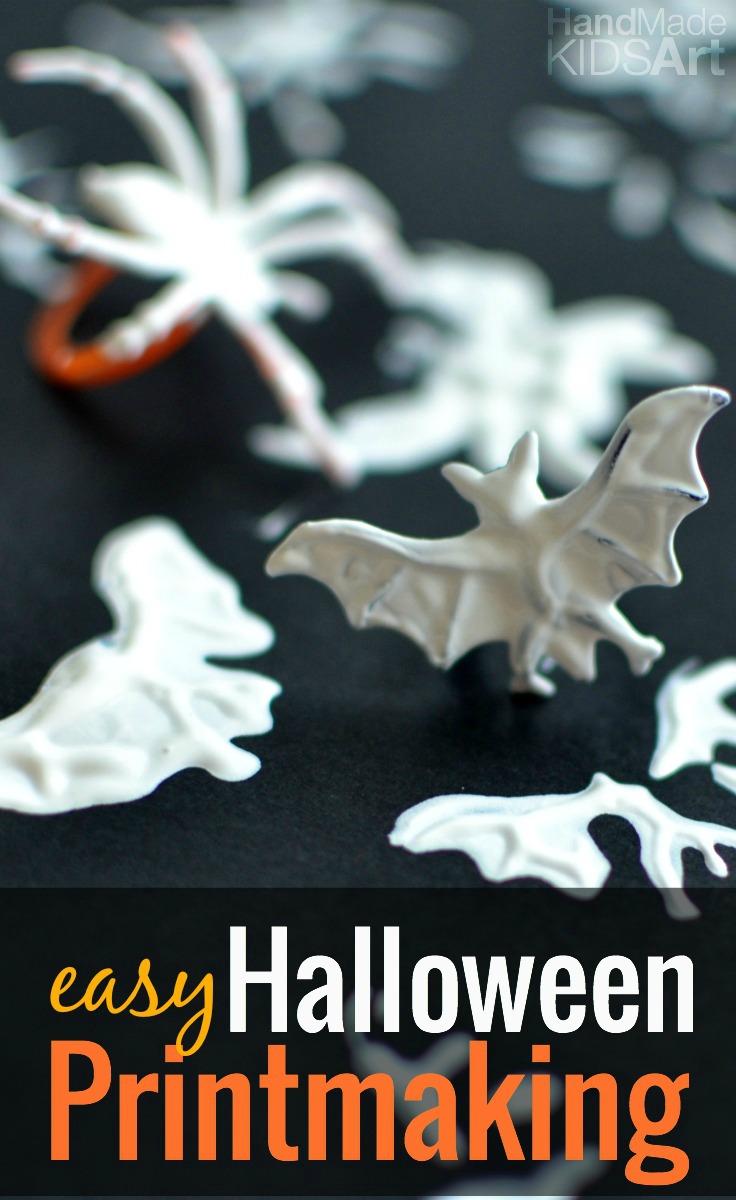
Check out this easy and fun way to paint with your plastic Halloween toys!
I admit I much prefer Lil B to receive a spider ring rather than more candy. This is a fun way to use those toys and be creative at the same time. This activity can get a bit messy so be sure to read our easy cleanup tips listed below in the tutorial.
Materials:
Washable Paint (We used white) Paper Plate or Tray Plastic Halloween Toys (We found a bag of spider and bat rings plus the skeleton at the dollar store). Black Paper
Tutorial:
Step 1: Pour some paint on your plate or tray.  Step 2: Dip the plastic toy into the paint.
 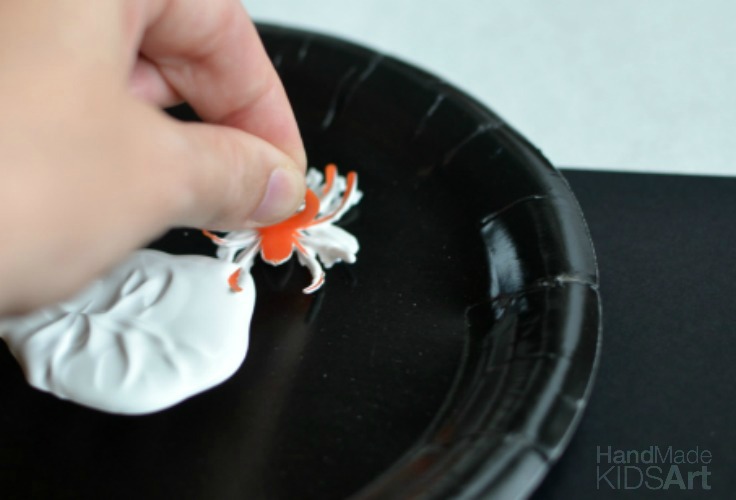 Step 3: Stamp the toy onto the black paper. Be sure to rub the entire toy so the entire surface touches your paper.
 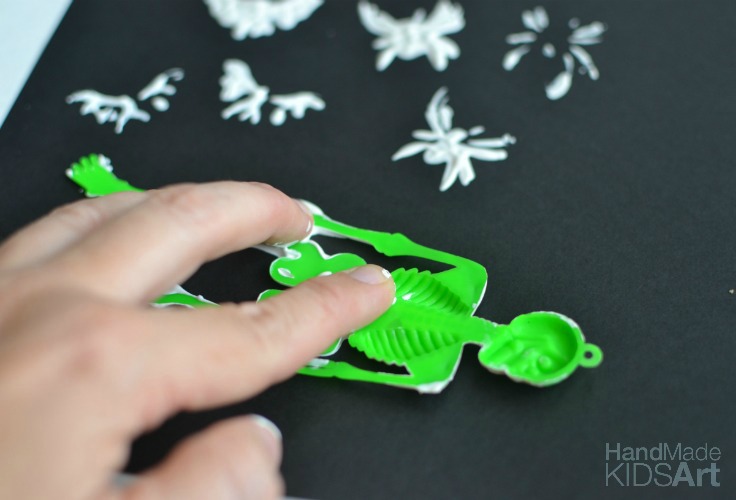 Step 4: Lift and enjoy!
 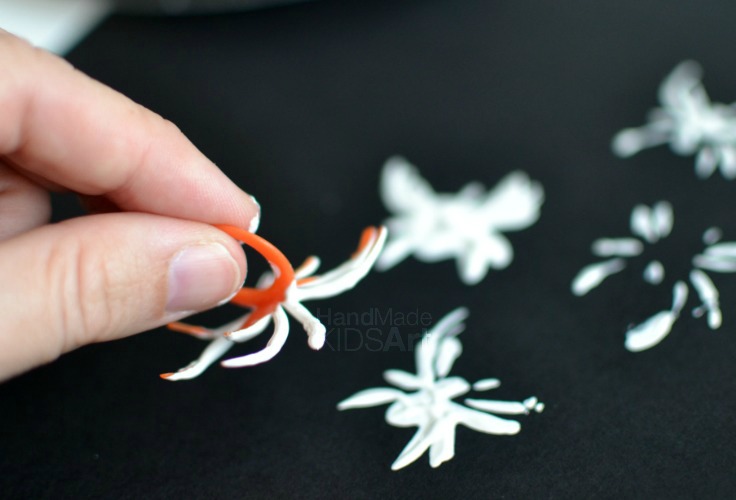 This project can get a bit messy. I recommend having a wet or damp towel near by to wipe up painted fingers. Use washable paint and everything (including the plastic toys) should easily wash off. I would not use any toy of value just in case the paint doesn’t completely come off. The skeleton did ended up looking like a crime scene but it was all for fun and Lil B and M-wow both enjoyed the activity.
 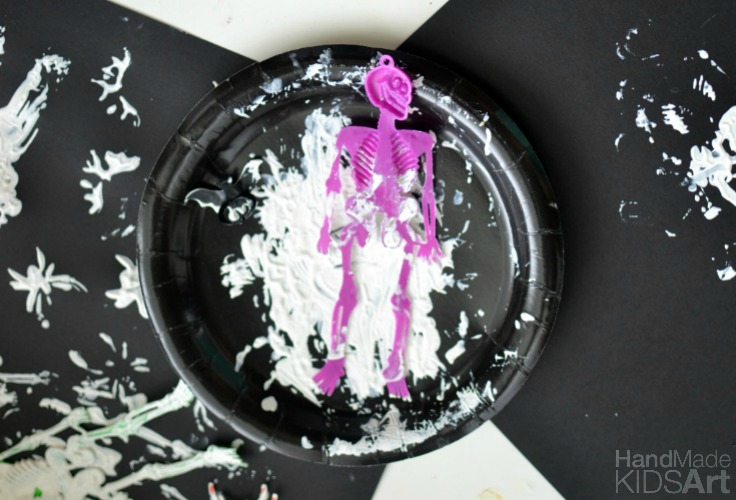 Follow us on Facebook, Instagram, Twitter or Google +! Visit Jamie | Hand Made Kids Art’s profile on Pinterest.
Leave a Reply