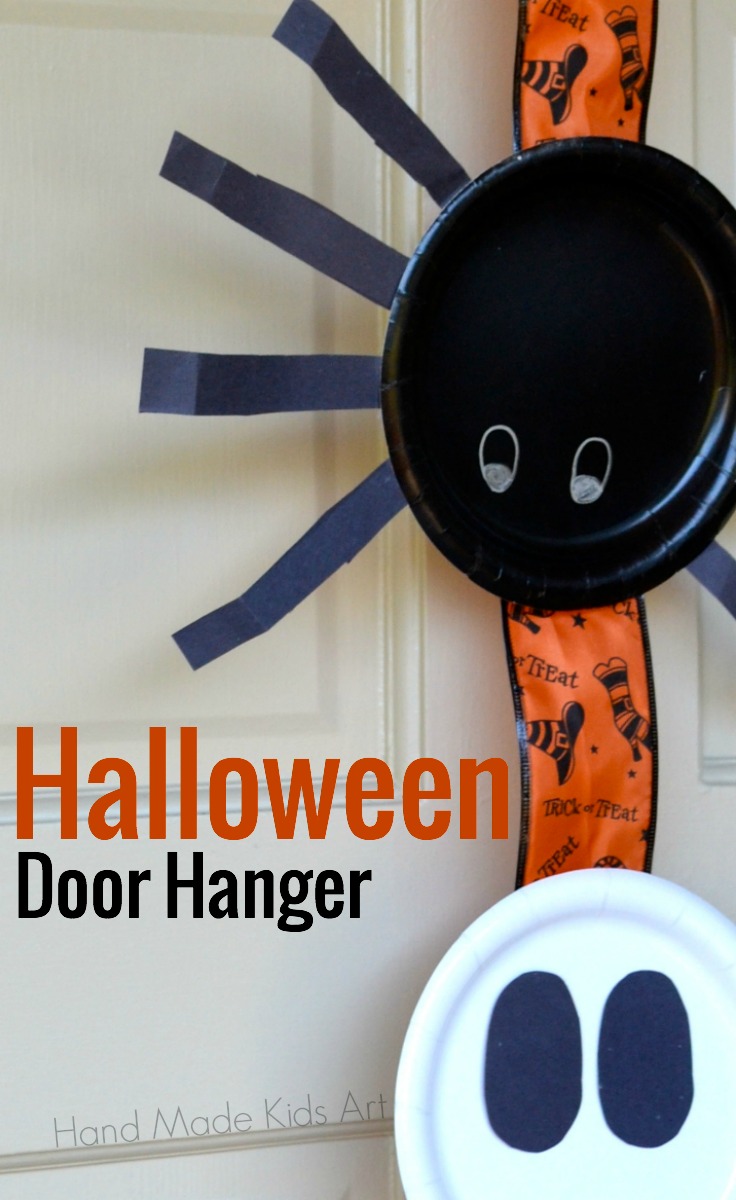
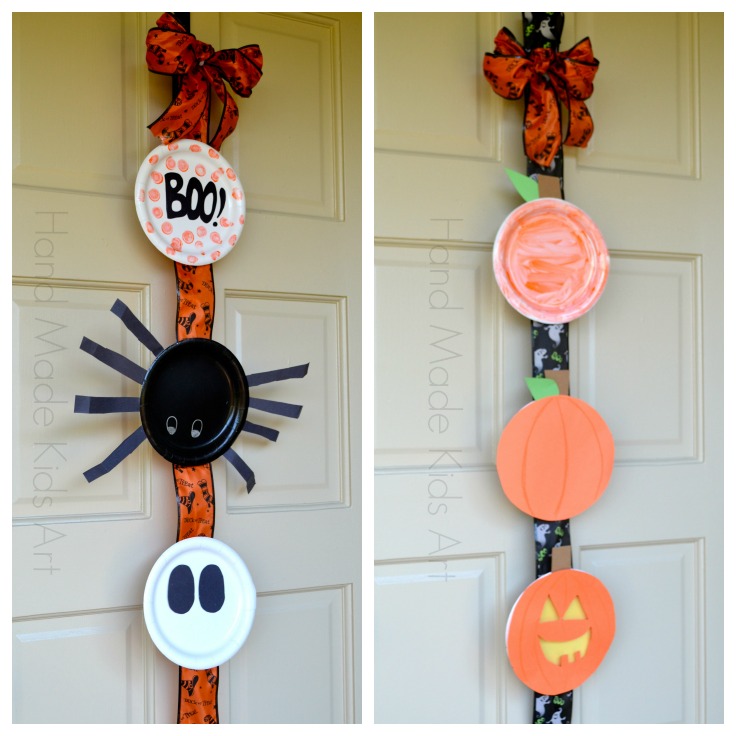
Show off your halloween crafts with this Halloween Door Hanger. A great way to display multiple kid’s artwork at the same time! This halloween craft is simple and only takes a few minutes. So gather up your favorite projects and get ready to hang!
Materials:
Paper Plate Artwork (click here for pumpkin paper plate tutorials and here for paper plate creatures)
Ribbon
Hot Glue
Tutorial
Step 1: Create and Pick your favorite Paper Plate Artwork.
Pumpkin Paper Plates or Creature Paper Plates
Step 2: Cut your ribbon
You may wish to measure how long on the door you want your decoration to hang. Our ribbon ended up being 42″.
Step 3: Layout your Artwork
Before you glue your paper plate artwork, I recommend laying out each piece to space it out evenly before glueing. No need to measure just eyeball it.
Step 4: Glue your Artwork
First fold over the top of the ribbon and secure with glue. This will create a loop for your door decoration to hang. Add a dab of hot glue to the top and bottom of the backside of each paper plate artwork. Secure plate to ribbon.
Step 5: Final Touch and Hang
At the end of your ribbon cut an upside down “v” to give a finished look to the end of the ribbon. At the top of the door hanger I created an additional bow out of ribbon and hot glued to the top. Using a wreath holder I hung the ribbon on the door. I suggest hanging on a door inside the house as the paper plate artwork is not designed to withhold the outdoor elements.


Leave a Reply