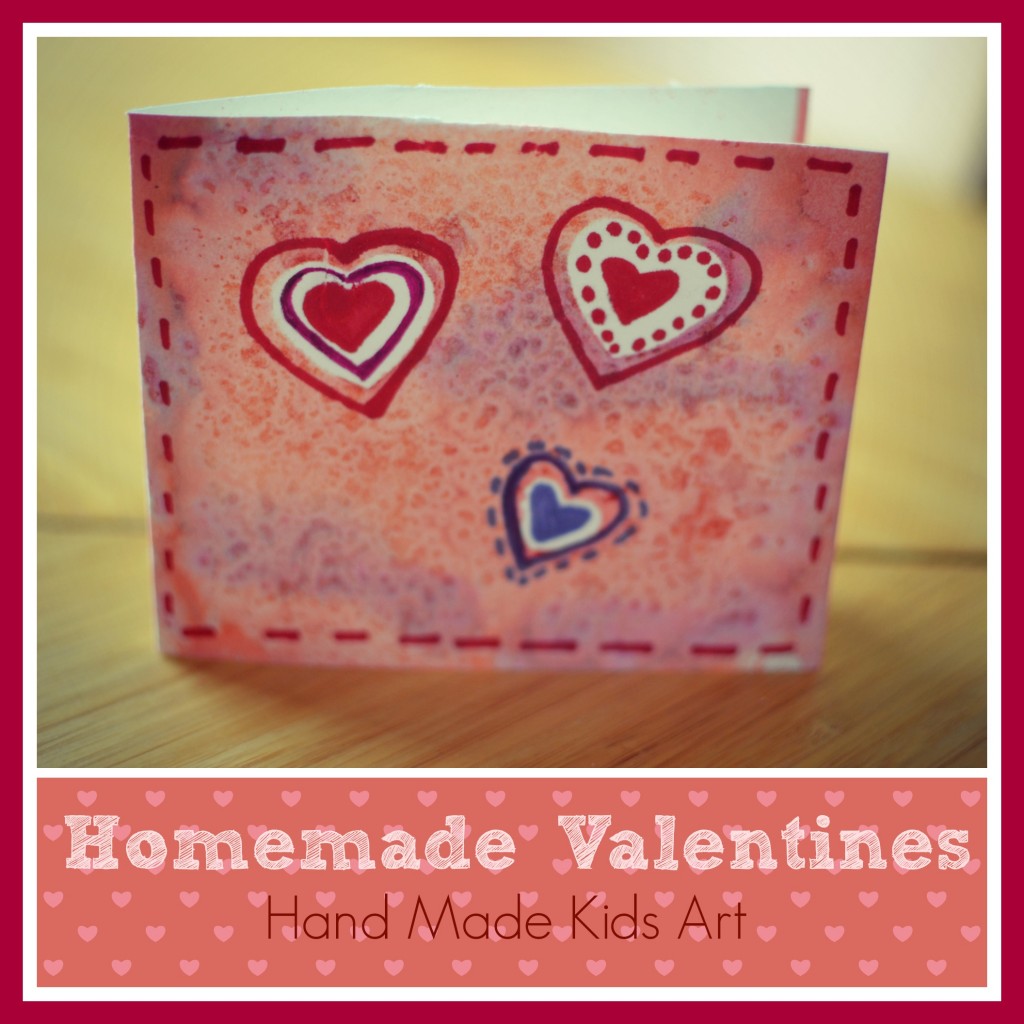
As a child growing up I made my own homemade valentines for school. My mom would buy new construction paper and stickers and I would get to work. It never occured to me to not make my own. I enjoyed making them but as I got older I did ask why didn’t we just buy cards like everyone else. I don’t remember what my mom’s answer was but it was a lesson that it is okay to be different and make your own (and this was way before Pinterest)!
It does take more time than the store bought cards. No way around that. But if you are willing to take an afternoon or evening on the weekend and sit with your child you may enjoy the time it takes. Here is our “easy but still takes time” way to make a homemade watercolor resist valentine.
Materials:
Watercolor paper or heavy cardstock paper
Watercolor Paint (click here for our diy recipe)
Heart Shape Stickers
Markers
Step 1: Mix up our DIY watercolor recipe or use your own watercolor paint.
Step 2: Cover your workspace.
Step 3: Cut your paper to size if needed and fold in half to create a card.
Step 4: This step is optional but fun, place different heart stickers on the front of your card.
Step 5: Use one of the the three watercolor techniques (or all of them) to cover the front cover of your card. Be sure to cover over and around the heart stickers.
Step 6: Let dry.
Step 7: Once your paper is dry carefully peel off the heart stickers and admire the heart you are left with from the resist.
Step 8: Add design, decoration or a valentine message with marker.


Leave a Reply