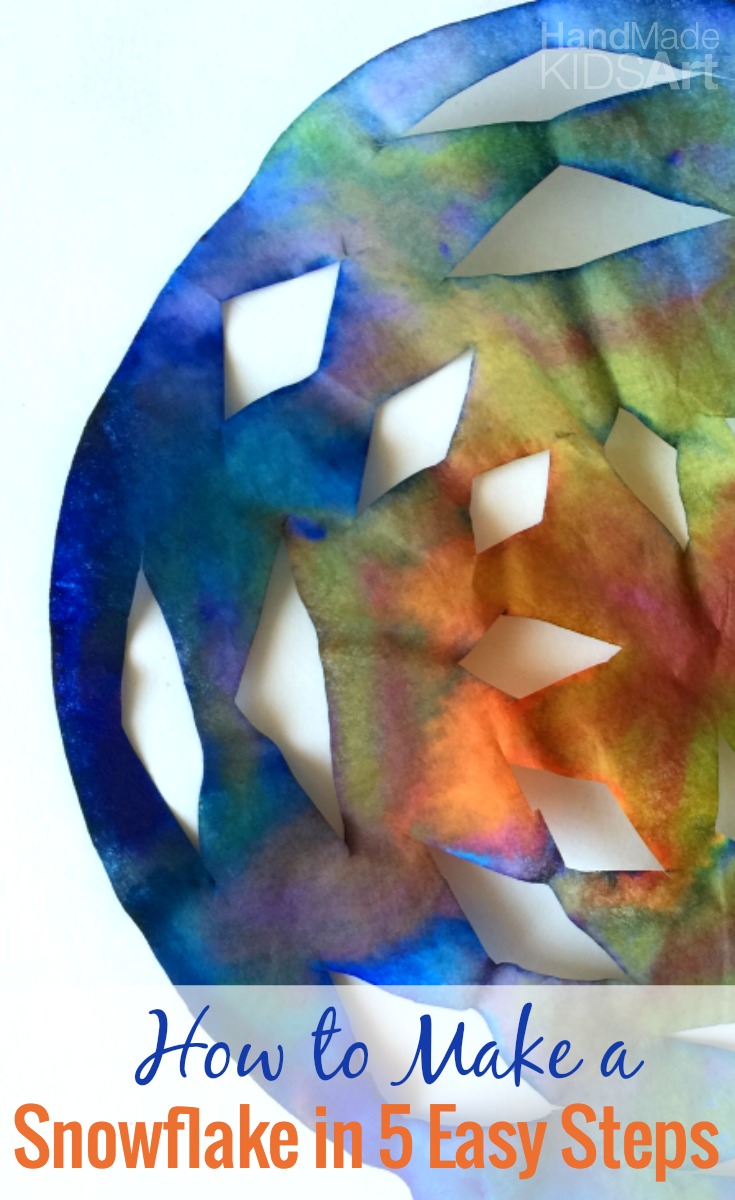
Use a coffee filter to create a colorful snowflake in 5 easy steps. This bright and cheerful snowflake will brighten any winter day. With basic art materials such as scissors and markers you can transform a boring coffee filter into a work of art. This fun winter art activity is great for a variety of ages and even the youngest artist can create with some adult help.
Want to see the tutorial step by step? Watch the video below or scroll down to read the tutorial.
Materials
Coffee Filter
Scissors
Washable Markers
Squirt Bottle with Water
Tutorial
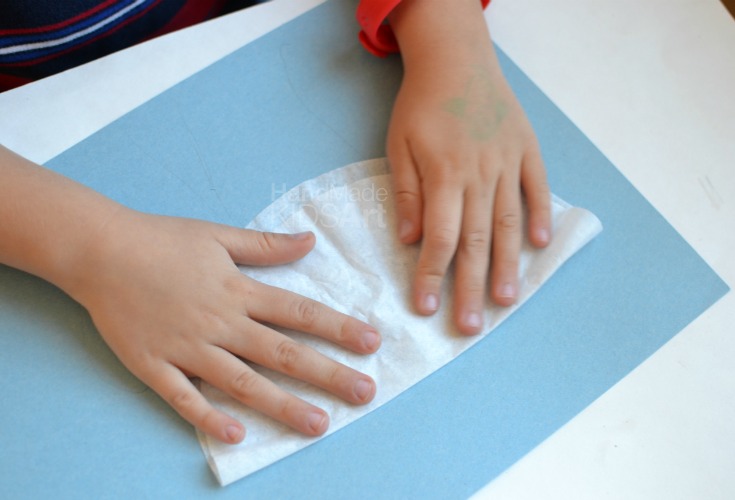
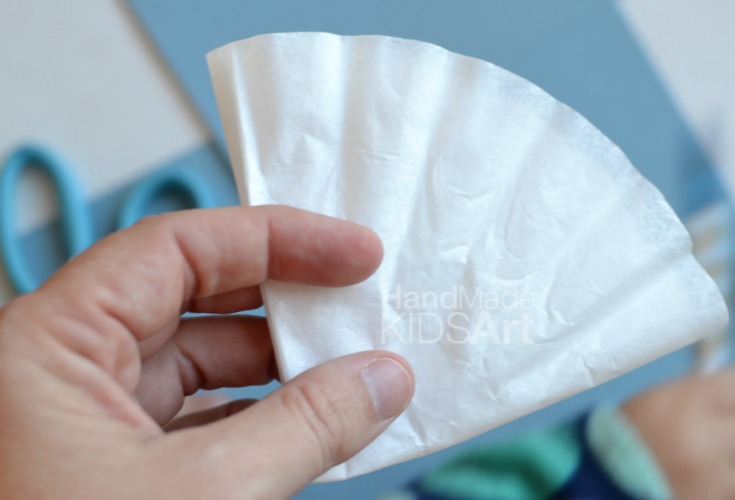
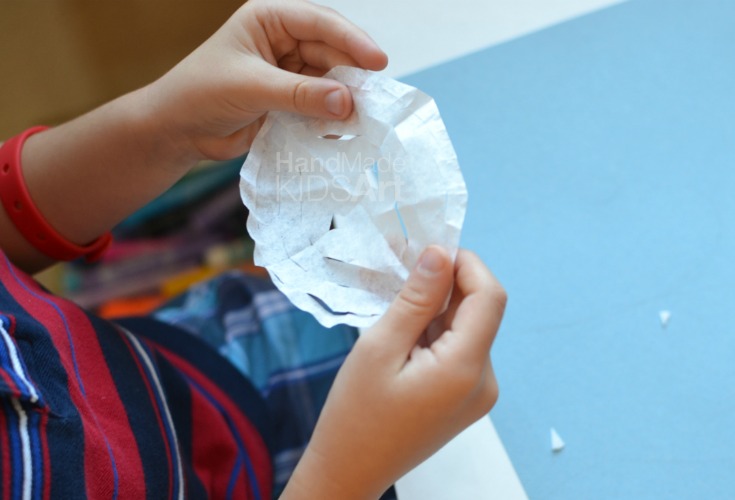
Step 1: Fold the coffee filter in half a total of three times.
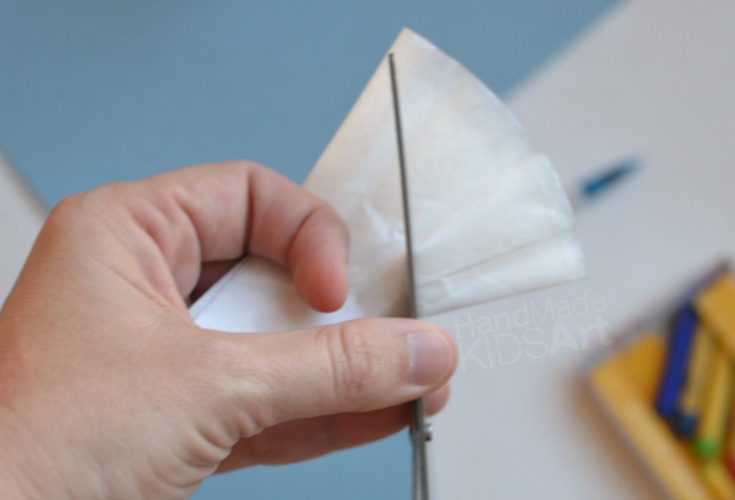
Step 2: Cut out shapes along the edges of the folded coffee filter
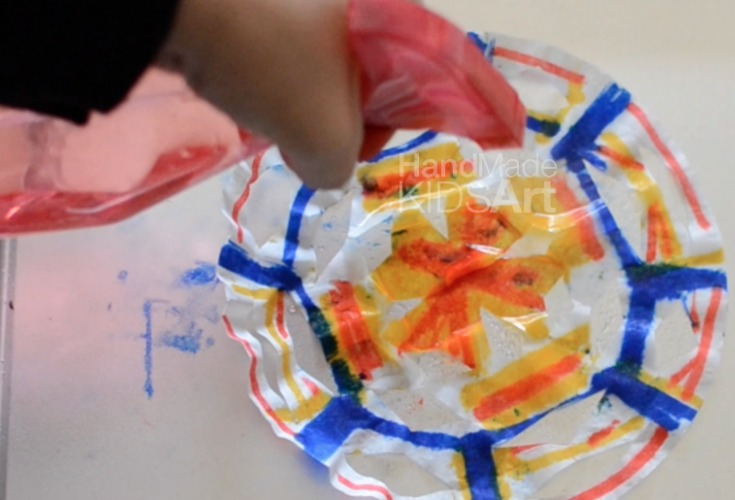
Step 3: Carefully unfold the coffee filter and color the filter with washable markers.
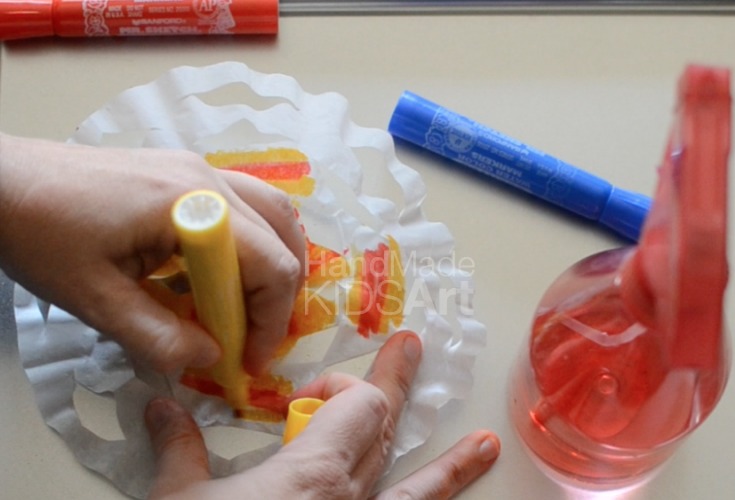
Step 4: Squirt the coffee filter snowflake with water.
Step 5: Let it dry completely and display!
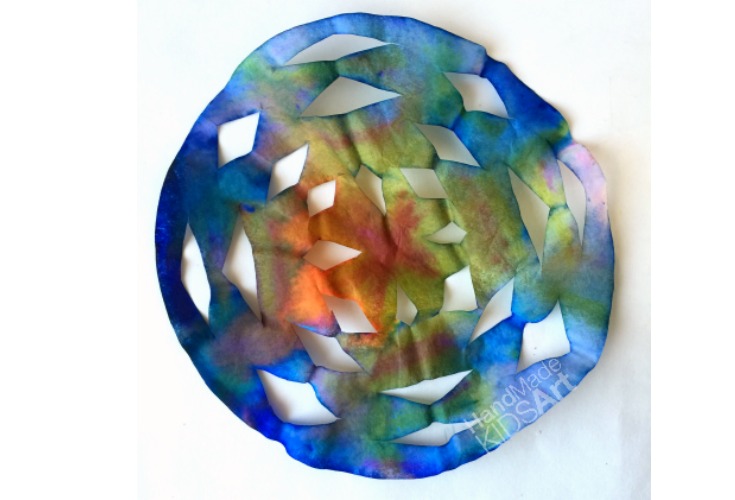
What is fun about this activity is that every snowflake turns out different and unique like real snowflakes! We are always amazed at how the colors blend together and create new colors. See if your artist can find new colors in their own snowflake.
Follow us on Facebook, Instagram, Twitter or Google +!
Visit Jamie | Hand Made Kids Art’s profile on Pinterest.
Leave a Reply