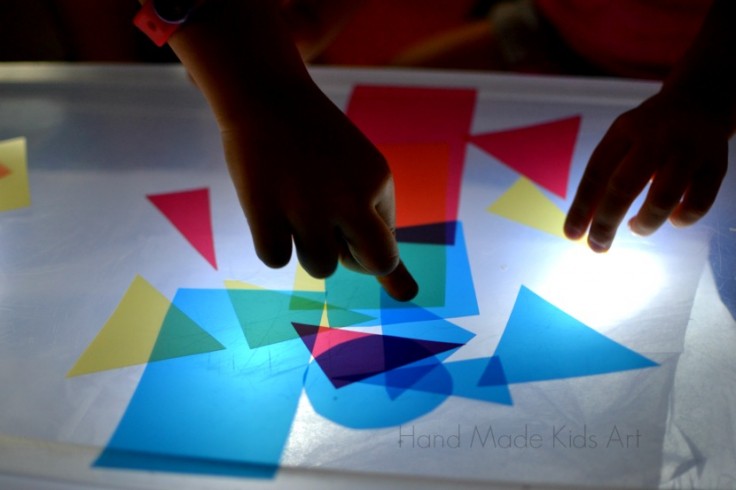
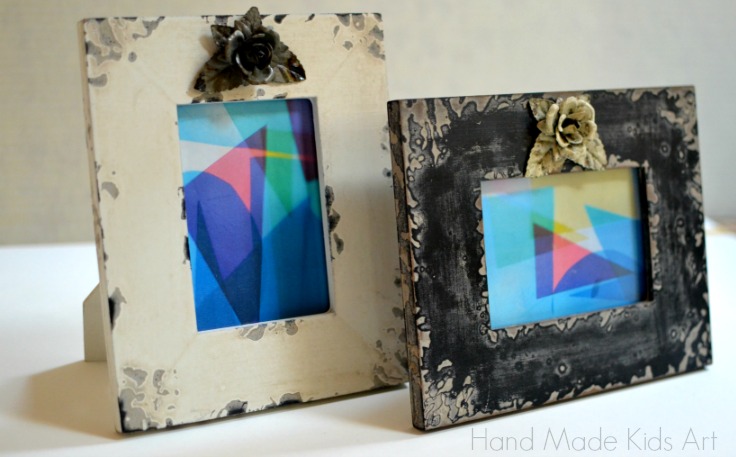
What do you get when you mix digital photography with the light table? An easy art project for kids that is beautiful too! Last week we had so much fun playing with our easy diy light table. Lil B and M-Woww came up with such cool designs they wanted a way to keep them. We grabbed the digital camera and took photos to record the designs. Using the digital camera (or camera phone) is a great way to document temporary art. Read below for our tutorial on how to turn light play into framed works of art.
Materials:
Transparent Colored Shapes
Digital Camera or Camera Phone
Computer
Printer
Picture Frames
Tutorial:
Step 1: Create your light table and shapes.
Step 2: Arrange the shapes in a visually appealing way.
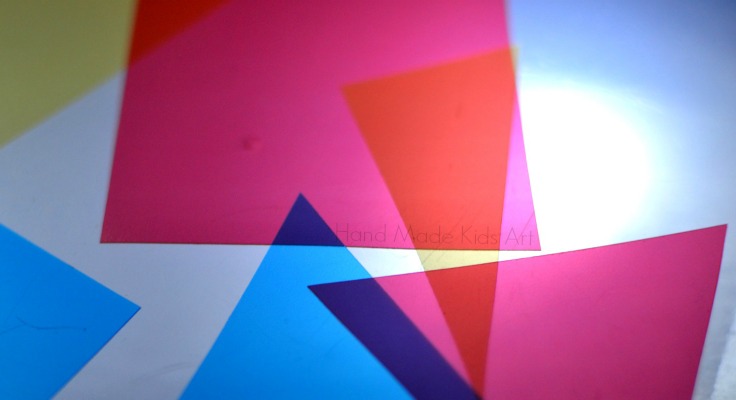
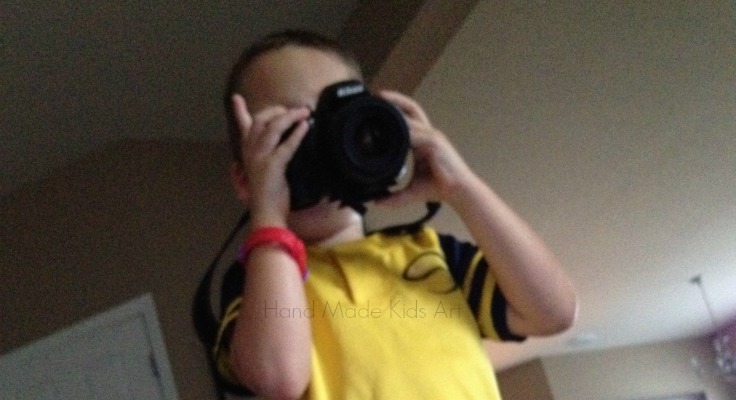
Step 3: Photograph your designs.
Step 4: Download photos to a computer and edit as needed.
Step 5: Print and frame!
Follow Jamie | Hand Made Kids Art’s board Hand Made Kids Art Blog on Pinterest.
Great idea! It’s always fun to preserve spontaneous designs like you’ve done. We just made a light table so we’ll have to try this next time we do an activity 🙂
Oooh they look fab!!
Love this! I photograph all of their art, but the light table creations — that’s genius, and they looks so cute in the frame. Also, that way you don’t use up those expensive transparencies too quickly!
Thank you for commenting. My two artists love to photograph their work so it made perfect sense to us to photograph our light play too! We used the colored tab dividers (found in the office supply aisle). The pack was under $2.00 and created more than enough shapes to play on the light table. You may want to try it as a cheaper alternative to the transparencies. 🙂