Have you tried a digital microscope yet?
When I was an art teacher in the classroom, I was thrilled when I found a microscope at the local thrift store to use with my students. It was a regular microscope (not digital) but it lasted for 8 years and it survived over 1,000 students (plus my two-year-old). However, it is time to upgrade to a digital microscope!
A digital microscope is similar to a regular microscope but it uses optics and a digital camera to output your image to a monitor. This is beneficial when you are working with a group of children whether in a classroom setting or at home so that everyone can see the image that is being observed at the same time.
I received this product for free in exchange for an honest review. All opinions are my own. This post contains affiliate links to products I personally recommend. Click here to read my full disclosure policy.
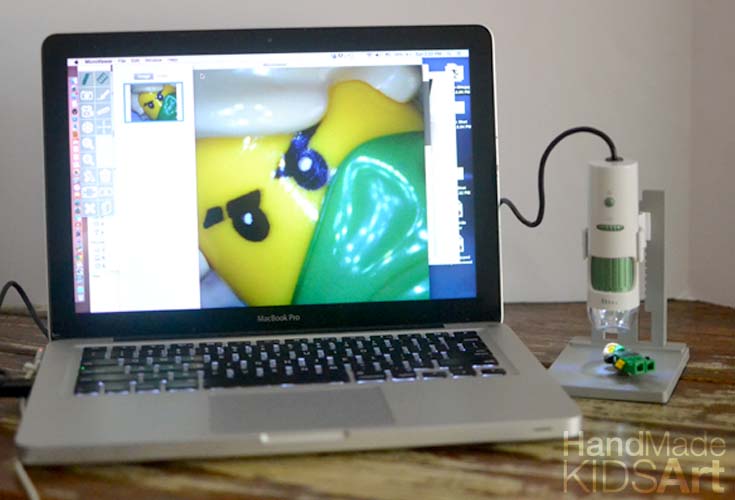
We had the opportunity to review the Microsight 1.3 pixel digital microscope, from Southern Science Supply. Everything you need to get started came included in the box.
My favorite part was we had the microscope up in running in under 5 minutes! Even if you are not high-tech you can get started very easily with this digital microscope.
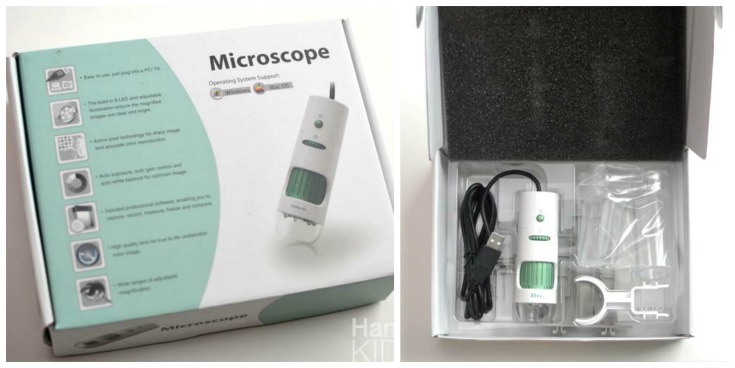
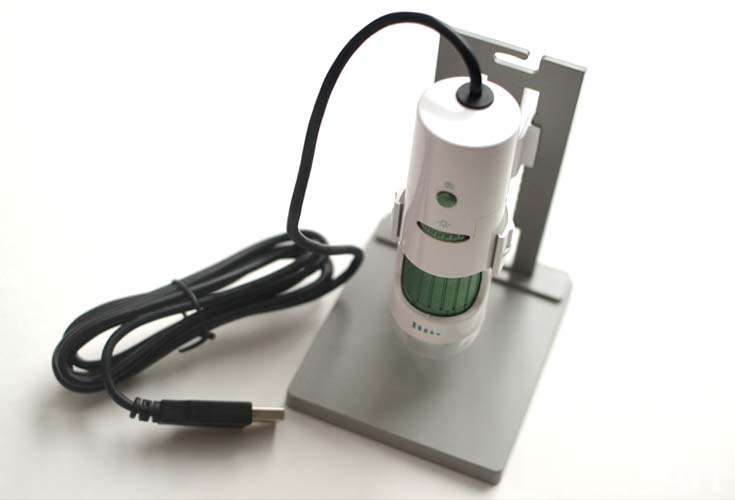
The microscope came with a stand and included the software (you do need a cd-rom to download the software plus a USB port to connect the microscope).
Within just a few minutes we were already making our first observations.
Lil B, 7 years old immediately grabbed a LEGO mini-figure to observe while, M-Woww (5 years old) grabbed her favorite My Little Pony.
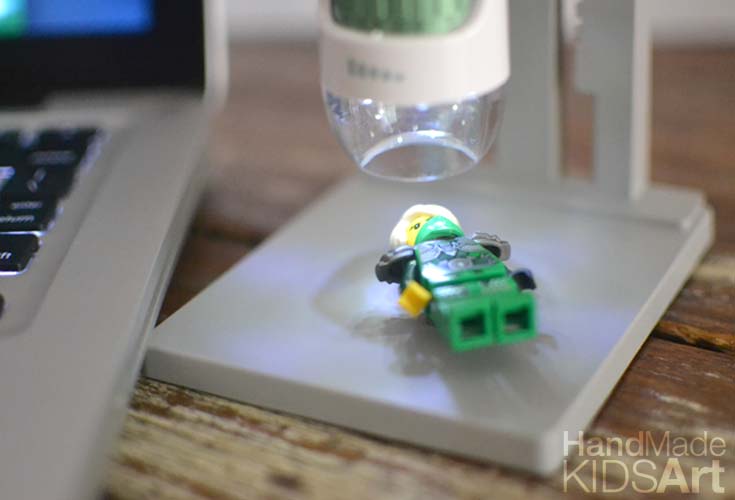
They were impressed with how large the LEGO figure’s head appeared on the screen but they also observed how interesting the pony’s hair looked under the microscope.
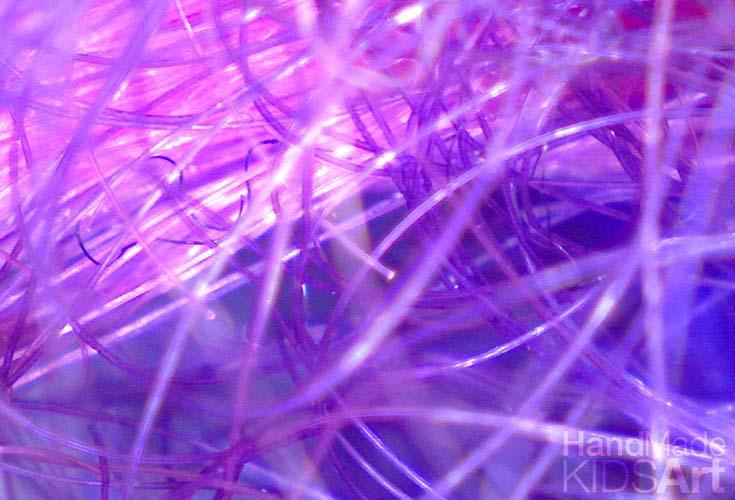
After observing a few more plastic toys Lil B grabbed a starfish to view under the microscope
“Wow! Check out that cool pattern”. (Lil B)
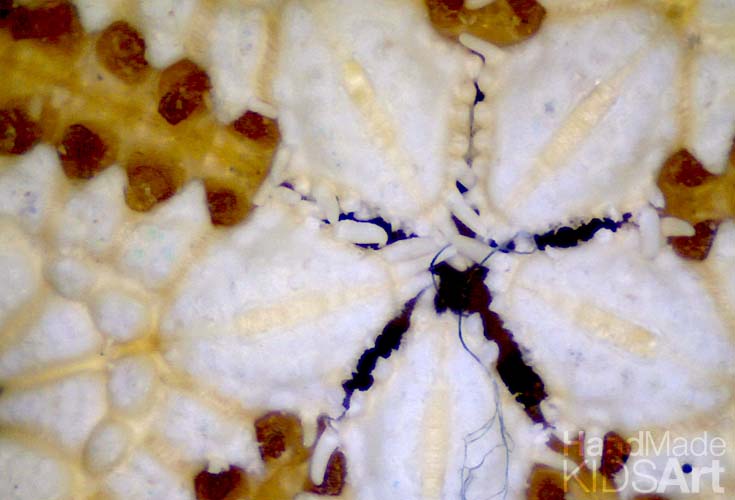
After seeing how “cool” the starfish looked, Lil B and M-Woww wanted to observe other nature objects likes sticks and leaves under the microscope.
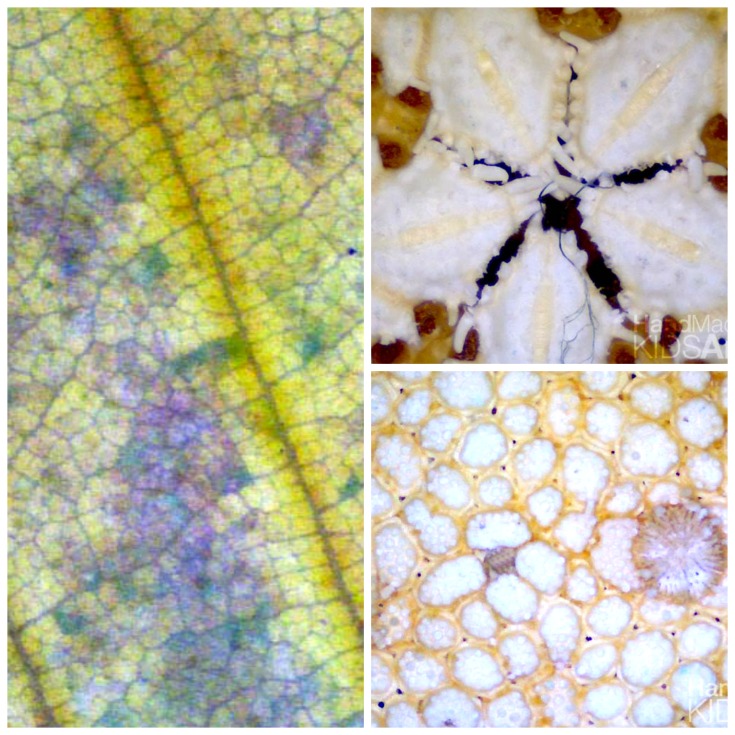
Their conclusion was nature’s patterns are more interesting to observe than plastic toys because of all the lines, shapes and colors found in the nature objects.
To extend our learning from the microscope. We printed a favorite photograph from our digital observations and create a mixed media work of art! Read the full tutorial below.
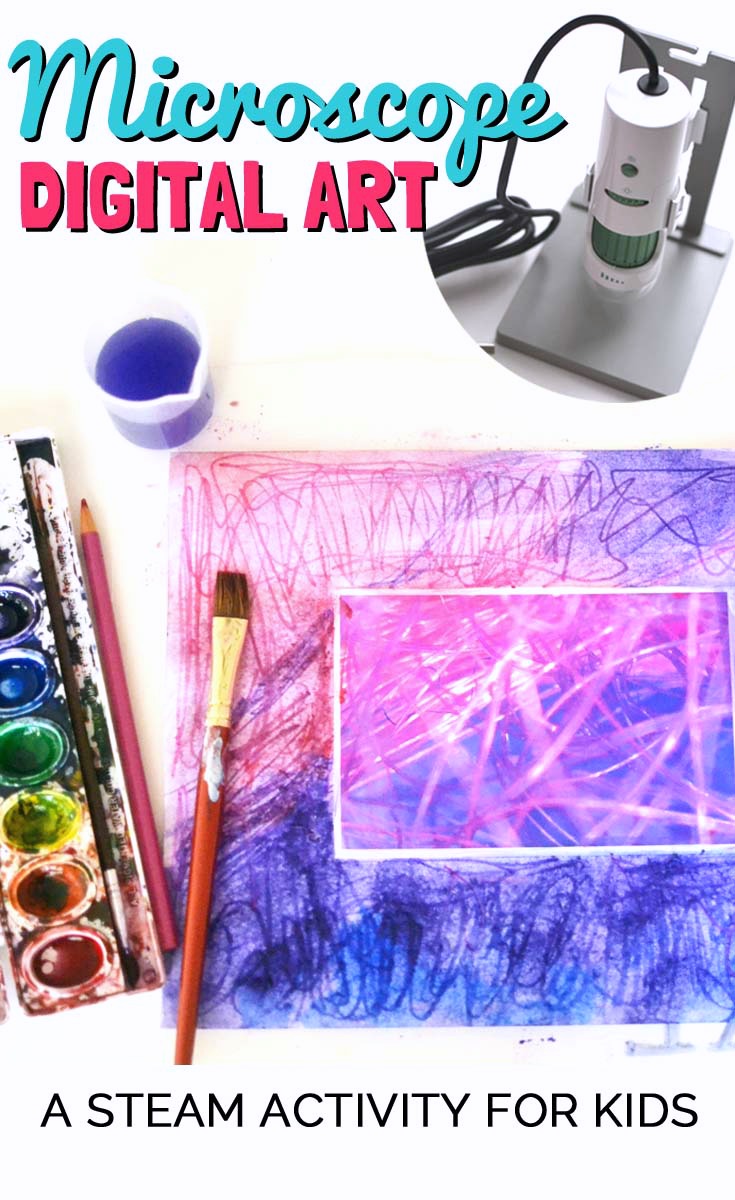
Materials:
Digital Microscope
Printer
Paper (Select watercolor paper or a heavy weight paper if you chose to paint)
Glue
Drawing Materials (We used watercolor paints, watercolor colored pencils, and oil pastels).
Tutorial:
Step 1: Observe different objects under the microscope. Record your observations by taking a digital image of your objects.
Step 2: Select and print out your favorite image (we printed a 4 x6 photo size). Glue the printed photograph in the middle of a larger size paper.
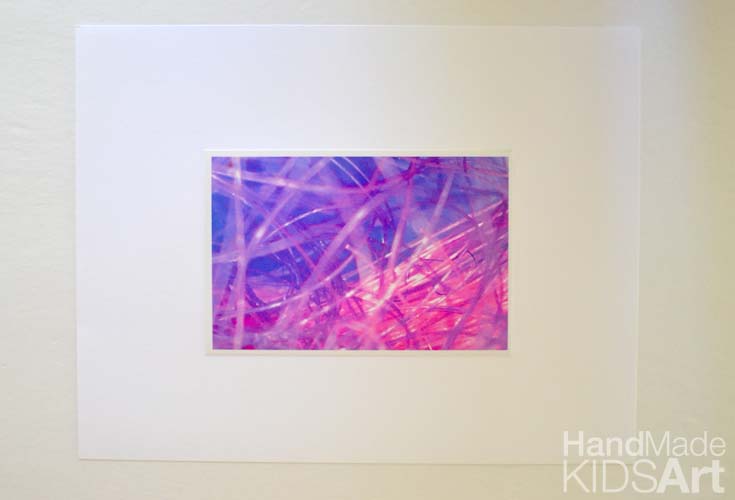
Step 3: Using your drawing materials or paint, extend the photograph’s pattern onto the paper.
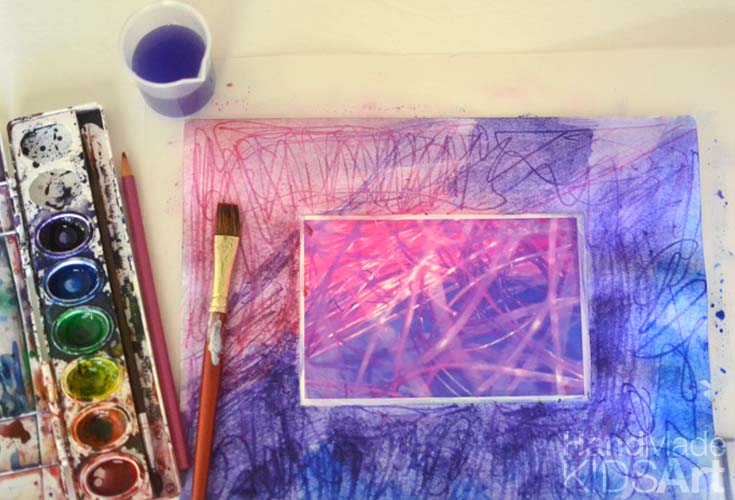
Once the painting dried, M-Woww decided to add more lines with oil pastel.
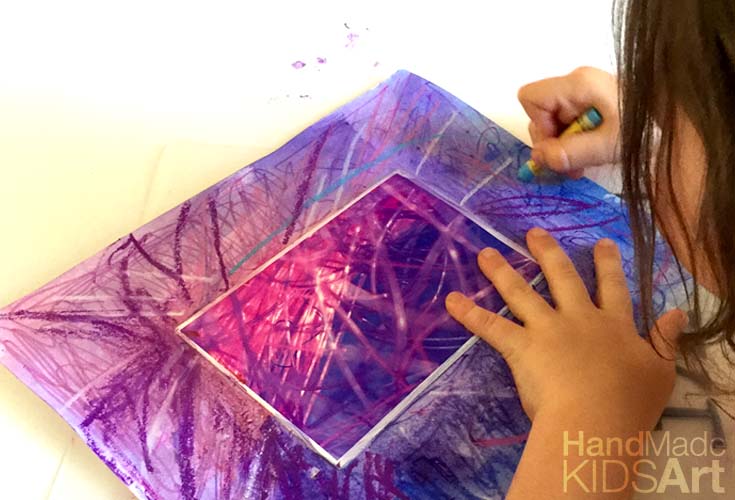
Step 4: Display your artwork. You may wish to display your original object along with your drawing or try to have others guess what the original object was you observed with the microscope.
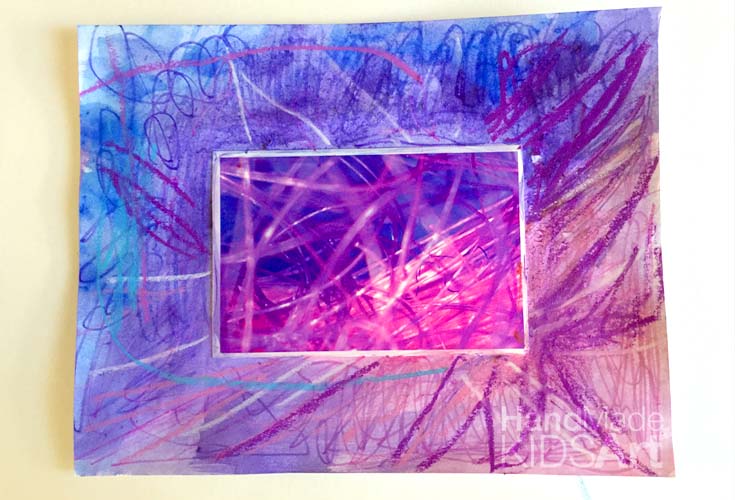
So, have you tried a digital microscope yet? Click over to Southern Science Supply to view the wide range of digital microscopes and Science lab supplies they offer.
For more digital art inspiration check out the links below:
Leave a Reply