Monoprinting is a fun way and easy way to learn about printmaking, a great beginner art project for kids. It does not take much time or expensive materials, making it an easy activity to do at home or in the classroom.
There are many different ways to explore monoprinting. The technique in the tutorial below is for the beginner printmaker.
Monoprinting is a form of printmaking where the design or drawing can only be made once, instead of multiple originals like various other forms of printmaking.
Encourage your young artist to experiment and try different ways to make their own mark.
Materials
Cookie Sheet
Washable Paint
Brayer or Mini paint roller (from the Dollar Store)
Paper
Optional: Q-tips, Paint brush, sticks, pencil eraser
Tutorial
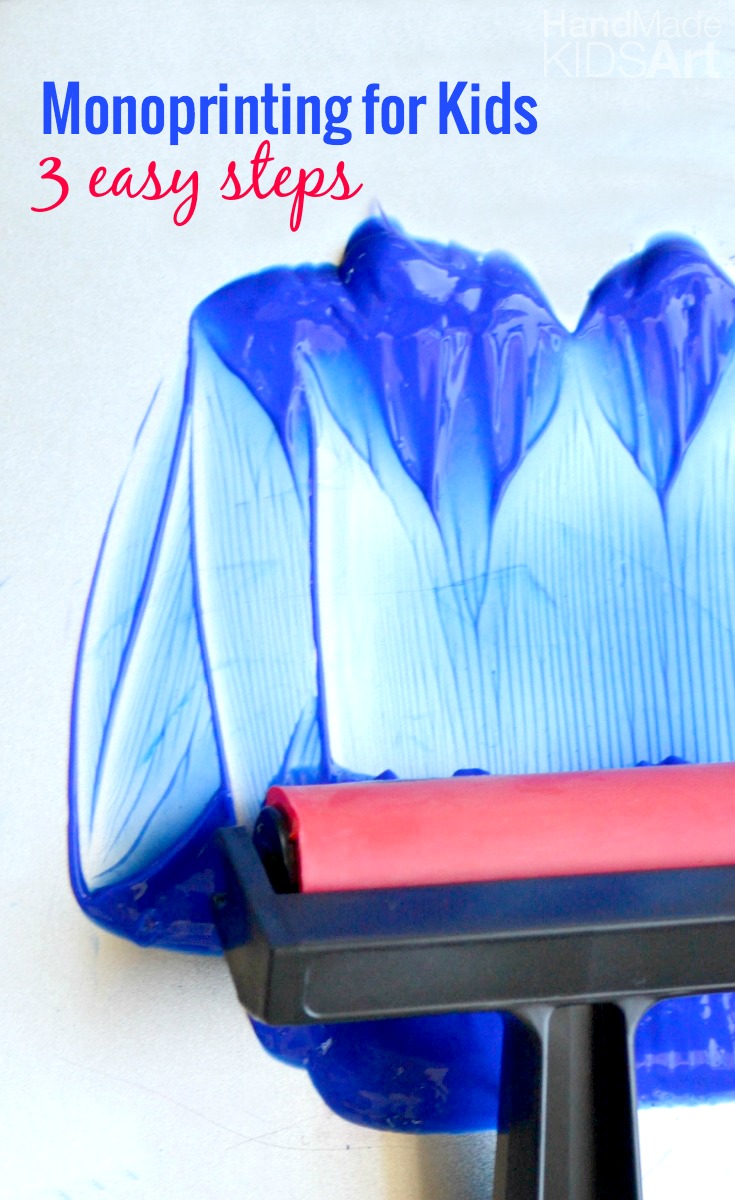
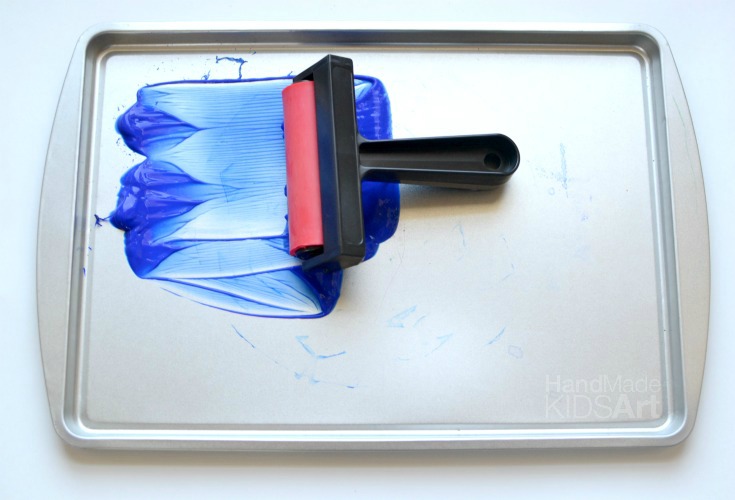
Step 1: Use the brayer or paint roller to cover the cookie sheet with paint.
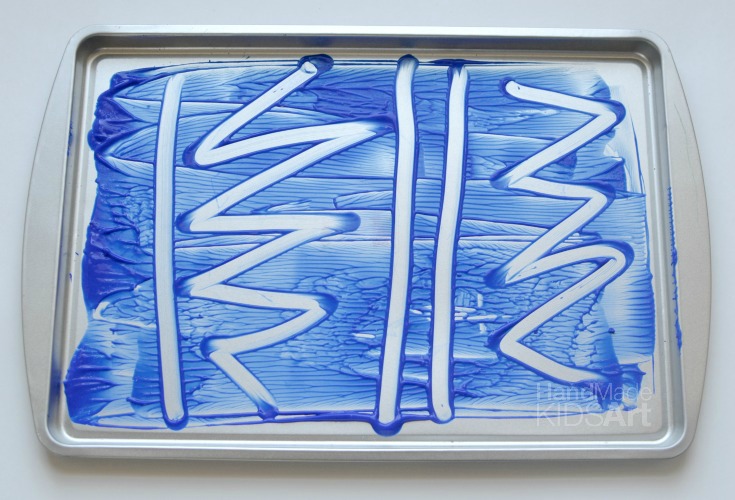
Step 2: Draw in the paint. You can use your finger, q-tips, paint brush, pencil erasers, or even sticks.
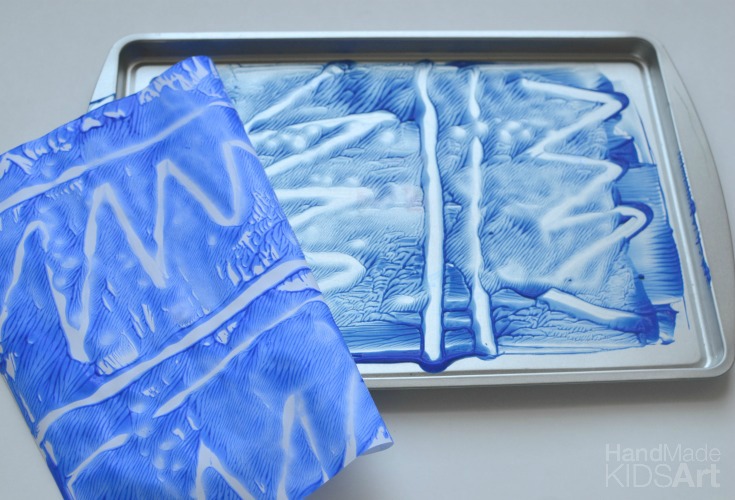
Step 3: Place your paper on top of the paint and press down. Be sure to rub along the surface of the paper. Peel your paper up and be amazed that your design transferred to the paper. You just created a print, easy peasy style!
Activity Extensions
Experiment with different objects to create your design.
What can you use to make a mark?
Mix together colors of paint to explore color mixing while printing.
Can you make a rainbow print?
Try printing on different types of paper.
How are the prints the different?
Add more color with oil pastels!
How can you add line and pattern to your print?
Looking for more fun ways to paint?
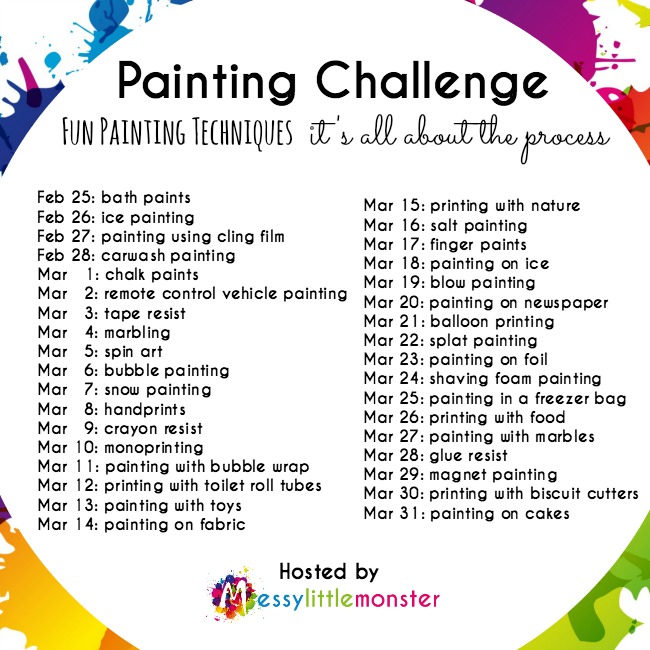
This post is a part of the fun painting techniques Painting Challenge hosted by Messy Little Monster. Be sure to click on the image below to see all the fun process paint techniques taking place this month.
Follow us on Facebook, Instagram, Twitter or Google +!
Visit Jamie | Hand Made Kids Art’s profile on Pinterest.
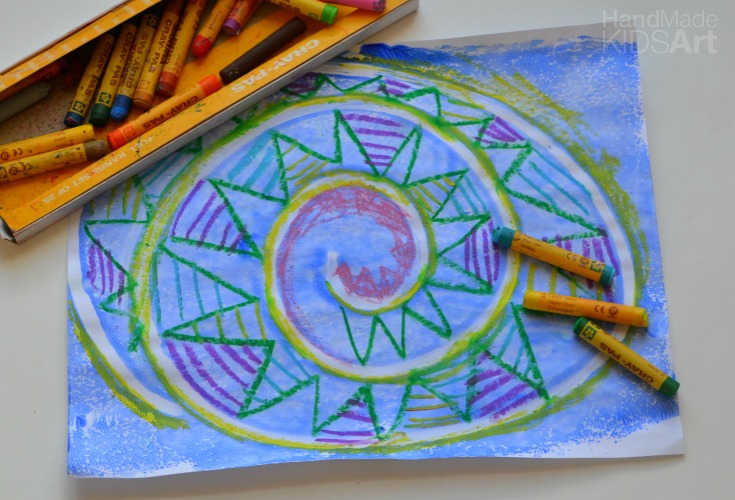
I love the way you have used pastels to add patterns to your print
Thank you! We love to “dress up” or go back and add to projects a lot!