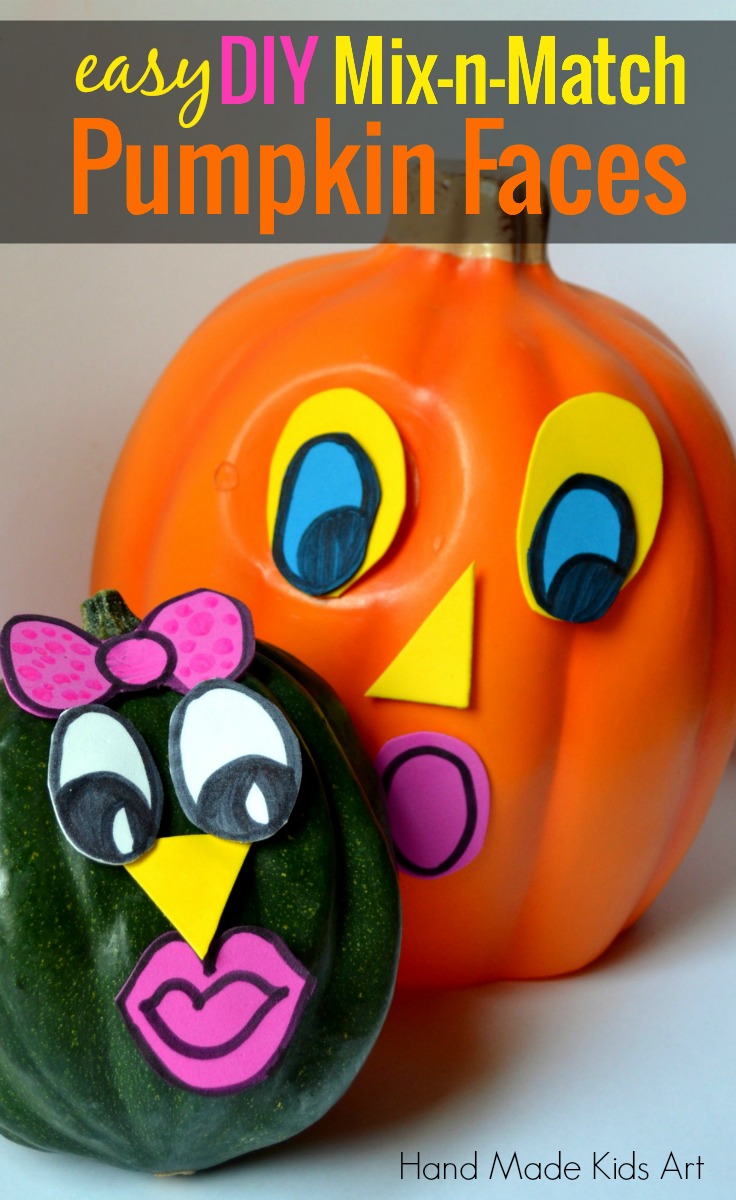
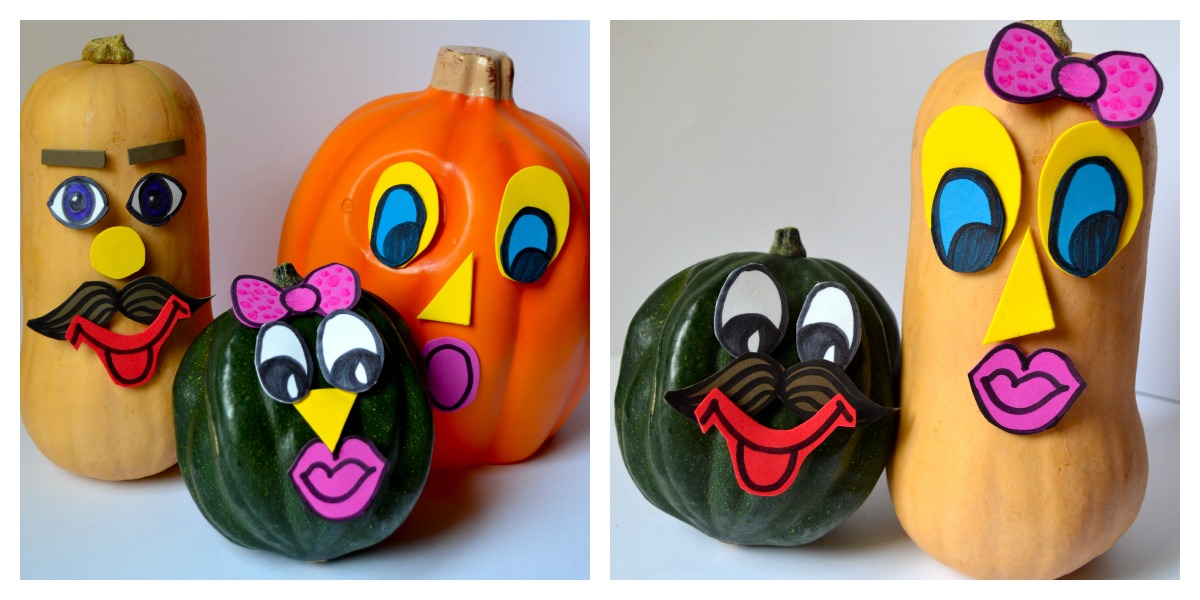
With limited materials and little prep time this Halloween craft for kids will have your kids mixing and matching their favorite pumpkin faces. Just 5 easy steps to enjoy some Fall fun with your children.

Materials:
Pumpkin (real or fake) ,
Squash, or Gourd
Craft Foam Sheets
Permanent Marker
Self Adhesive Velcro or Tape
Scissors
Tutorial:
Step 1: Get Pumpkin. You can use a real or faux pumpkin along with different squashes or gourds.
Step 2: Have all materials ready to go. Before I introduced the activity to my young artist I made sure I had everything ready to go. If you are working with a toddler age child I recommend having all the face features cut out before you introduce the activity to your child. Older children will be able to draw and help cut out shapes for the facial features.
Step 3: Cut out your facial features. Draw shapes on foam paper before cutting. Not artsy? Keep it simple with basic designs and shapes.
Step 4: Add velcro or adhesive. Self adhesive velcro will allow your child to mix and match features numerous times but you can also use regular scotch tape and it will hold up for one use. Using scotch tape will require re-tape for each use.
Step 5: Play. Mix and match and create different faces. Silly faces encouraged!
Activity Extensions:
Baby Connection: Point out the different facial features on the pumpkin. Then point them out on your face and your baby’s face.
Toddler Connection: Practice recognizing geometric shapes and facial expressions.
School Aged Children Connection: Practice drawing geometric shapes to create facial features.
Pumpkin Book List:
Five Little Pumpkins By: Dan Yaccarino
My Jack-O-Lantern By: Nancy J. Skarmeas
A Pumpkin For Pooh By: Gus Alavezos
Poohʼs Pumpkin Surprise By: Mary Hogan
Pumpkin Faces: Glow in the Dark By: Emma Rose
Leave a Reply