Do you have stacks of artwork sitting around collecting dust and adding to the paper clutter?
When you provide open process art experiences for your children you end up with a LOT of paper artwork. Rather than sit around and creating more clutter, we try to find new ways to use and recycle our artwork.
We had so much fun creating our balloon painted rainbow for our guest post over at The Art Curator for Kids that I knew we had to do something special with our rainbow.

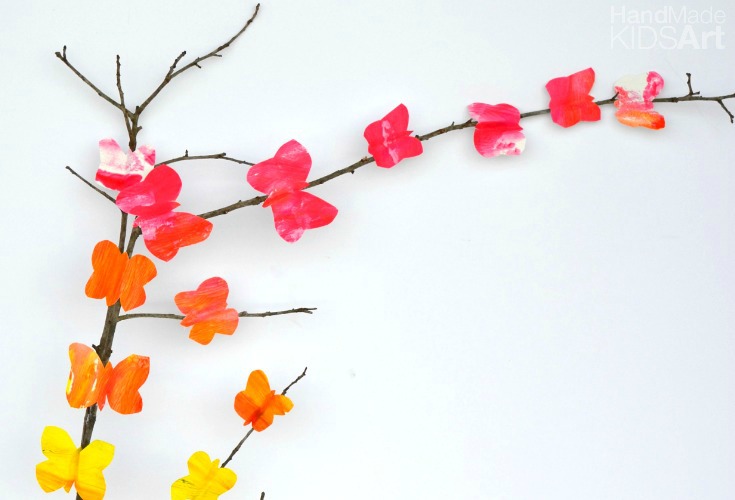
Inspired by nature and seeing butterflies on our walk around the neighborhood we decided to create a butterfly inspired wall hanging. On our walk we tried to spy different butterflies and the different colors they can be. We also looked for sticks to use as the base of our wall hanging. Read below for our full tutorial on how to create your own recycled art wall hanging.
Materials
Old Artwork
Scissors
Hot Glue (or double stick tape)
Stick
Butterfly stencil (optional)
Tutorial
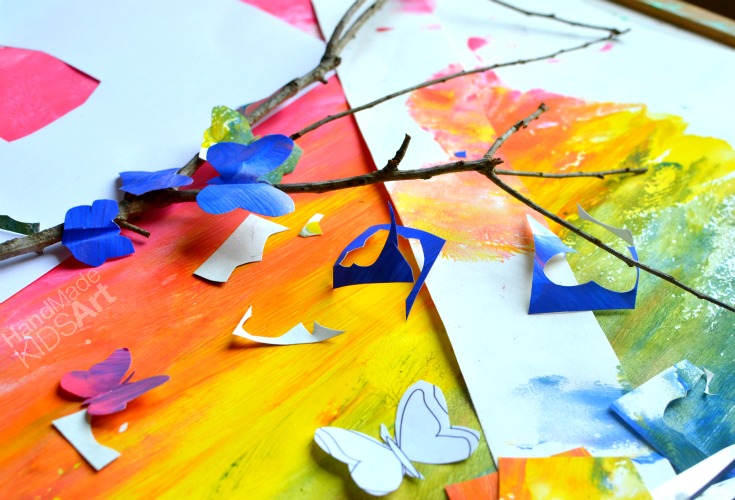
Step 1: Cut out your shapes. We used a stencil to help cut our butterfly shape. We used two different sizes to give the butterflies some variety.

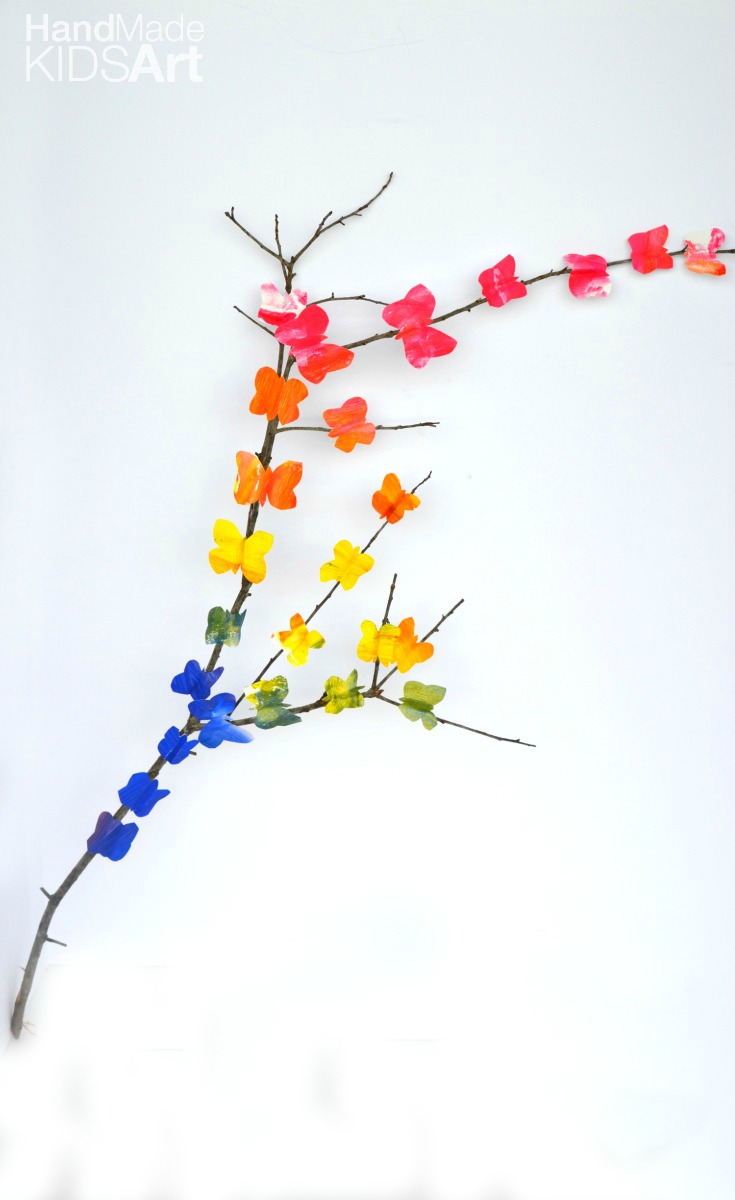
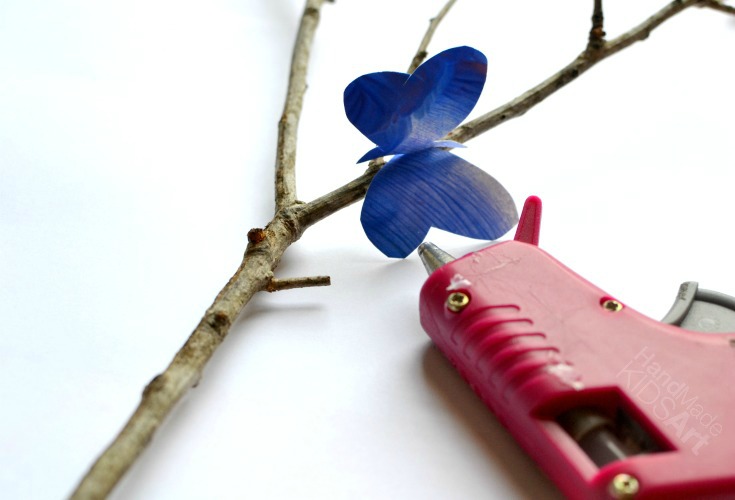
Step 2: Glue your shapes on to your stick. We decided to keep our butterflies in rainbow order starting with the red at the top. We glued the butterflies down with a hot glue gun.
HOT GLUE GUN TIP: My children are still young so I did the gluing and together we discussed where to place the butterfly on the stick. However, I have worked with school age children and a hot glue gun. Use a cool temp gun and teach your child the safe way to use it. Of course, you know your child best. If you don’t feel comfortable with your child handling a hot glue gun, have an adult do the gluing or use double stick tape.
Step 3: Hang and display. You may use twine or string to hang the branch or use a couple finishing nails to hang it on the wall.

Follow us on Facebook, Instagram, Twitter or Google +!
Visit Jamie | Hand Made Kids Art’s profile on Pinterest.

I love this !
Thank you!