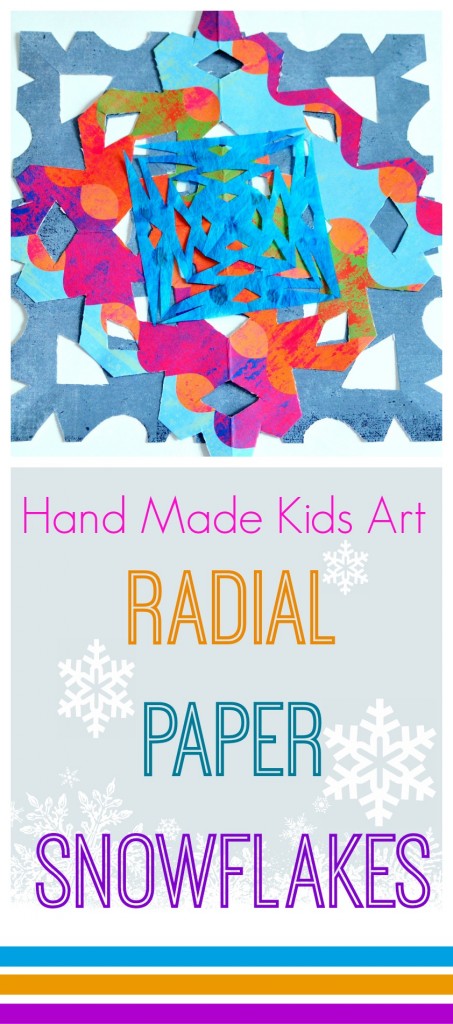
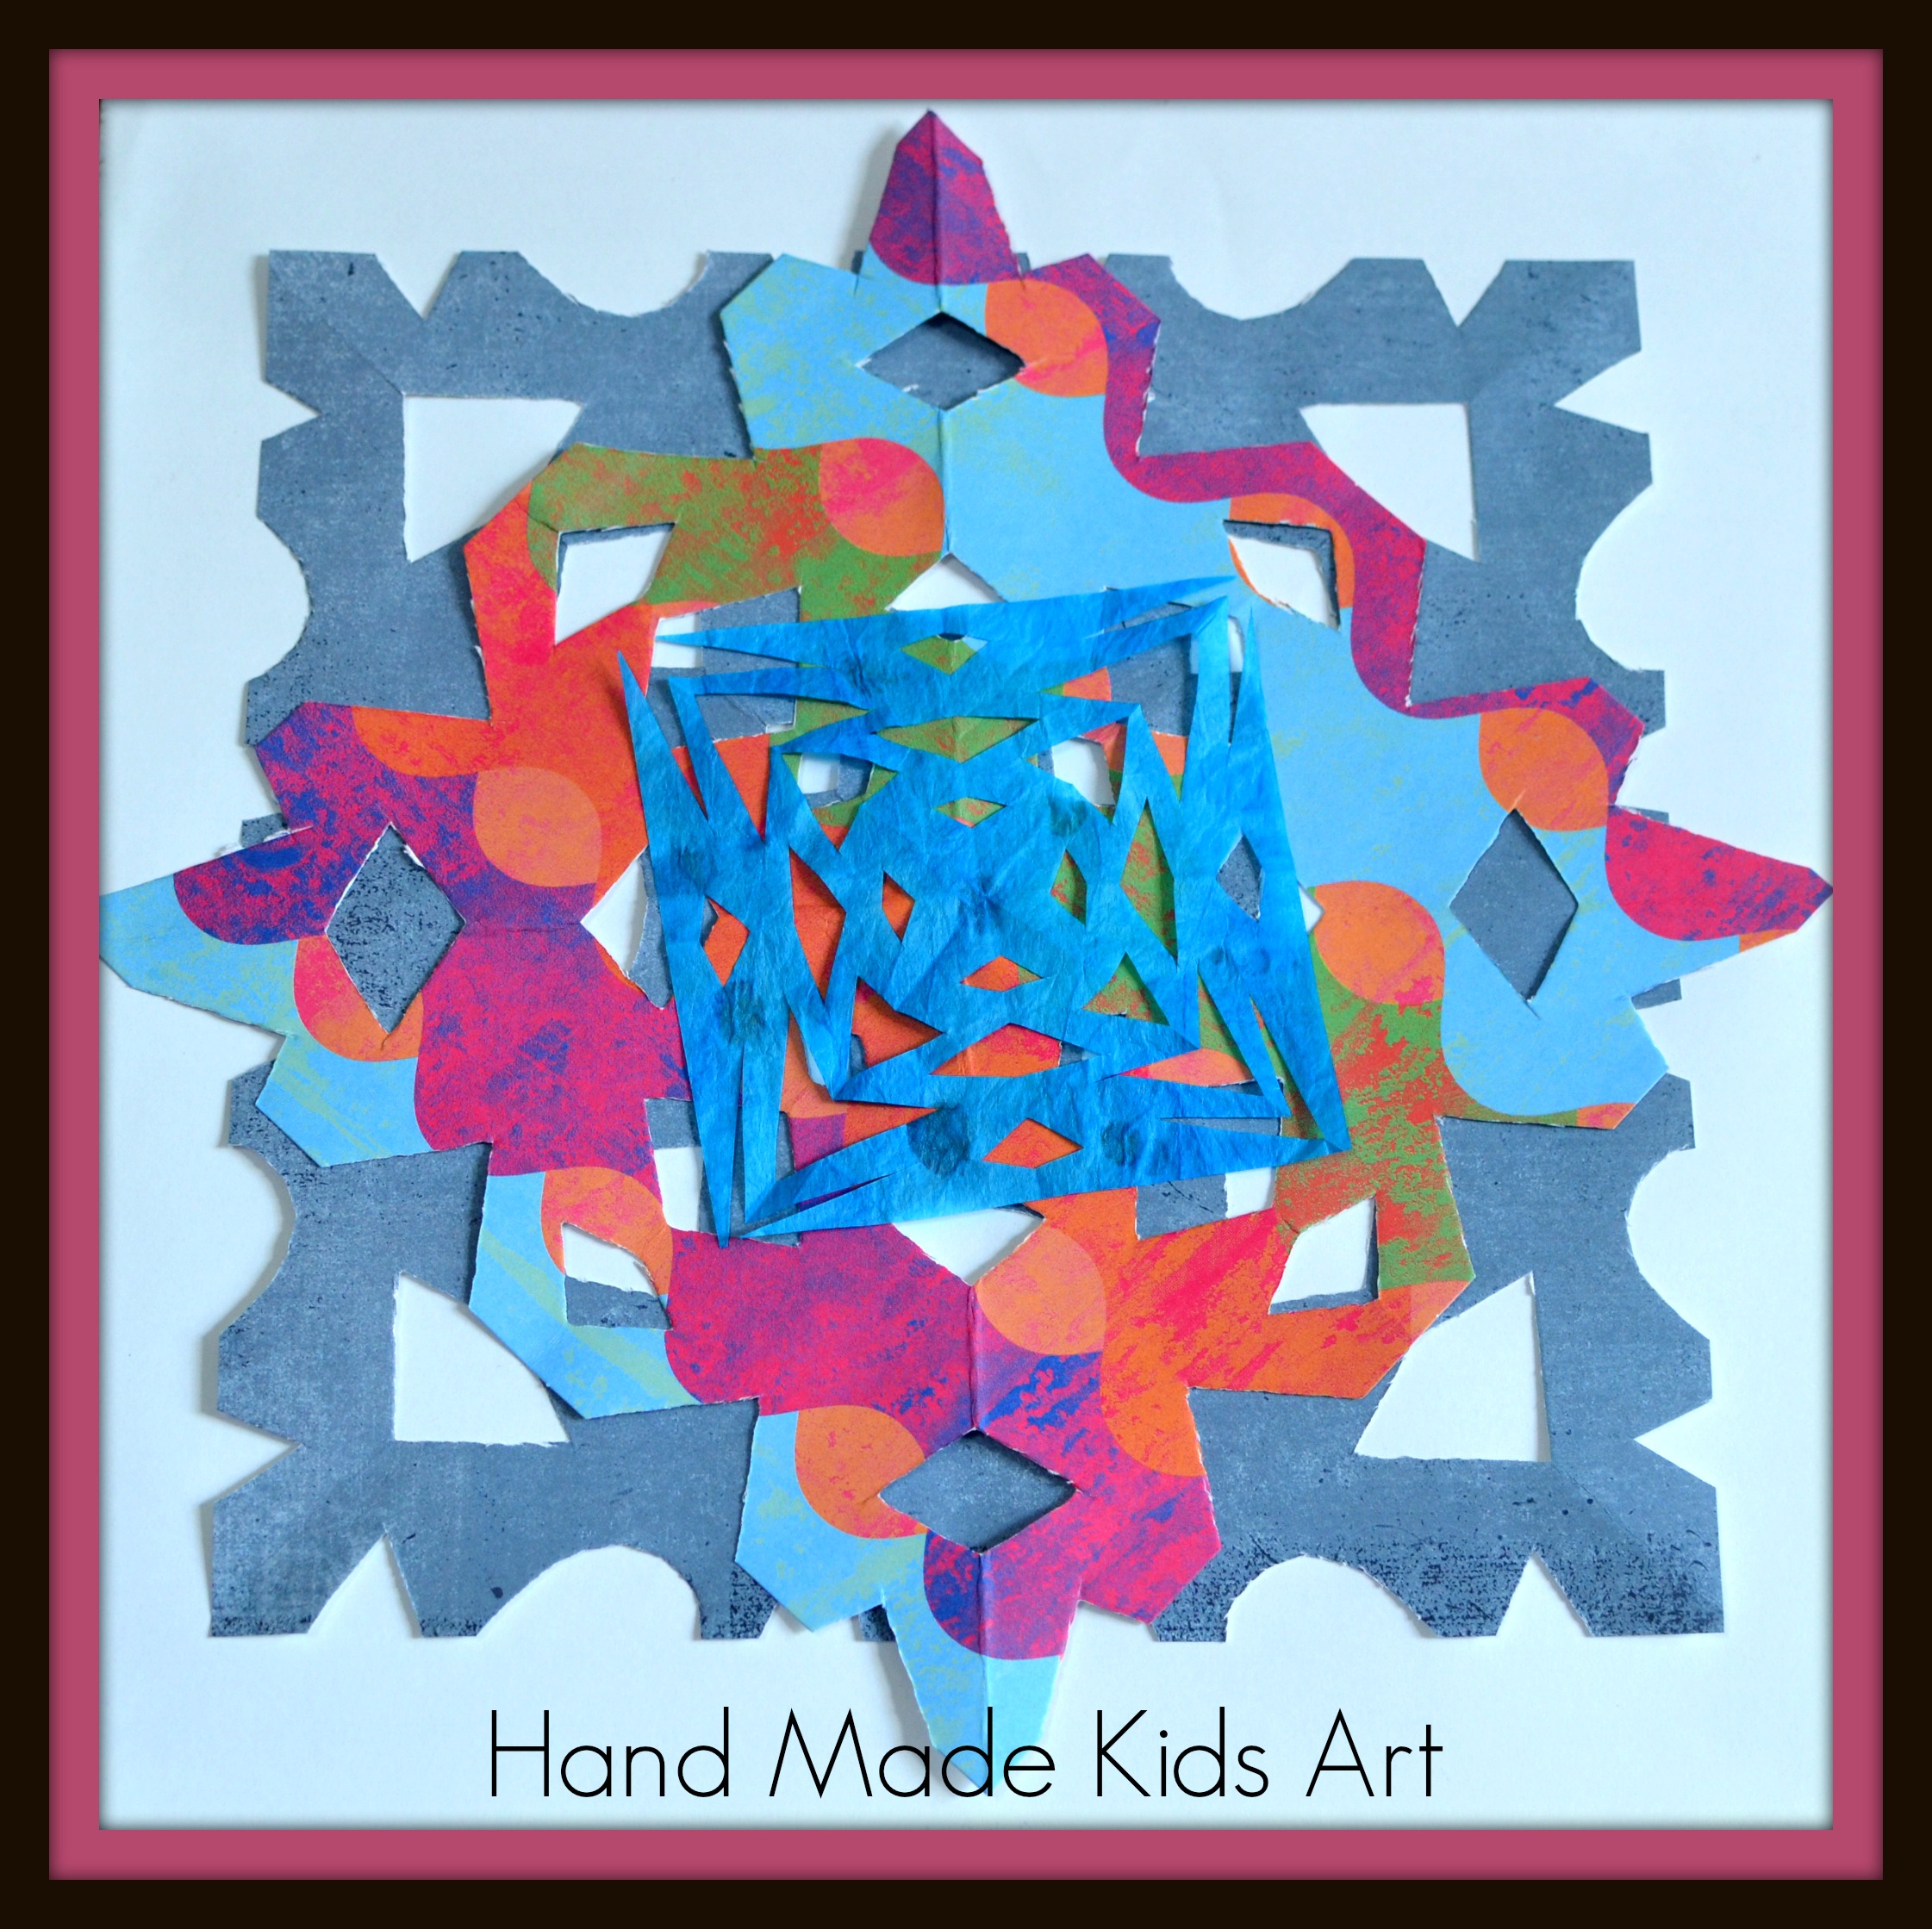
Want to brighten up your winter? Try adding some colorful paper snowflakes.
This simple art project is great for all ages (that have mastered scissor skills) and minimal supplies are needed. When I was an elementary art teacher, I always tied our projects to the art standards AND the standards the students were learning in the classroom. At home with my two little ones, I do the same thing. When we were working on this project we talked about how snowflakes were the same on each side and how each snowflake is unique. This snowflake project is a perfect tie into symmetry and radial or rotational symmetry for the older artists.
Materials:
3 square pieces of paper of different sizes (We used scrapbook paper)
1 piece of paper bigger than your largest square (for the background)
Scissors
Glue
Paper Snowflakes Tutorial
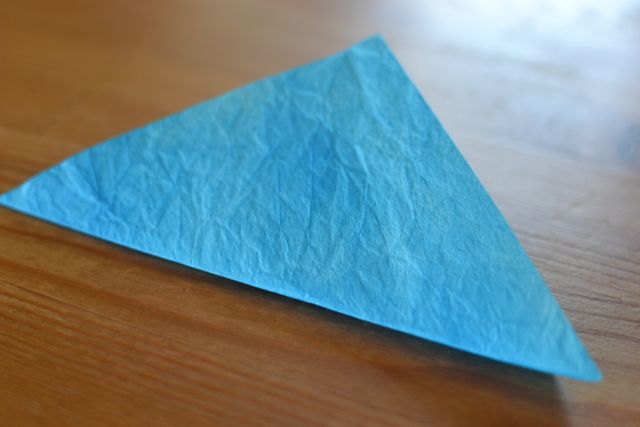
Step 1: Starting with a square piece of paper fold in half on the diagonal forming a triangle.
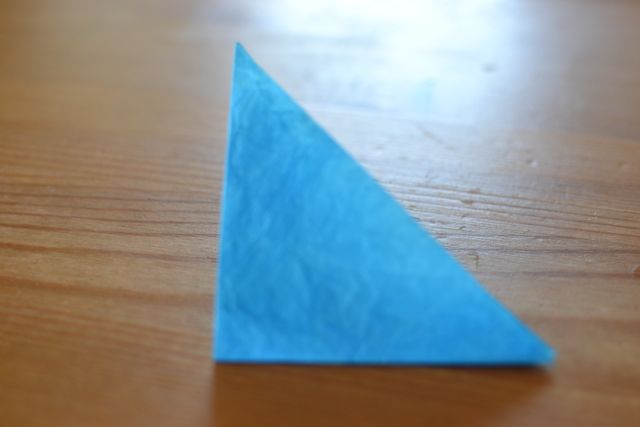
Step 2: Fold in half again
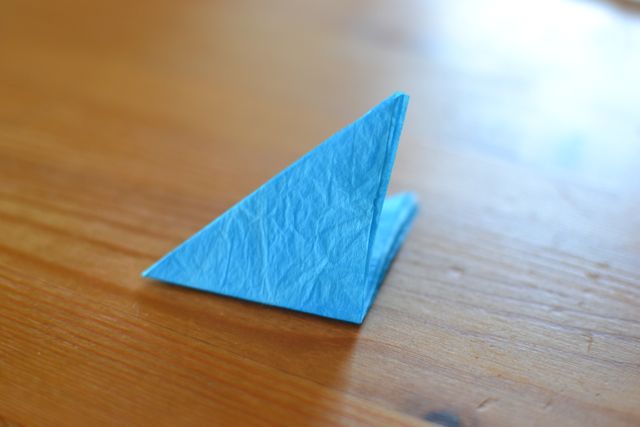
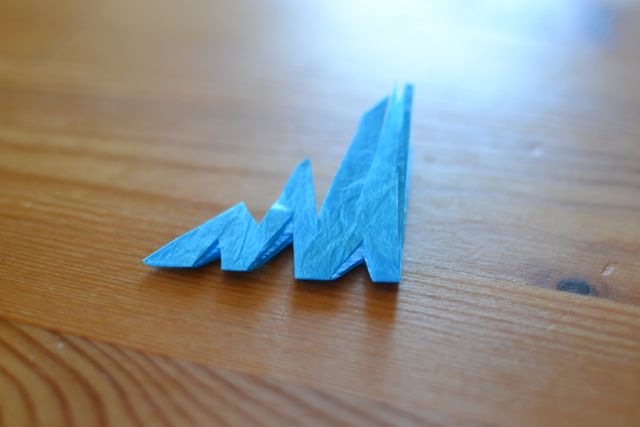
Step 3: Fold in half one last time
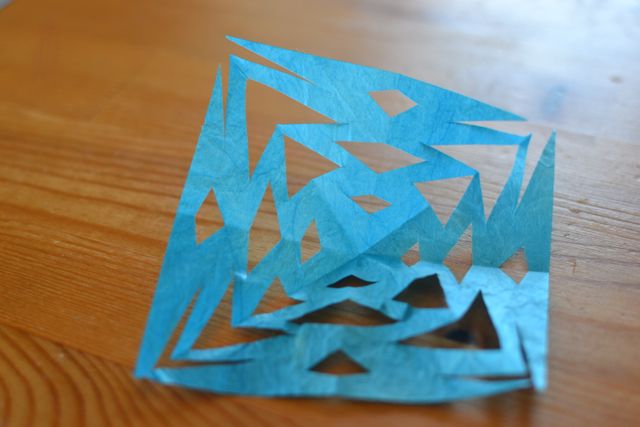
Step 4: Cut different shapes along the three edges of your triangle.
Step 5: Open carefully and repeat with the other two squares.
Step 6: Arrange the squares on your background piece of paper. Glue snowflakes in place.
Extension: To learn more about snowflakes, check out Snowflake Bentley. Here is a good book about him too!
I would love to see your snowflakes. Feel free to share on Facebook, Google + or Instagram (#hmkasnowflakes)
Leave a Reply