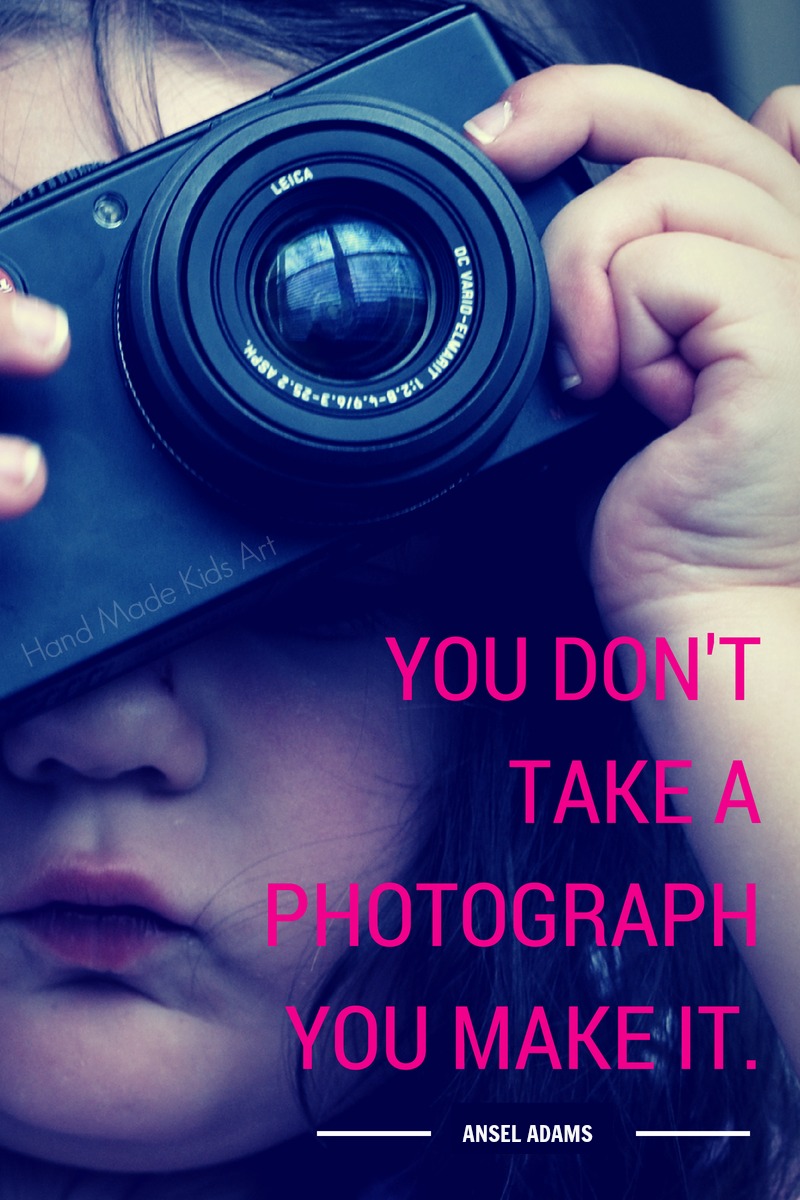
Photography for Beginners
A beginner’s guide on what you need to know and teach your child before handing over your digital camera. These tips cover what to demonstrate to your child on the camera and how to take more visually interesting photographs. You may even help your own photographs. Read below for our tips and tricks!

Tips for Working the Camera
1. Use the wrist or neck strap. Believe me, the strap is there for a good reason! Such a simple thing can save your camera from being dropped from little (or big) hands. I use it all the time.
2. Make sure the battery is charged. This seems like a no brainer but it is worth mentioning. Check the battery life before telling your child that they get to use the camera.
3. Show your child how to hold the camera with both hands and use the right hand to click the shutter button (the button you press to take the photo). Also practice holding the camera straight while taking photos.
4. Demonstrate how to power the camera on and off. Show your child how to playback and review their photo (Lil B and M-Woww love seeing their photo instantly).
5. Introduce the lens (where light enters the camera). Let your child know this part of the camera needs to be kept clean and how to avoid touching the lens. Older children may enjoy learning more about how the lens works.
Tips for Taking Visually Interesting Photographs
6. Think about your light! Lighting is an important element in photography. Being aware of light is a great skill for a beginner photographer to learn and get in the habit of thinking about it. Have your child photograph an object in the dark or dim room and then the same object next to a window with sunlight coming in or take the object outside and photograph it. Compare how light changes the object in the photograph.
7. Show your child how to zoom in (get close) and zoom out but also remind them they can physically step closer to an object too. This is called filling the frame.
8. Change positions to photograph an object from a different perspective. Lay on the floor and take a photo of an object and compare how that looks from a photo taken while standing in front or above the object.
9. Focus on a focal point or point of interest. Pick one thing to focus on. Typically (on most cameras) if you hold the shutter button half way it will focus on the object.
10. Take a variety of photos. Try photographing people (or called portraits), animals, toys, nature. Let your child experiment in taking photos of things that are stationary versus things that are moving (change your camera into sports mode for a faster shutter speed to capture your moving object in focus)
Have fun! The best way to learn is by doing. Once you are confident your child knows how to work the camera properly let them go around and photograph their favorite things. Help your child download their photos to a computer so they can view the photos on a larger screen too! Share their favorites with family, friends and don’t forget to share with us!
For more digital photography with kids check out our Digital Photo Alphabet Project or check out our online art camp .
Leave a Reply