1 Cardboard Box :: 3 Shape Preschool Activities
Use one cardboard box for three ways to learn about shapes. You do not need expensive materials to do a learning activity with your preschooler. We will show you how to use one cardboard box for three different activities. We used one cereal box and had tons of fun along the way. As usual, we focused on creative thinking skills and learning about shapes.
We broke this post into 3 separate activities because preschoolers do not always have the longest attention spans. Try one activity at a time. Also, if your child seems frustrated stop the activity and try again at a later time. It is easy to adapt these activities to the skill level of your child. Simplify when needed or look to extend the activity if they are enjoying it. Read below for our three tutorials.
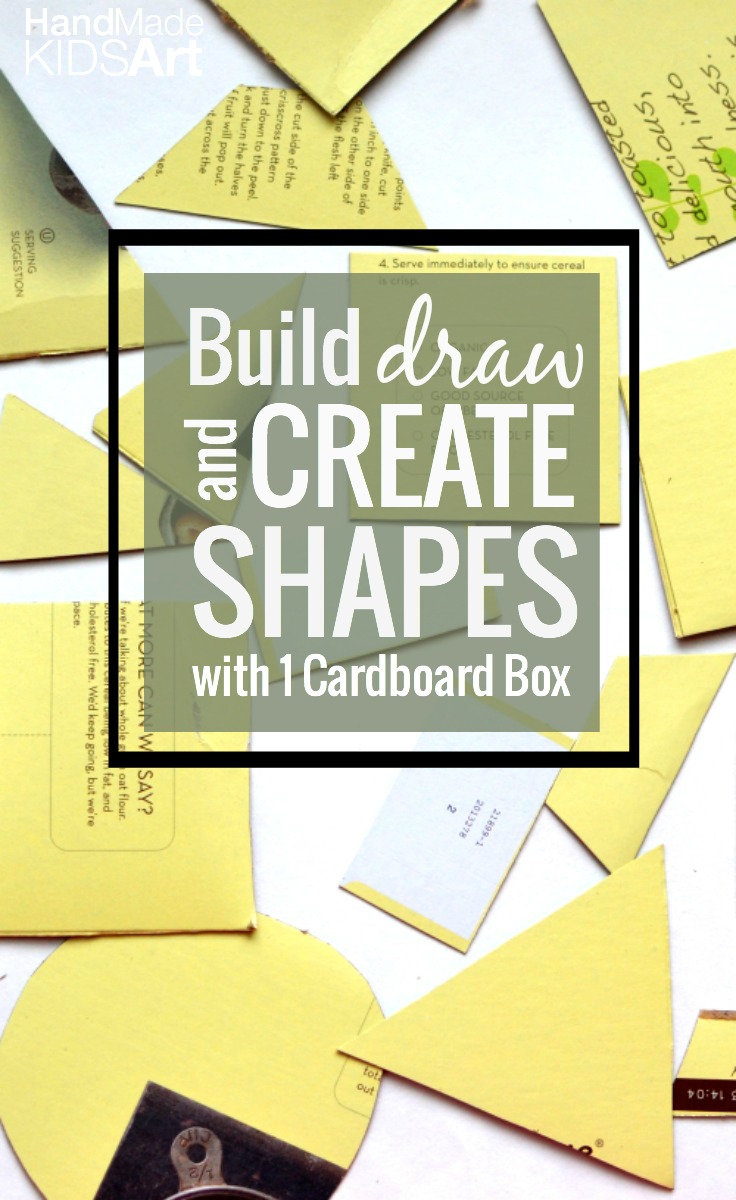
Materials:
Cereal Box
Scissors
Marker
Activity 1 Tutorial: Draw and Cut Shapes
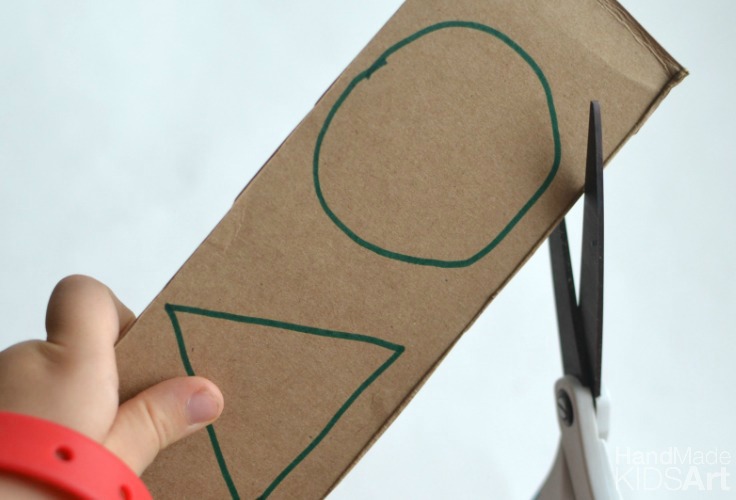
Step 1: Draw your shapes.
For the older preschool child let them practice drawing the shape. For a beginner you may want to draw the shape and then have your child trace over it.
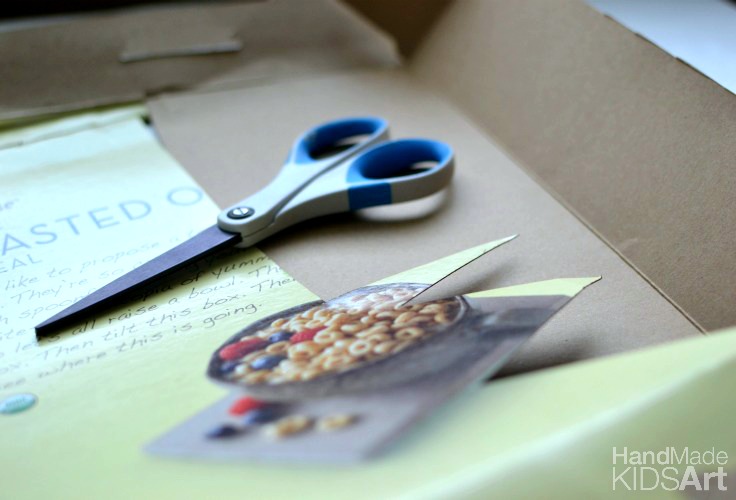
Step 2: Introduce the scissors.
Scissors is a good skill for preschoolers to practice under the supervision of adults. Teach your child how to hold the paper in one hand while cutting with the other hand. Be sure to demonstrate how to keep your fingers out of the way while cutting. Another tip I like to demonstrate is how to turn the paper while cutting instead of turning the hand with the scissors. A cereal box works really well because it is sturdy enough it won’t tear but thin enough for young hands to cut it.
Activity 2: Create Pictures
Step 1: Layout the shapes as an open invitation to let your preschooler create pictures with the shapes. For this part of the activity I stayed out of the way and let them do the creating.
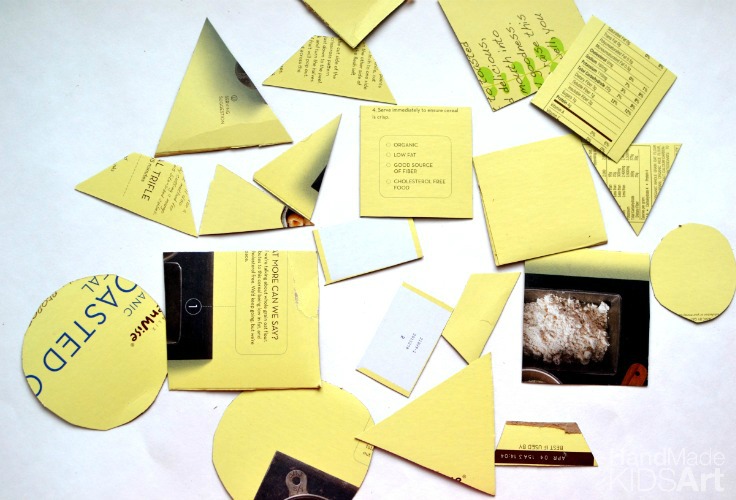
Both of my two preschoolers dived right in creating different scenes from the shapes. Below is Lil B’s construction worker (he was very specific with it) and M-Woww is putting together a house.
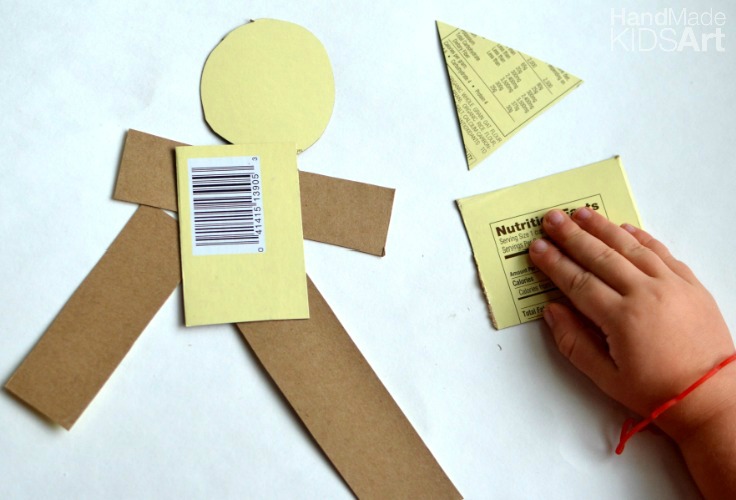
Step 2: If they create something they are really proud of I will document it with a quick photo.
Activity Extension:
Encourage your child to tell a story as they are creating their pictures.
Use a shape to create a new shape for example use a trapezoid to create a hexagon or triangle to create a rhombus (diamond).
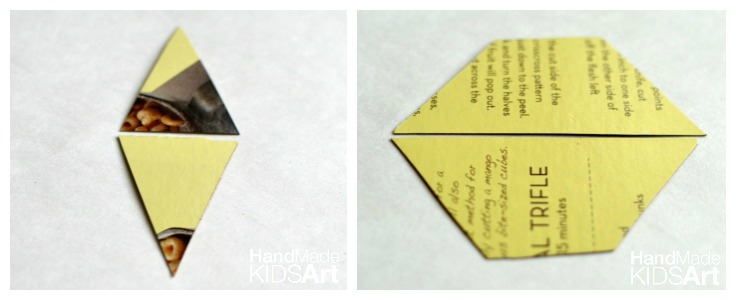
If you are working with a young preschooler have them sort the shapes. Have your child “spy” and collect all the circles from the pile of shapes or all the rectangles. Count together how many you find.
Activity 3: Build Sculptures
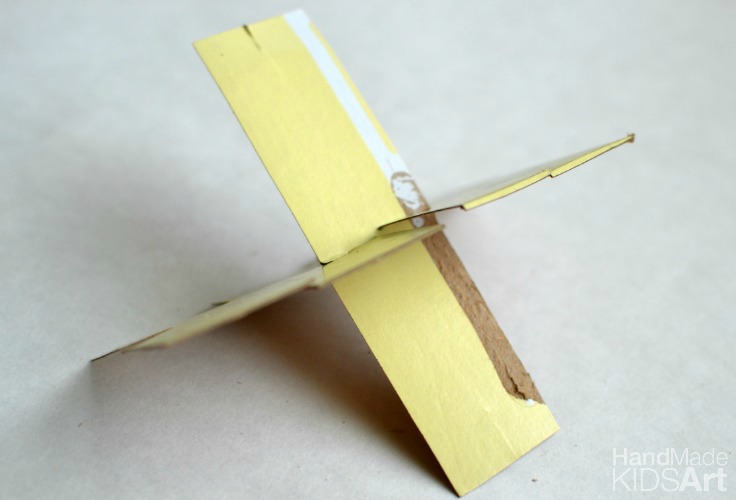
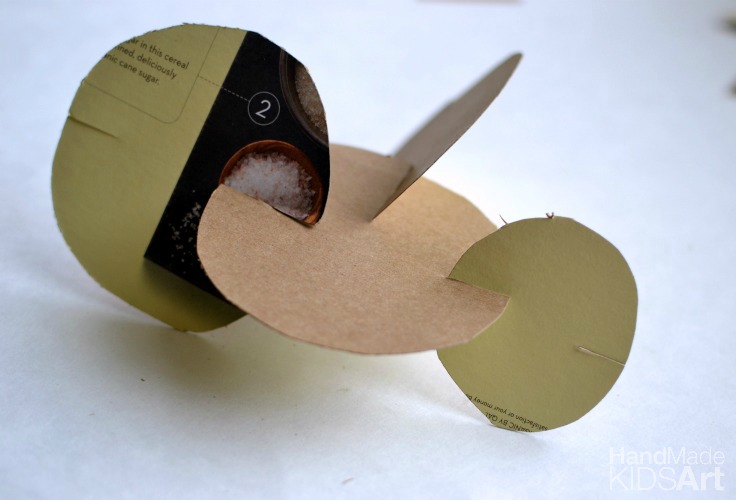
Step 1: Cut a small slit into both sides of your shapes. I did this part prior to starting the activity with my two preschoolers.
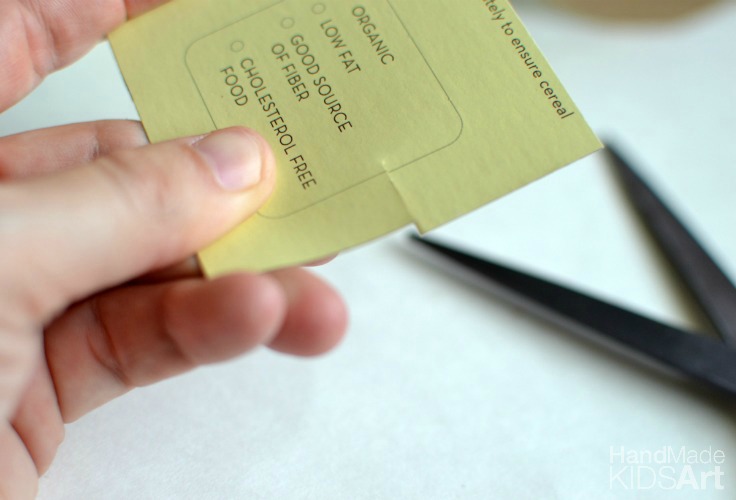
Step 2: Demonstrate how your child can connect the shapes together by pushing two slits together.
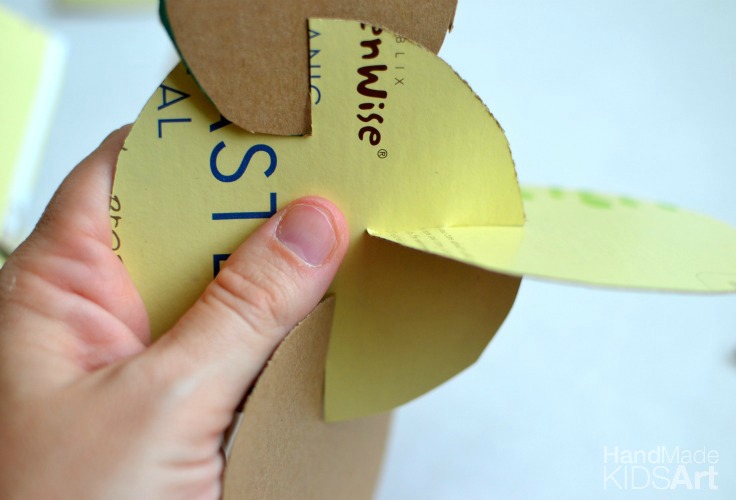
Step 3: Let them build! Younger preschoolers may need help with connecting the shapes but work together in creating a building or sculpture.
Activity Extension:
See who can build the tallest sculpture.
Try creating with only one shape like only use rectangles or only use circles.
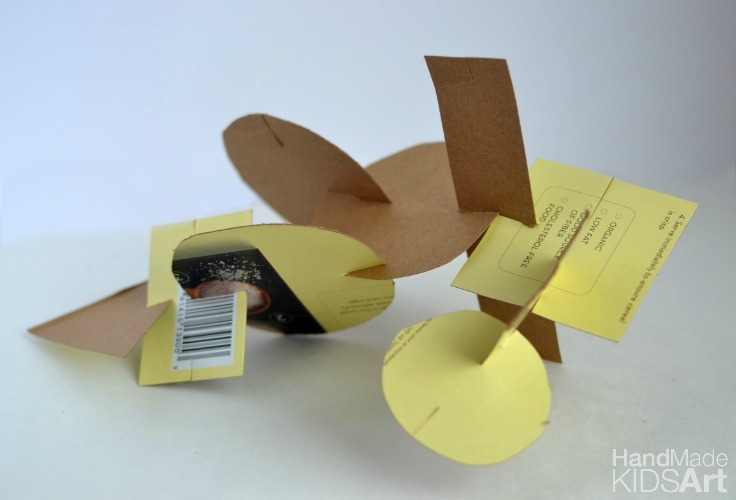
Spending hands on time with your child not only shows you are interested in what they are learning but also provides awesome quality time together. You don’t need fancy materials to do preschool activities at home. Let your child lead the activity. Let these activities help get you started but create your own shape games together!
Share with us below, which activity did your child enjoy the most?
For more Preschool Activities check out these awesome shape activities
Shapes Busy Bag | Artsy Momma
Triangle Ship Craft & Shape Matching Game | I Heart Crafty Things
Build & Learn Shape Factory | A Little Pinch of Perfect
Make and Play with Shape Dice | Pink Stripey Socks
Follow Hand Made Kids Art on Facebook, Instagram, Twitter or Google +!
🙂 These all look like great activities. I liked the building activity the best.