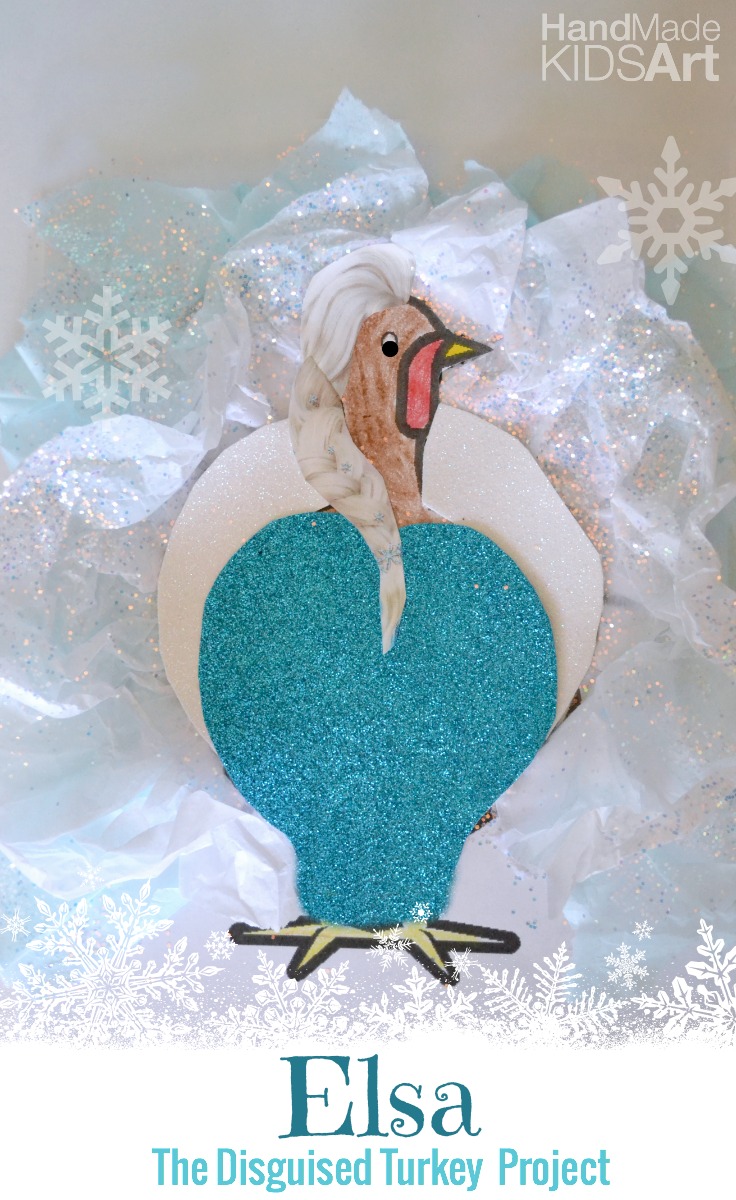
Did your child come home with the Turkey Disguise Project? Or maybe you are looking for a fun Thanksgiving craft to do at home? The turkey disguise project is a fun fall themed kids activity to help spark creative thinking. For complete details about the Turkey Disguise Project or for more disguise inspiration be sure to check out our earlier post.
Read the tutorial below on how to create an Elsa Inspired Disguised Turkey
Materials:
(2) printed Turkeys
Cereal Box (optional but recommended)
Glitter Foam Sheets (we found ours at the Arts and Craft Store)
Tissue Paper
Glue
Glitter
Crayons
Tutorial:
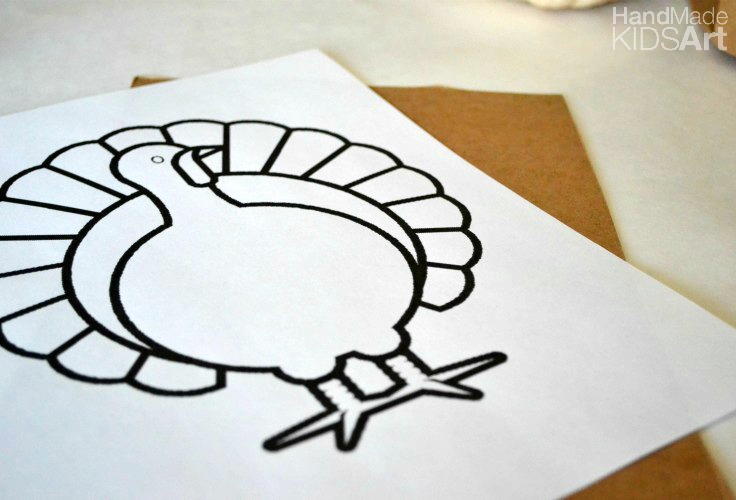
Step 1: Print out two copies of a turkey and glue one turkey to a thin piece of cardboard (like a cereal box). This will help add stability to your turkey. Use the other turkey to cut up as a stencil for your disguise.
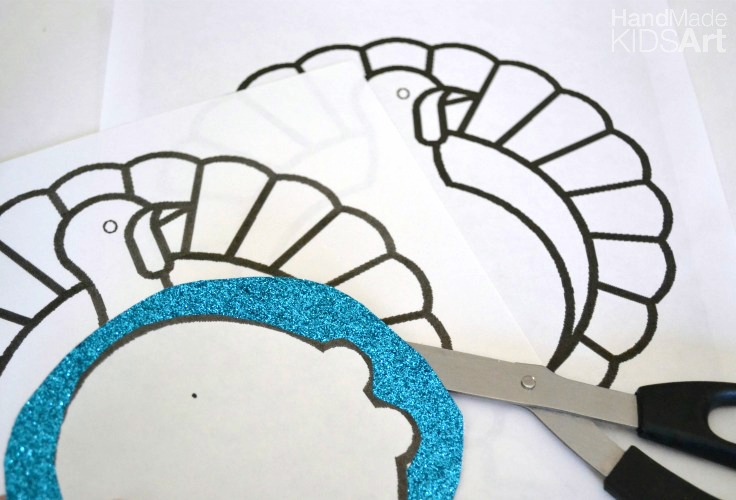
Step 2: Cut the body of the turkey using the blue glitter foam sheet. This will represent the main dress Use the white glitter foam sheet for the shoulder area (but really more of the body).
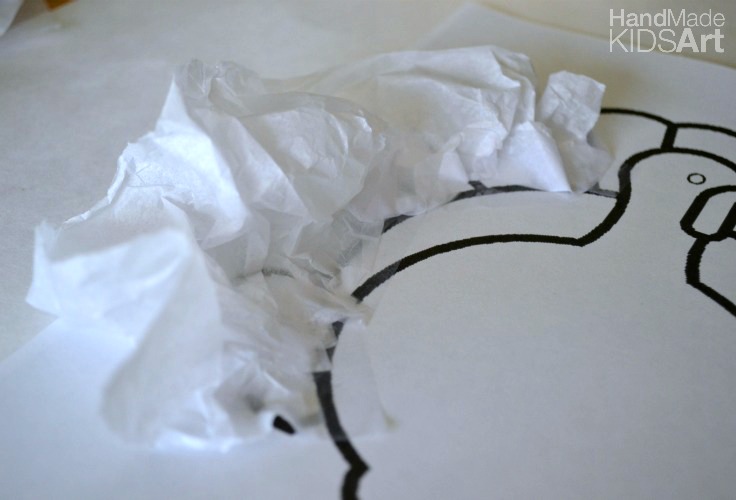
Step 3: Tape or glue tissue paper covering the feathers. We overlapped the tissue paper to give a full layered look.
Step 4: Add glitter. Obiviously, this is one case where the more glitter…the better. We brushed on some glue and dumped the glitter on top. (Glitter Tip: Apply the glitter over a pan to catch all the excess glitter. You can pour the extra collected glitter back in the jar).
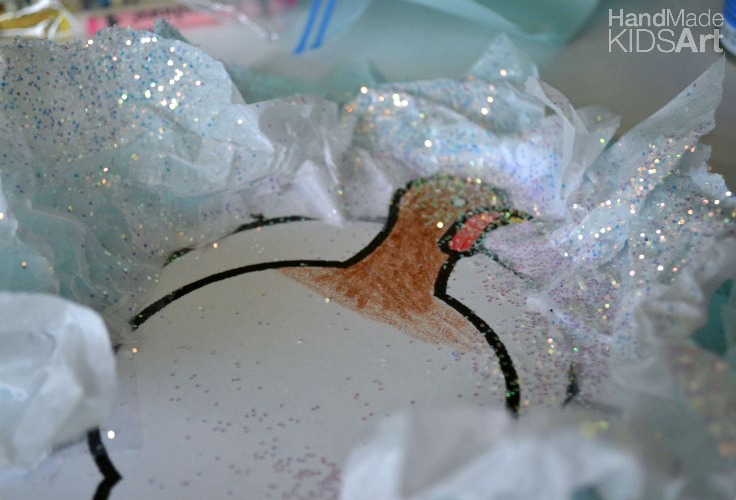
Step 5: Once the tissue paper is attached glue your foam sheets for the dress in place.
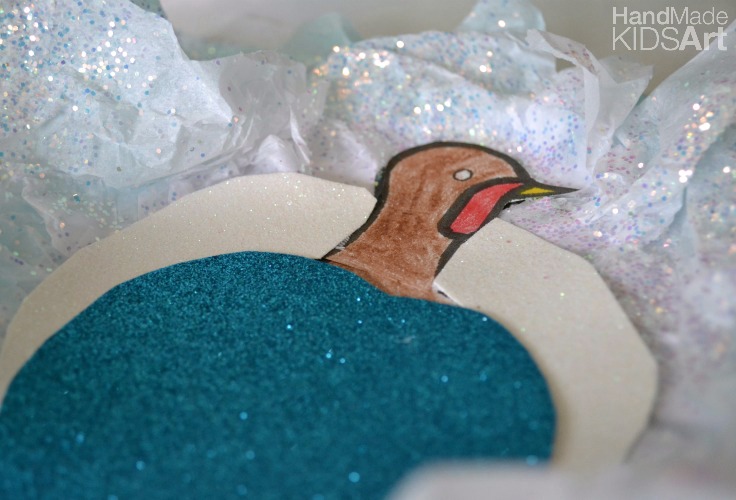 Step 6: Color the parts of your turkey that are still visible. We also added some Elsa hair by simply cutting off the hair of a picture of Elsa.
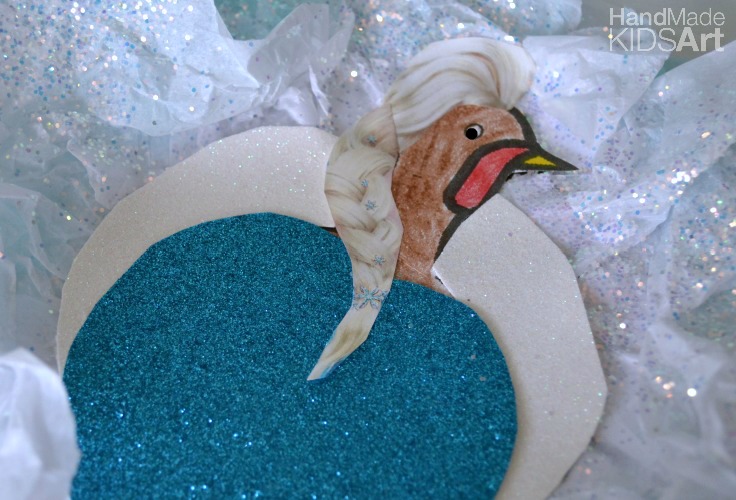 If you are a Frozen fan be sure to check out our super easy to make Olaf Turkey Disguise. And for more Turkey Disguise inspiration be sure to check out our 15 Outrageous and Clever Turkey Disguises.
You can also follow our Turkey Disguise Pinterest Board.
Follow Jamie @ Hand Made Kids Art’s board Turkey Disguise Project on Pinterest.
Leave a Reply