Mud painting may be one of the earliest art forms. From building shelters to making pottery, mud has made an impact on our world culture.
This STEAM activity for kids will have you investigating different types of mud to create your palette of muddy colors.
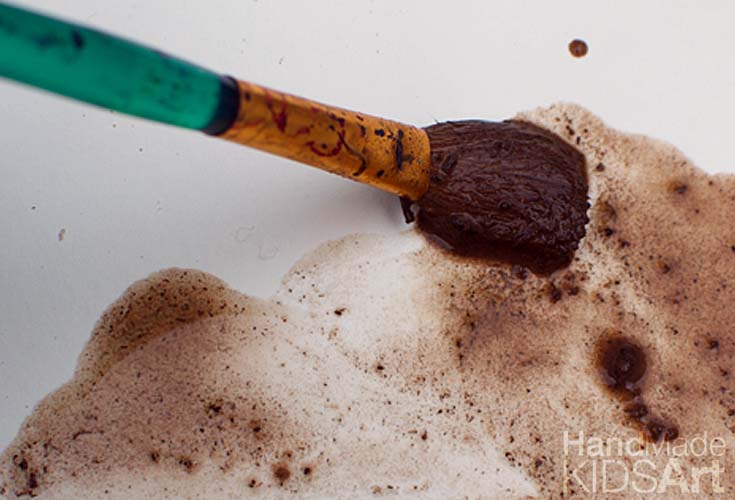
When I stumbled across this youtube video about Louisana Mud painting from artist Henry Neubig, I knew we had to give it a try!
Neubig creates beautiful landscape works of art with different types of mud he has collected throughout the country.
Watch below as he explains his process. I particularly like at the beginning where he explains where he collected the different samples.
While Neubig created realistic landscapes with his mud painting, our goal was mixing mud and exploring the different colors and textures of various samples of mud.
Now Neubig uses egg yolk to make his mud paint permanent; we chose to skip this step and accepted that our mud painting would be a temporary piece of art.
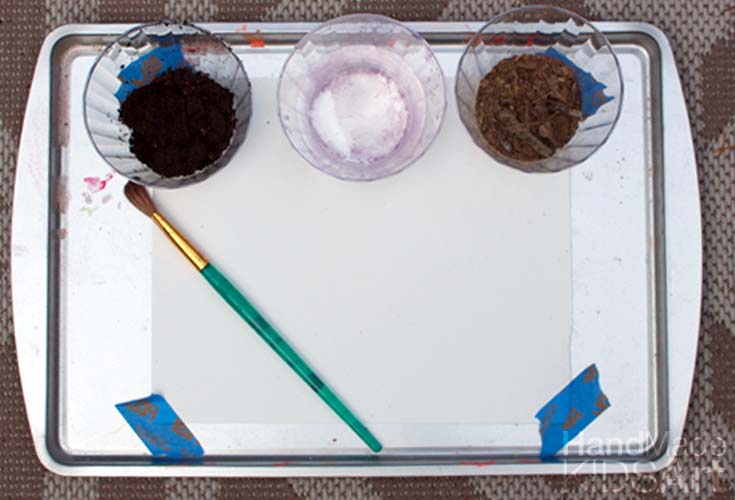
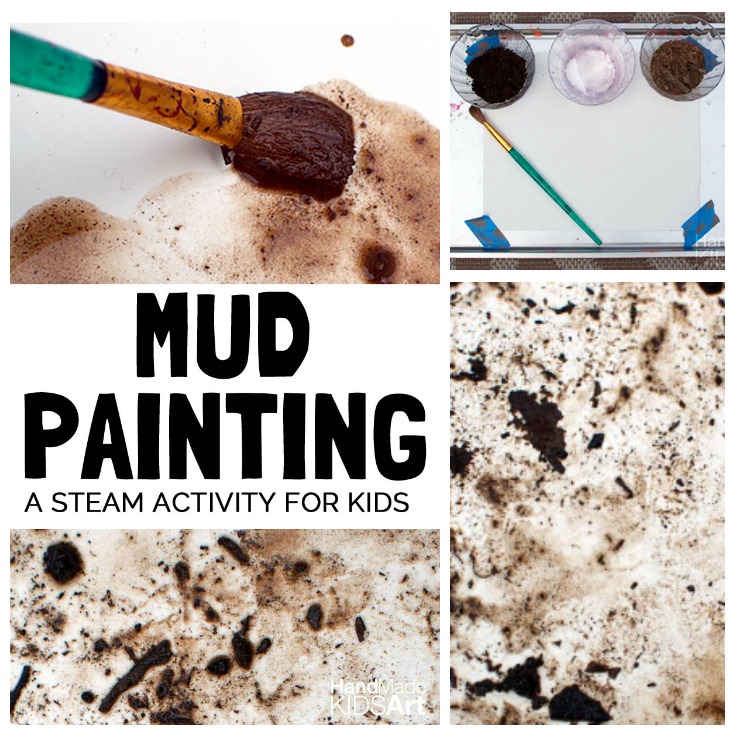
Materials: Different samples of dirt, water, old paint brush, cups, watercolor paper, cookie sheet, tape
Step 1: Prep your paper. Tape your paper to an old cookie sheet or plastic tray, this will help keep the paper in place as your child paints.
Step 2: Mix your paint! Ask your child how do you make mud? Let your child experiment with getting the right consistency of mud. Test it out directly on the paper!
Achieving the right consistency took us several attempts to get a good mix, but everyone had fun making mud.
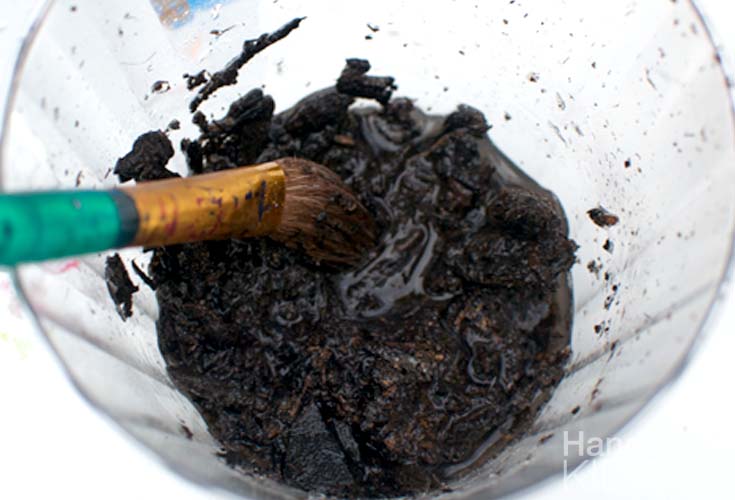
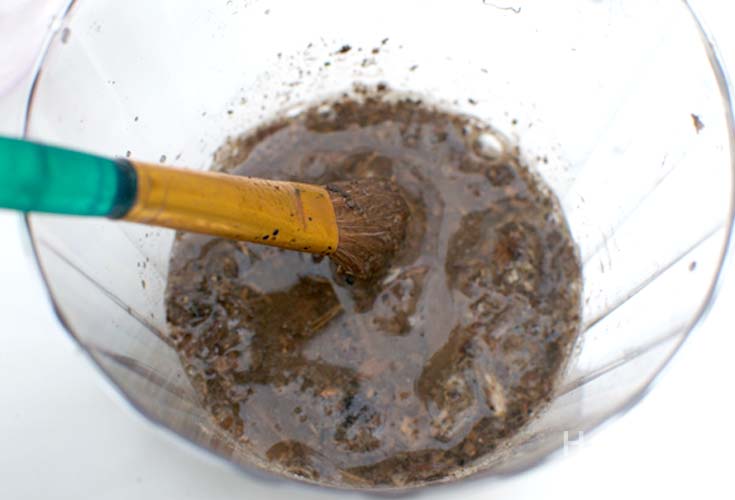
Mixing Tip: Have an extra cup available to dump out water if the mud paint gets too wet.
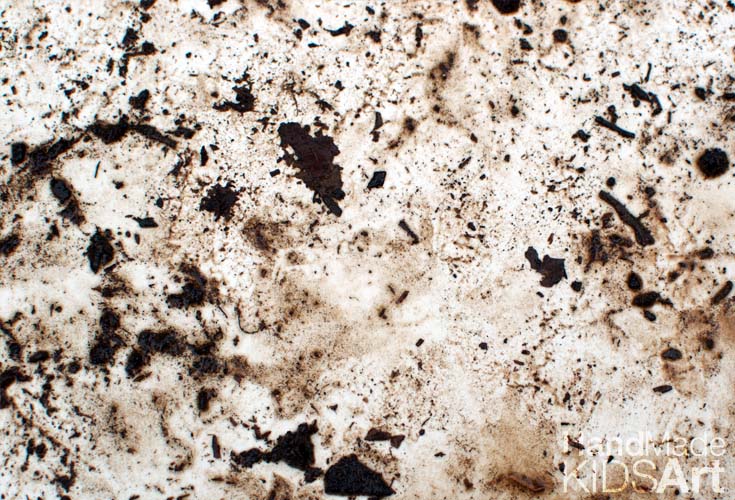
Step 3: Paint. Let your child compare and contrast the different colors of mud paint.
Which sample of dirt created the darkest color?
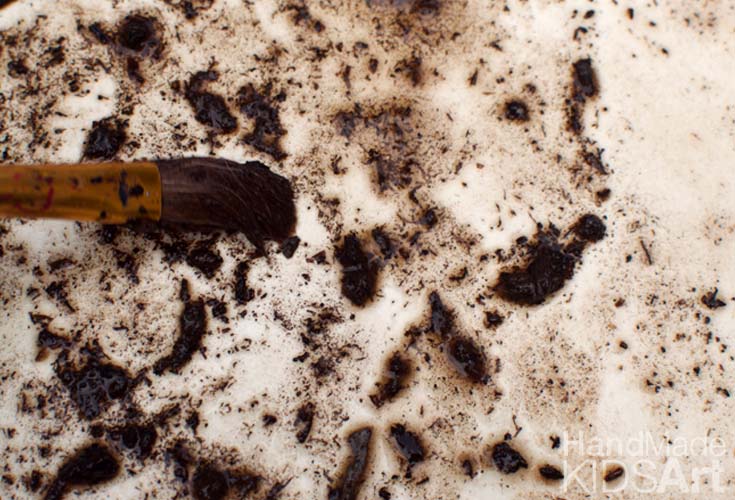
Which sample of dirt created the lightest color?

Try collecting and experimenting with other types of dirt and soil.
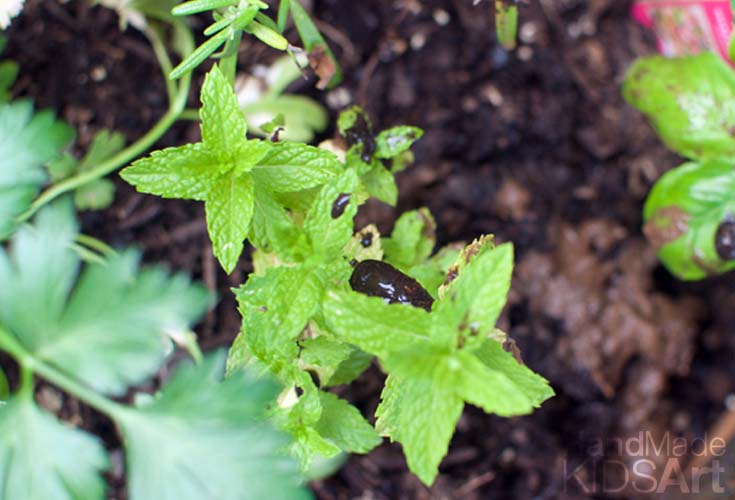
When we finished, we recycled our mud paint back into the ground.
 This post is part of the Outdoor STEM series hosted by Little Bins for Little Hands
Leave a Reply