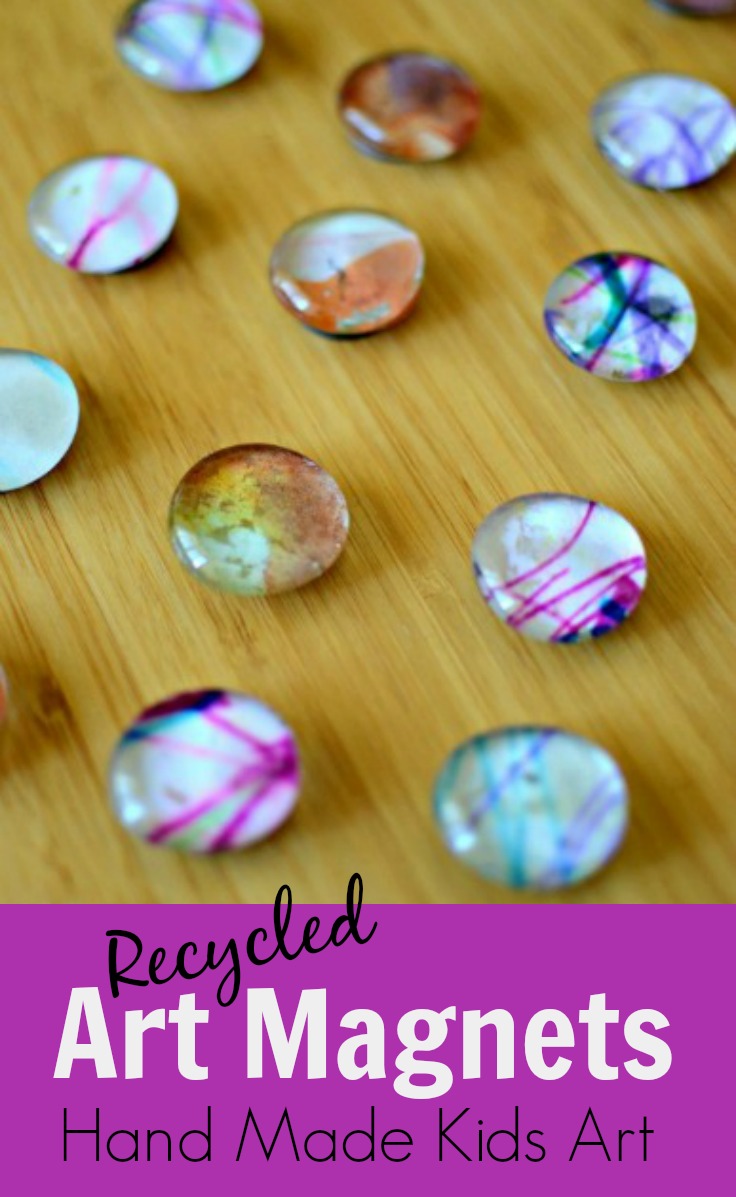
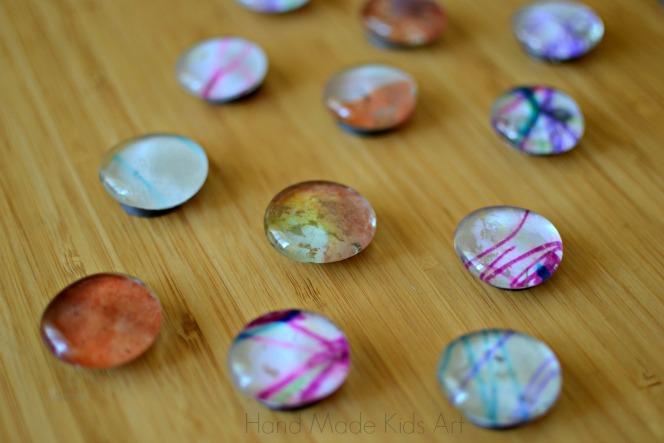
Recycle art by turning your old artwork into magnets. These make the perfect gift for your favorite teacher or someone special in your life. Follow our 4 easy steps and you can make your own magnets too!
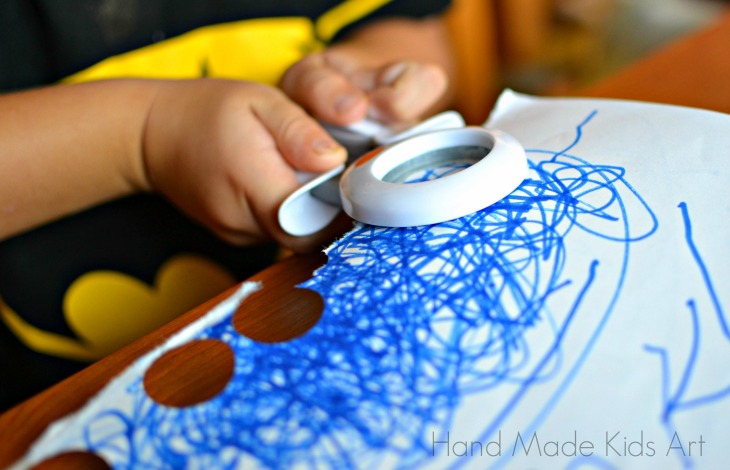
I did this activity with my 4 year old and 2 year old and loved the way the magnets turned out. My 4 year old had a lot of fun punching circles in his old artwork. My son is in preschool and comes home with an abundance of artwork. The paper clutter can build up, this is one way to recycle some of the artwork in to new little works of art.
Materials:
Recycled Artwork
Circle Punch (makes life easier but you could cut circles yourself)
E600 Glue (Adult Use Only)
Mod Podge
Paint Brush
Glass Marbles (with a flat bottom) We found ours at the Dollar Store.
Magnets smaller than your glass marble
Tutorial:
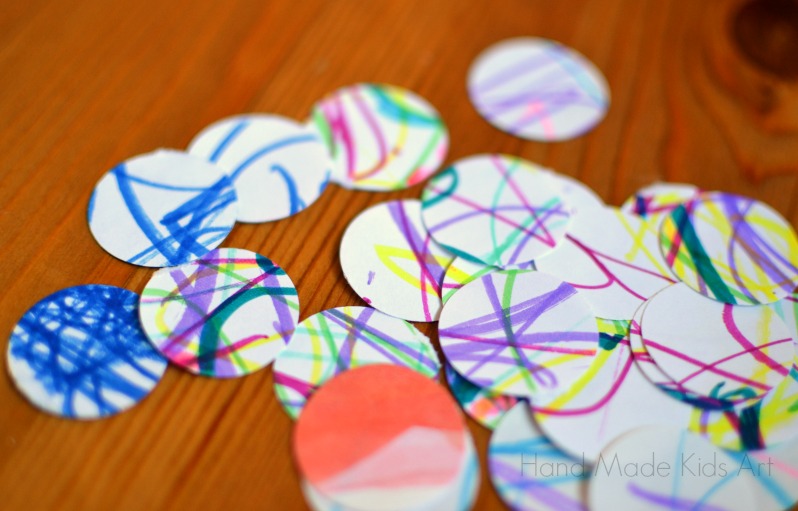
Step 1: Cut circles from your recycled art. My 4 year old had no problem working the circle punch himself.
Step 2: Place a circle drawing side down on the flat side of the glass marble. Using a paint brush, cover the circle with mod podge and let dry.
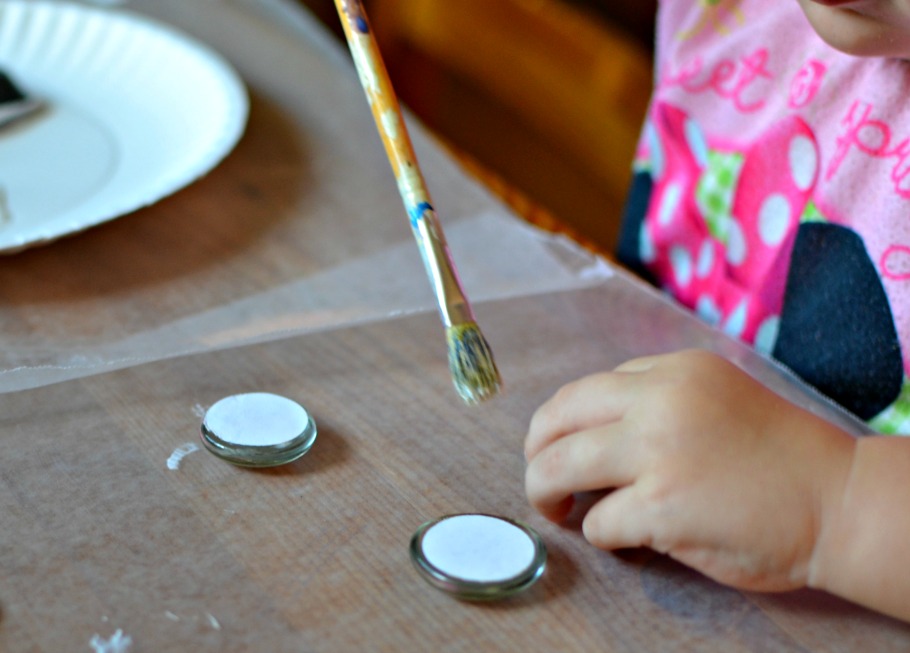
Step 3: ADULTs ONLY! Use the E600 glue to adhere the magnets to the back of the glass bead. I did this step during nap time. All you need is a little dab of glue to hold the magnet. Let dry.
Step 4: Give your magnets to your favorite teacher, wrap them as a gift or hang on your own fridge!
We would love to see your mini works of art. Post to our Facebook page or tag us on Instagram #handmadekidsart
These are just darling!
Thank you! 🙂
This is a great idea! We end up with so many works of art that need a special reason to be kept. I have pinned this post.
Thanks for pinning. I have a hard time letting go of all the artwork too! This is a great way to enjoy the art in a new way. Thanks for commenting.
Such a cool idea! Love this simple art activity. Thank you for linking up at the Toddler and Preschool Moms Pinning Party! I will be featuring this post tomorrow 🙂
Thank you for featuring! 🙂
Thank you so much for this cute craft idea! Found this on Pinterest and now shared to few craftsy friends 😉
Greetings from Finland 🙂
Thank you for stopping by and commenting. I am glad you enjoyed the idea and thank you for sharing! 🙂
I’ve been wanting to try this….great Christmas gift for grandparents!
I have a quick question though. It says to put the circles face down on the flat side of the glass marble and paint mod podge on it. Do you not need any mod podge or glue between the artwork and the glass marble? I don’t have much experience using mod podge.
Thanks!
In our experience the modpodge soaked through the paper so it was not needed in between the marble and artwork. Although, I don’t think it would hurt if it was added! Thank you for your question! I hoped it turned out! 🙂
What a fun, sweet and useful idea! We are so going to try this. Thanks for sharing such a lovely kiddo and mom friendly activity idea with us.
Thank you for commenting. We have made these several times and always a fun gift for the kids to make and give.
Wat is mod podge pleez?
Mod Podge is a glue and sealer, perfect for finishing off paper crafts. Here is the website for more information, http://www.plaidonline.com/mod-podge/brand/home.htm
Lovely project! How big across would you say your beads are? They look pretty big! I wonder if there is an online source for them, in case our dollar store doesn’t have them…
Here is an amazon link to something similar to what we used, http://www.amazon.com/Dashington-Marbles-Pebbles-Scatter-Aquarium/dp/B00KAAV8H4/
the only glass marble flat bottom beads I can find at any dollar store where i live has a weird rainbow hue that makes the image harder to see… is there a way to remove this? I tried acetone …didn’t work.
Hi, this one on Amazon is similar to what we used… http://www.amazon.com/Dashington-Marbles-Pebbles-Scatter-Aquarium/dp/B00KAAV8H4/