STEM activities or as I like to say STEAM activities are designed to help inspire your child to think like a scientist, engineer…or artist!
By following the scientific method, engineer or design process, your child is learning valuable skills to develop their own creative and critical thinking.
You may be thinking, well that sounds great but I don’t have a lot of expensive equipment or tools to do STEAM activities. BUT….
STEAM materials do not have to be expensive.
It is possible to do STEAM activities on a budget with minimal (or even zero) expense.
STEAM activities teach important skills that can lead to your child’s future success.
Tomorrow’s world filled with new technologies and industries will require workers to be creative thinkers and problem solvers.
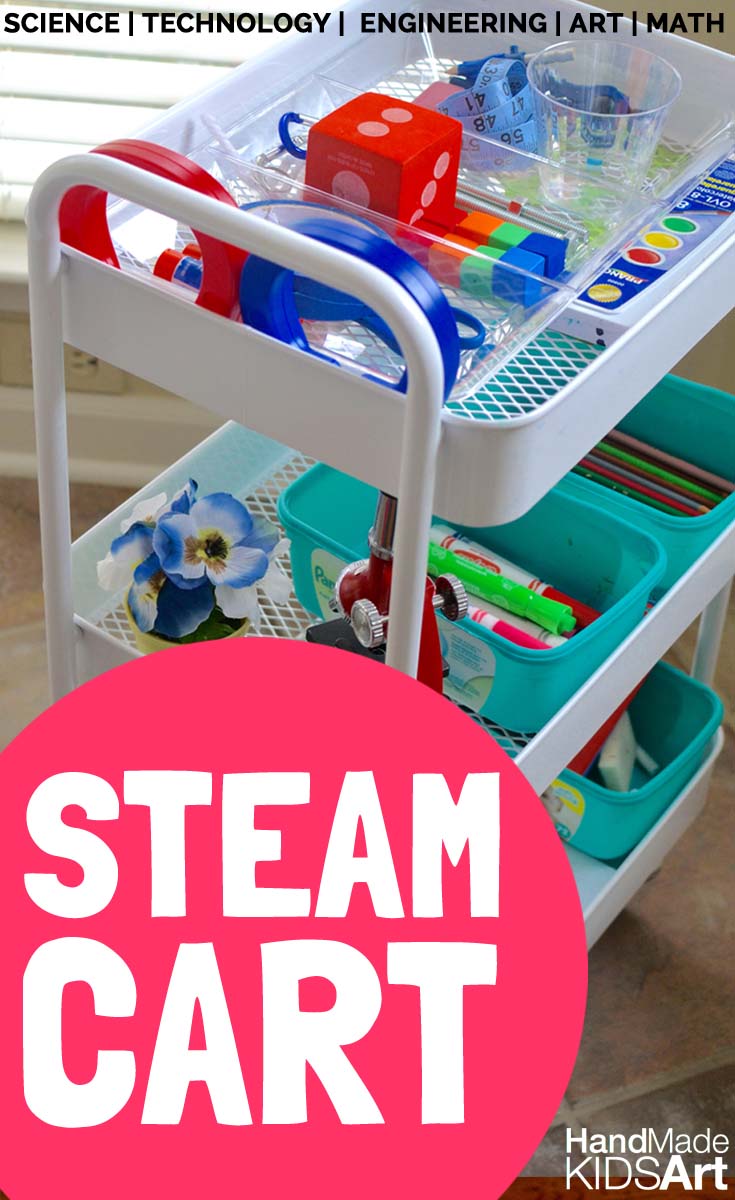
One easy way to foster your child’s curiosity and creative thinking is to create a self-serving STEAM Cart.
A STEAM cart is the perfect solution if you don’t have a lot of space for fancy materials and expensive supplies.
The second benefit of creating your own cart is you can tailor the materials to your child’s interests.
Encourage inventive play with the materials you already own.
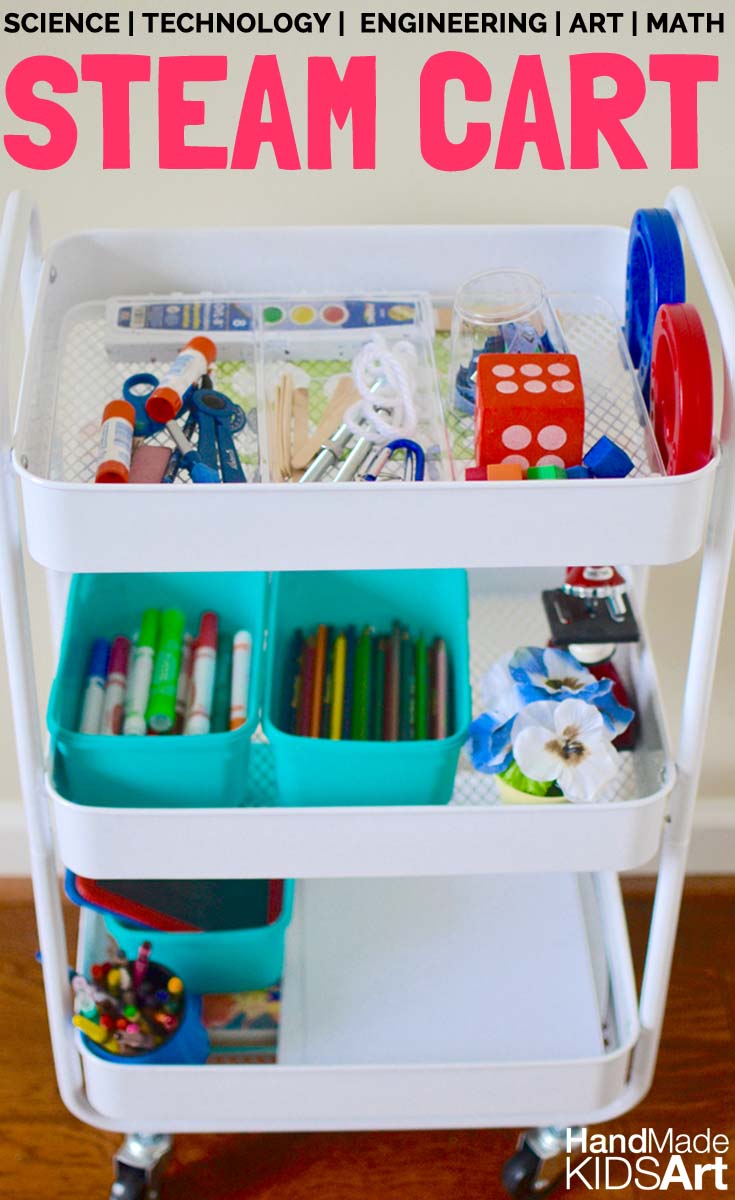
How to Set Up a STEM Cart
Materials: Use whatever you have…seriously, use what you already have at home.
HOW TO GET STARTED
Step 1: Identify your child’s interests.
What toys does your child like to play with right now?
What activities does your child enjoy doing?
Step 2: Take inventory of what materials you already own.
Step 3: Fill your space or “cart” with open-ended materials that are appropriate for your child.
You want this to be a “self-serving” space, which means your child can use all the materials.
If there is something you don’t want your child to use like a permanent maker…then do not put it in this space.
Toddler Tip: We have crayons and paper at the bottom so that Jellybean (almost 2 years old) can get her own supplies. We keep the scissors up on top where she can’t reach (yet).
We use a cart because it fits perfectly at the end of our table without taking up too much room. Plus, it is really easy for all 3 kids to help themselves.
Step 4: Demonstrate to your child where the materials go back when they are finished so your child can clean up on their own.
PARENT TIP: One helpful tip for young creators is to take a picture of what the cart looks like so they can match the photo when cleaning up.
Step 5: Let your child create!
Prompt your child’s thinking with open-ended questions but step out of the way and let them create. You may be surprised with what they create!
Here is a list of materials on our STEM Cart.
Top Shelf:
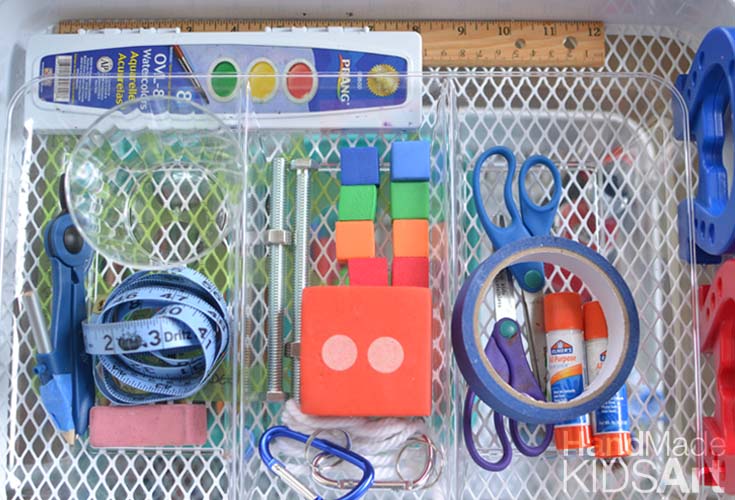
Big Magnets
Glue Sticks
Scissors
Large Dice
Foam Blocks
Large Bolt and Nut
Tape Measure
Empty Cup (for water)
Watercolor Set (with brush)
String
Compass
Middle Shelf:
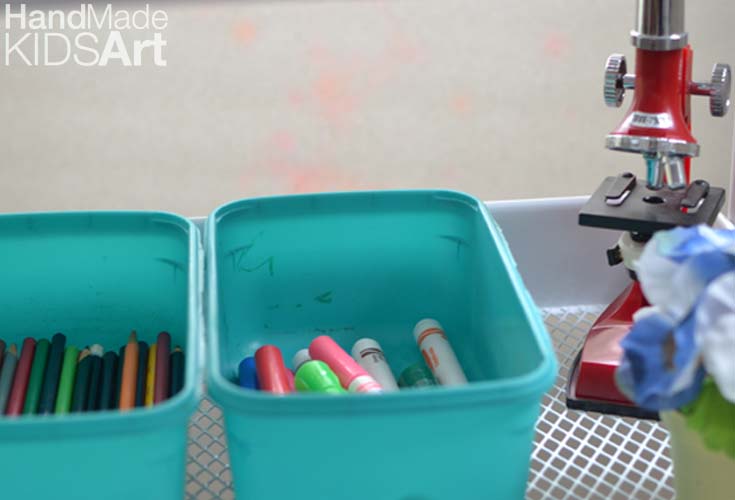
Kids Microscope – I found this one at the thrift store for about $5.00.
Fake flower and pot from the Dollar Store
Washable Markers
Colored Pencils
Bottom Shelf:
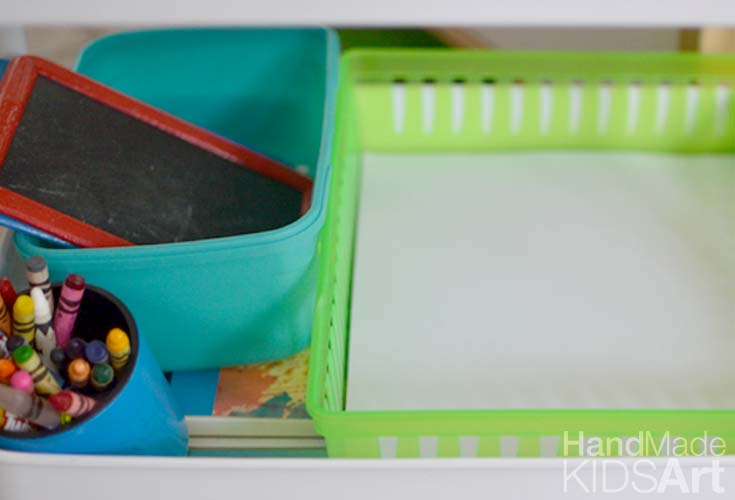
Paper
Cookie Sheets (We use one under all our drawings and paintings)
Crayons
Mini Chalkboards with white chalk
Rotate supplies to keep your child interested.
When you notice your child no longer interested in the materials change out the materials for new ones.
Here is an example of how we switched it up at Christmas time.
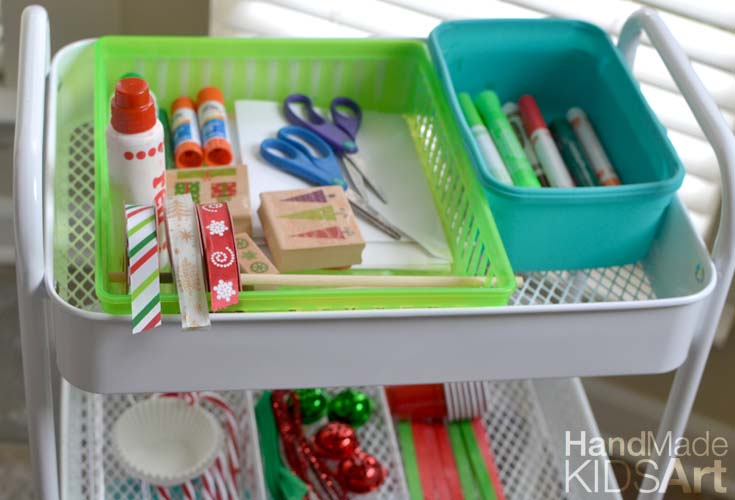
So with minimal, expense you can easily set up a creative maker space custom designed to your child’s interests and likes!
If you are looking for more information on creating a Creative Space for your Child, check out, 5 Easy Steps to DIY a Creative Space for Kids
This post is part of the 28 Days of Hands-On STEM hosted by Left Brain Craft Brain.


Leave a Reply